
Medallion L4-2165cc 2.2L (1988)
4.
Remove the secondary molding (C) which holds the upper windshield molding in place (Fig. 2).
5.
Carefully clean the upper edge of the windshield (F). Use 3M General Purpose Cleaner, P/N 08984, or equivalent.
6.
Mask off the upper edge of the roof panel at the windshield flange. Use masking tape.
7.
Apply 3M Super Fast Urethane, P/N 08609, to the upper edge of the windshield (D).
8.
Install the secondary molding on the windshield.
9.
Measure the gap between the secondary molding and the molding channel.
10.
Select a vacuum hose which is one size larger than the molding channel gap.
11.
Cut a 71 cm (28 in.) length of vacuum hose.
12.
Apply 3M Super Fast Urethane, P/N 08609, to the outside of the vacuum hose at several locations.
13.
Center the length of vacuum hose (E) between the upper right and upper left corners of the windshield.
14.
Squeeze the vacuum hose (E) into the molding channel.
15.
Remove the masking tape from the roof panel.
16.
Install the right and left side upper windshield trim moldings into the secondary molding.
FIGURE 1
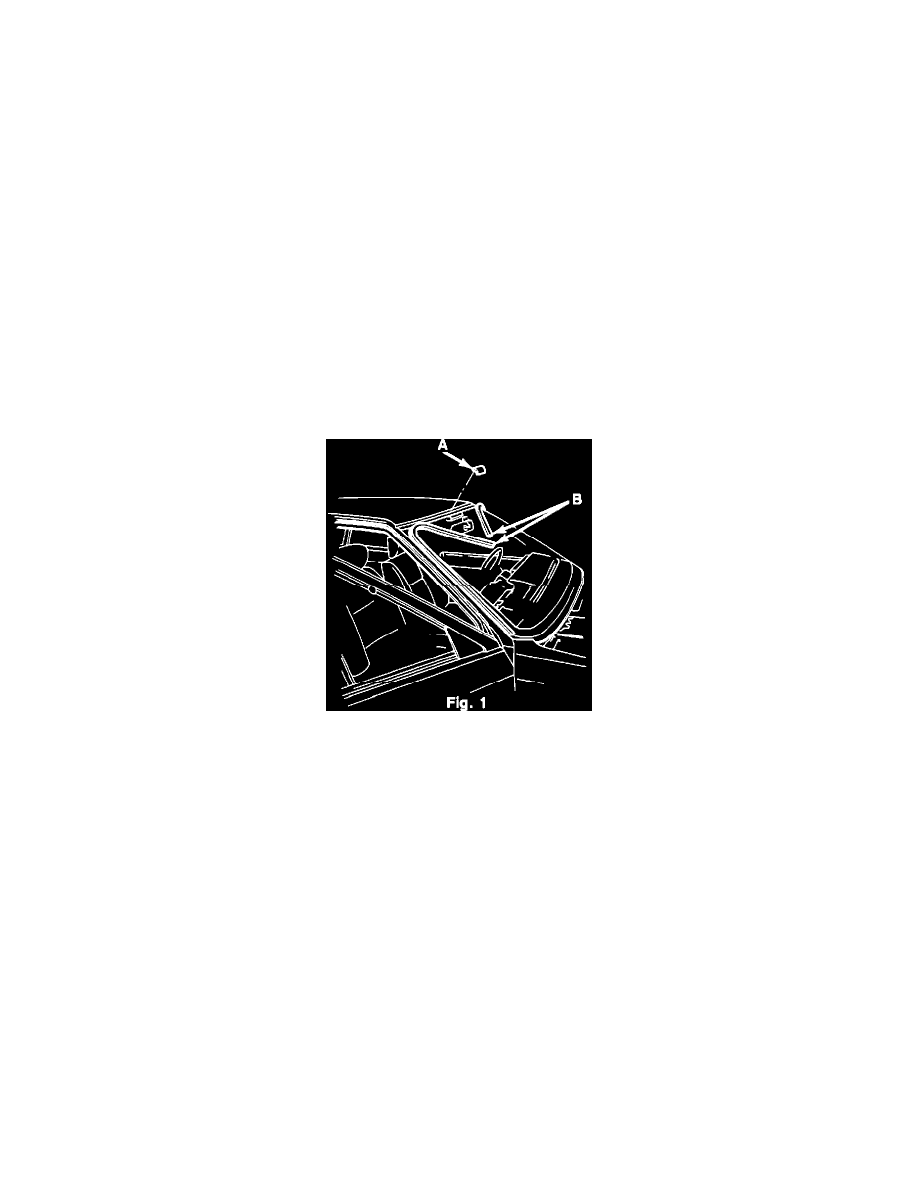
17.
Apply 3M Super Fast Urethane, P/N 08609, to the center clip (A).
18.
Install the center clip into the molding.
19.
Secure it in place until the urethane is set.
PARTS INFORMATION
DESCRIPTION
QUANTITY
PART NUMBER
3M Super Fast URETHANE
1
08609
SRT/TIC INFORMATION
OPERATION DESCRIPTION
NUMBER
TIME
TIC
CO. MOLDING, WINDSHIELD-BOND
0503
0.3
5-581
FILING INSTRUCTIONS
Discard MR 290 I.S. Note 1E, P/N 8980 001 370, from your binder. Record this I.S. Note on page P-81 of MR 290 and file it in the manual.