
Summit L4-1795cc 1.8L SOHC (1995)
Control Arm: Service and Repair
Rear
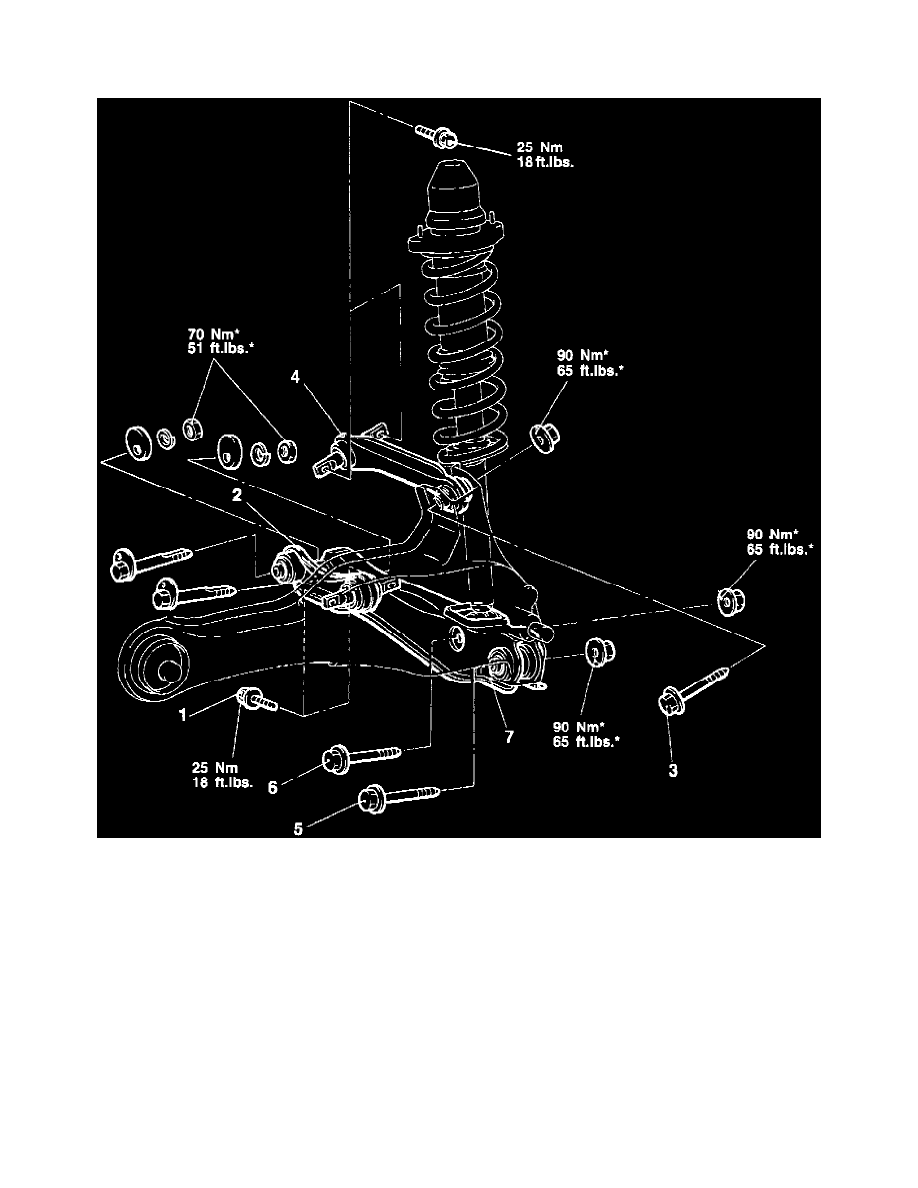
Fig. 19 Lower Arm Removal
CONTROL ARM REPLACE
1. Remove lower arm assembly as shown, noting following:
a. Scribe a mating mark on toe-in adjustment bolt for installation reference, then remove control link and lower arm.
b. Support lower arm with a suitable jack, then remove upper link to trailing arm connection.
c. Support lower arm with a suitable jack, then remove lower arm to trailing arm connection.
d. Reverse procedure to install.