
Summit Vista AWD L4-1795cc 1.8L SOHC (1992)
Heater Core: Service and Repair
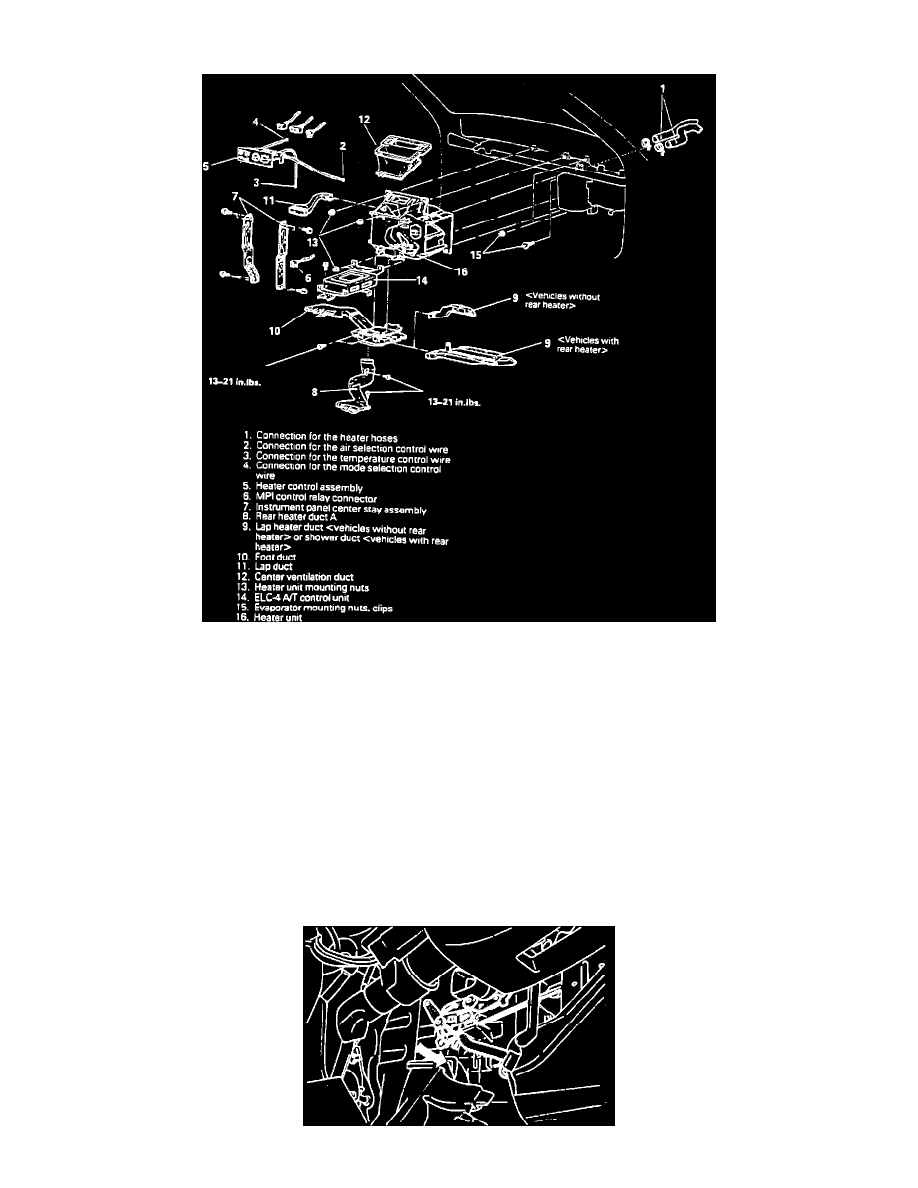
Fig. 14 Heater Core Replacement
1. Disconnect battery ground cable.
2. Set temperature lever at the extreme hot position, then drain engine coolant and disconnect heater hoses.
3. Remove front seats and floor console, then the instrument panel as described in "Dash Panel Service" section.
4. Disconnect air selection, temperature control and mode selection control wires.
5. Remove heater control assembly, then disconnect MPI relay connector.
6. Remove instrument panel center stay assembly.
7. On models with rear heater, remove rear heater and shower ducts.
8. On models less rear heater, remove lap heater duct.
9. On all models, remove foot, lap and center ventilation ducts, then the heater unit mounting nuts.
10. On models with ELC-4 automatic transmission, remove ELC-4 A/T control unit.
11. On models with A/C, remove evaporator mounting nuts and clips, then pull evaporator outward to allow access to heater unit. Be careful not to
damage liquid pipe or suction hose.
12. On all models, remove heater unit.
13. Remove side plate and heater core fastening clips from heater unit, then pull out heater core from heater unit.