
Summit Wagon AWD L4-1795cc 1.8L SOHC (1994)
1. Remove waterproof cap by using a screwdriver.
2. Insert tip of screwdriver [1.4 mm (0.06 in.) or 2.0 mm (0.08 in.) width] into connector in a manner as shown in the figure, raise housing lance
slightly with it and pull out harness.
Round Waterproof Connector: Step (3)
3. Insert screwdriver through a hole provided on terminal and raise contact point of male terminal.
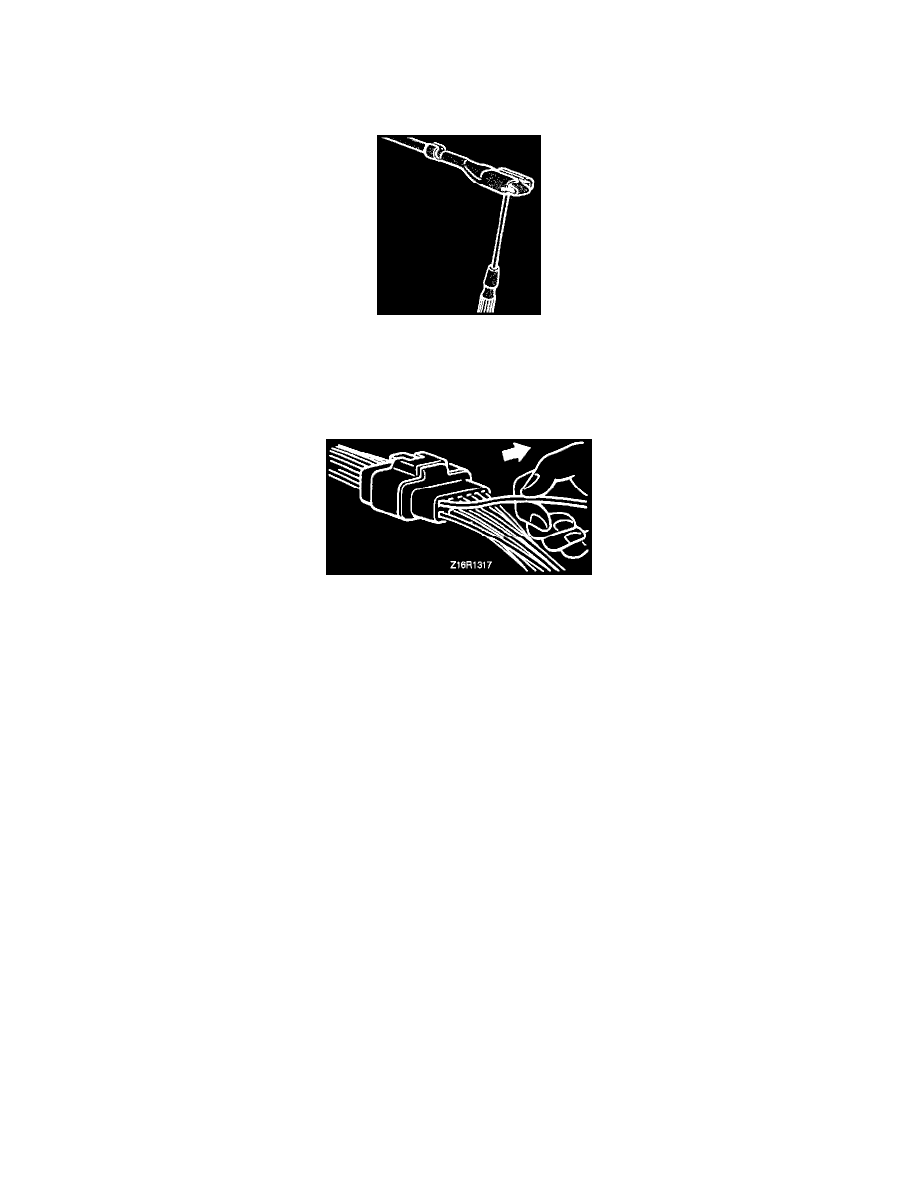
Terminal Engagement Check
Terminal Engagement Check
When the terminal stopper of connector is out of order, engagement of male and female terminals becomes improper even when the connector itself is
engaged perfectly and the terminal sometimes slips out to the rear side of connector. Make sure that each terminal does not come off the connector by
pulling each harness wire.
Troubleshooting Steps
FOREWORD
The most important point in troubleshooting is to determine "Probable Causes". Once the probable causes are determined, parts to be checked can be
limited to those associated with such probable causes. Therefore, unnecessary checks can be eliminated. The determination of the probable causes
must be based on a theory and be supported by facts and must not be based on intuition only.