
Summit Wagon AWD L4-2350cc 2.4L SOHC (1995)
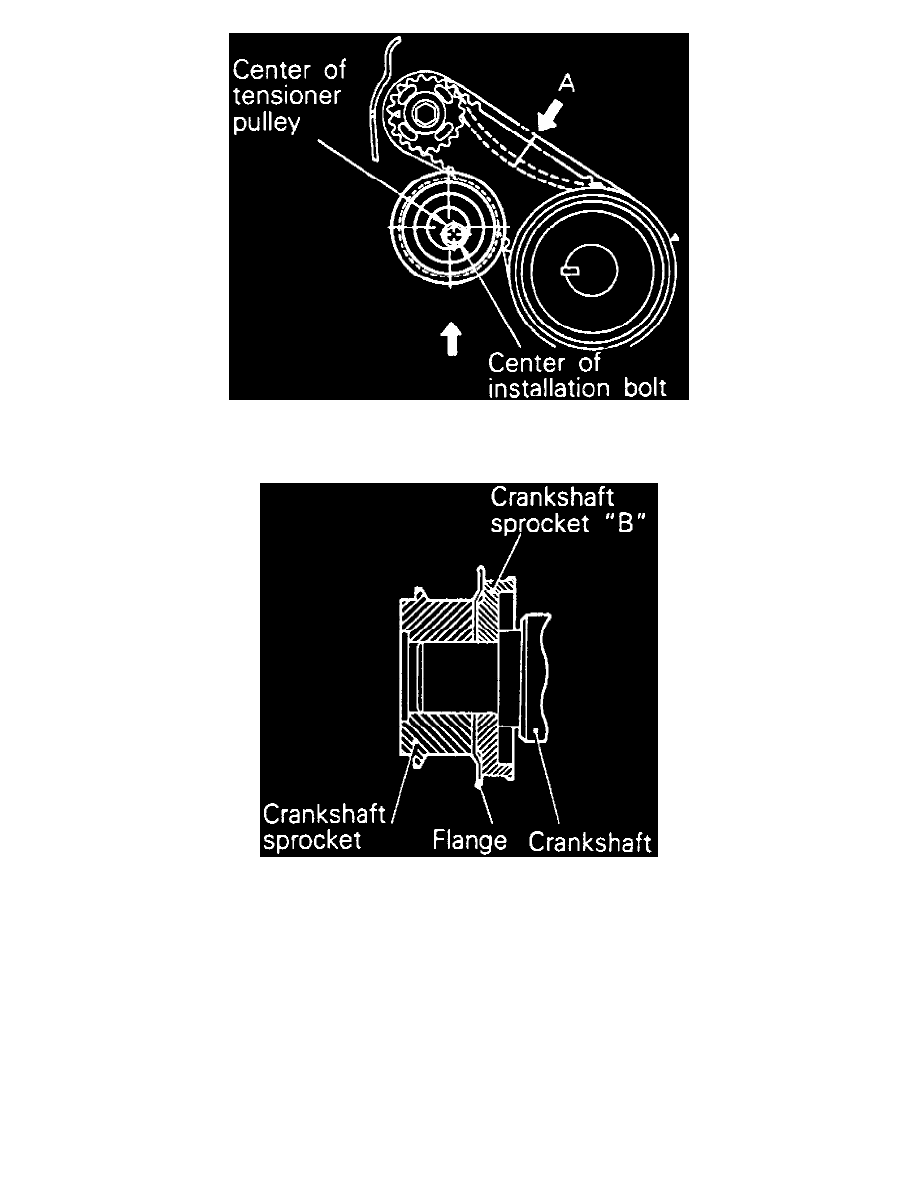
Fig. 34 Timing Belt B Tension Inspection
c. At point marked "A and ensure belt is within .20-.28 inch when depressed for correct tension, Fig. 34.
Fig. 35 Crankshaft Flange & Sprocket Installation
6. Install crankshaft flange and pulley as shown in Fig. 35.
7. Install auto tensioner as follows:
a. Keeping auto tensioner level clamp it in a soft jawed vise. If plug at bottom of tensioner protrudes, surround it with a washer to prevent plug
from being in direct contact with vise.