
Summit Wagon AWD L4-2350cc 2.4L SOHC (1995)
Drive/Propeller Shaft: Removal and Replacement
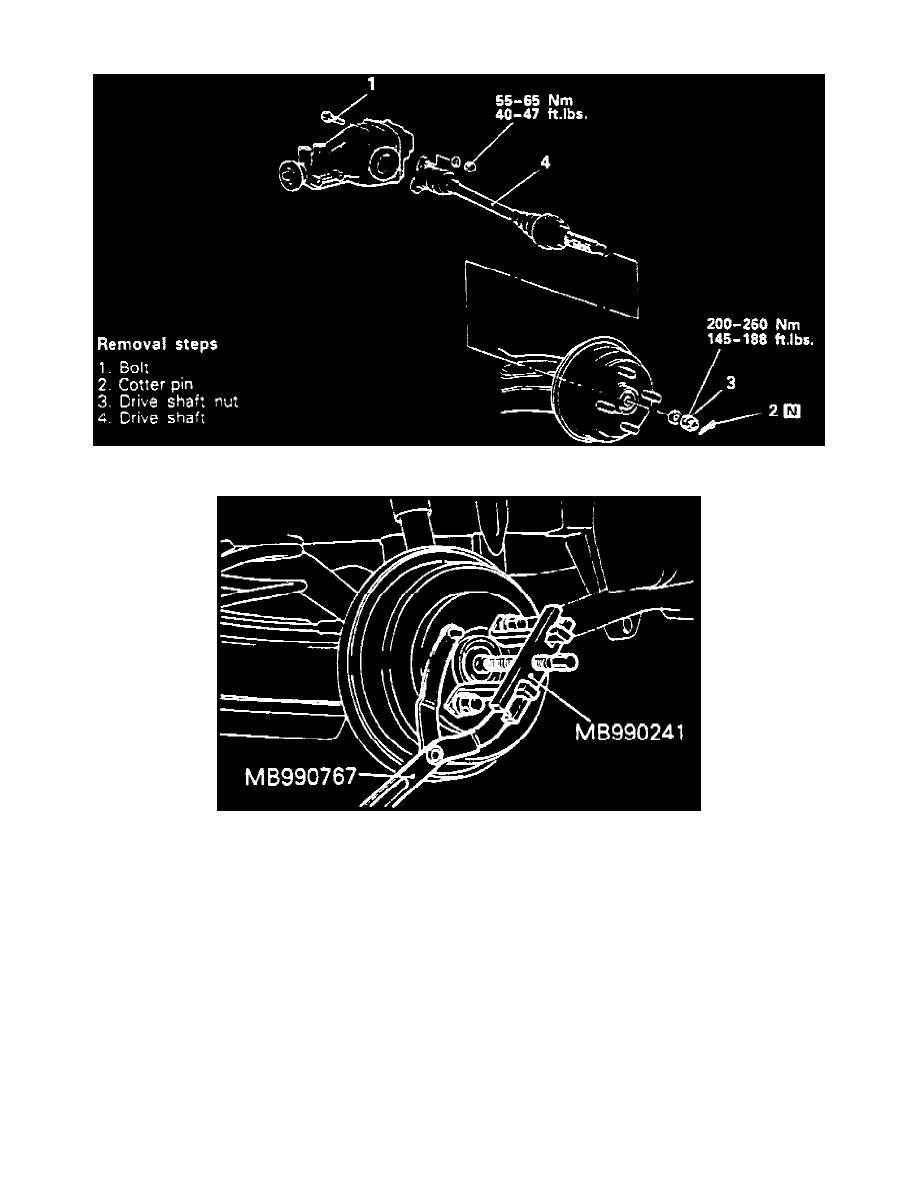
Fig. 4 Driveshaft Removal
Fig. 5 Driveshaft Nut Removal
1. Raise and support vehicle.
2. Remove driveshaft in sequence as shown.
3. Use spanner wrench tool No. MB990767, or equivalent, to lock hub while removing driveshaft retaining nut.
4. Remove driveshaft from hub as shown.
CAUTION:
Do not apply vehicle weight to the wheel bearing while loosening shaft nut. If vehicle is to be moved after removal of driveshaft, install bolt
tool No. MB990998, or equivalent, to support bearing.
5. Remove companion flange to differential carrier bolts. Support driveshaft and press driveshaft out of rear axle hub using rear axle puller and
spanner wrench tool No. MB990241 and MB990767, or equivalents.
6. Inspect driveshaft boots for damage or deterioration.
7. Reverse procedure to install, torquing companion flange bolts to 40-47 ft. lbs. and driveshaft nut to 145-188 ft. lbs.