
Summit Wagon FWD L4-1795cc 1.8L SOHC (1994)
Brake Warning Indicator: Diagnostic Aids
Battery Handling
Battery Handling
When checking or servicing does not require power from the on-vehicle battery, be sure to disconnect the cable from the battery (-) terminal. This is to
prevent problems that could be caused by shorting of the circuit. Disconnect the (-) terminal first and reconnect it last.
CAUTION:
1. Before connecting or disconnecting the negative cable, be sure to turn off the ignition switch and the lighting switch. (If this is not done, there
is the possibility of semiconductor parts being damaged.)
2. After completion of the work steps [when the battery's negative (-) terminal is connected], warm up the engine and allow it to idle for
approximately 10 minutes under the conditions described below, in order to stabilize the engine control conditions, and then check to be sure
that the idling is satisfactory.
Engine coolant temperature: 85 - 95 °C (185 - 203 °F)
Lights, Electric Fans, Accessories: OFF
Transaxle: Neutral position (A/T models: "N" or "P")
Steering wheel: Neutral (center) position
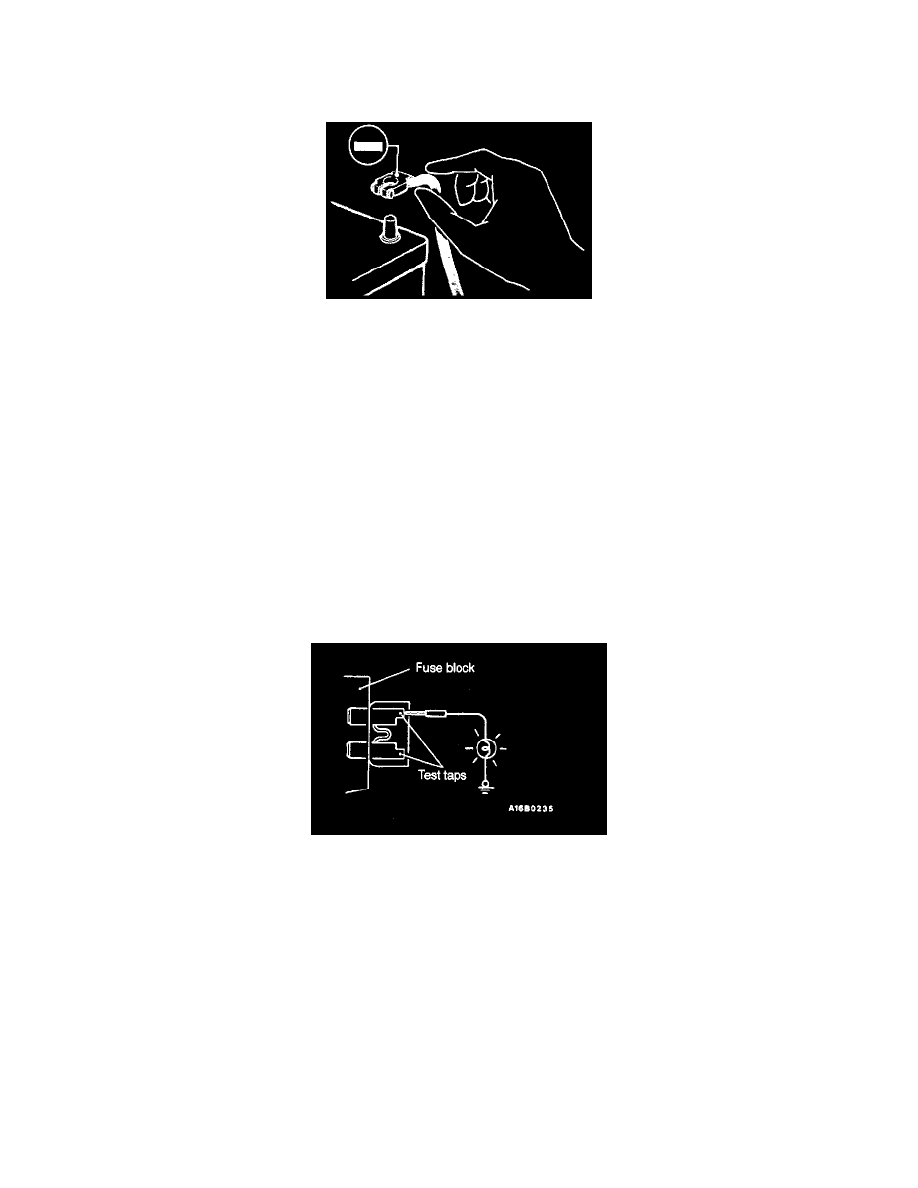
Fuse Testing
A blade type fuse has test taps provided to allow checking of the fuse itself without removing it from the fuse block. The fuse is okay if the test light
comes on when its one lead is connected to the test taps (one at a time) and the other lead is grounded.
Remember to turn the ignition switch to ON to ensure all circuits are live.
Cautions In Event Of Blown Fuse
When a fuse is blown, there are two probable causes. One is that it is blown due to flow of current exceeding its rating. The other is that it is blown due
to repeated on/off current flowing through it. Which of the two causes is responsible can be easily determined by visual check as described below.