
Summit Wagon FWD L4-1795cc 1.8L SOHC (1994)
sequence.
3. Fill inside of Birfield joint and Birfield joint boot with grease included in the driveshaft repair kit.
CAUTION:
The grease in the repair kit should be divided into two equal portions for the Birfield joint and Birfield joint boot. This is a special type of
grease, ensure no other type of grease comes in contact with the joint.
4. Secure Birfield joint boot with boot bands A and C to driveshaft and Birfield joint.
Ensure Birfield joint is at a zero angle with driveshaft to ensure the boot contains the correct amount of air.
Fig.15 Applying Grease To Double Offset Joint Cage, Balls & Inner Race
5. Apply repair kit grease to double offset joint cage, balls and inner race as shown.
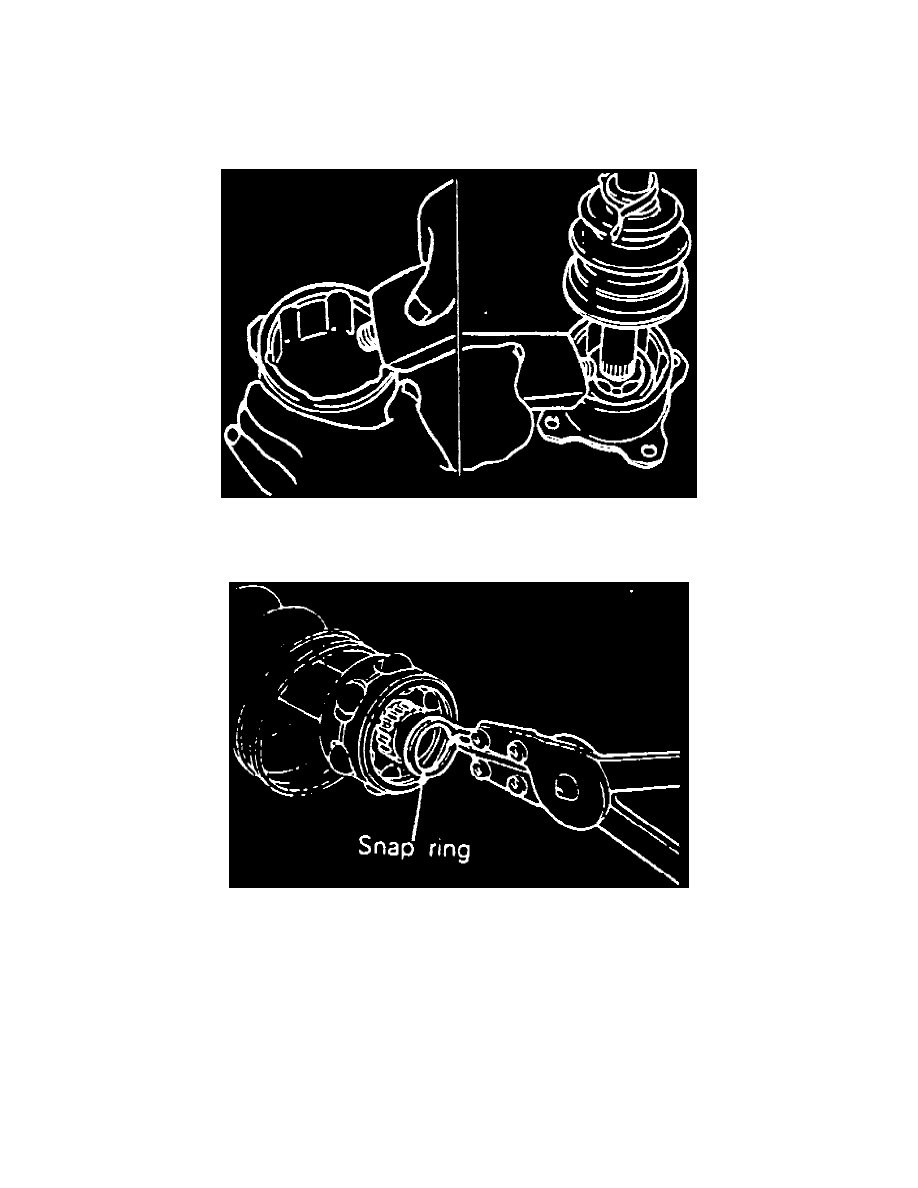
Fig.13 Snap Ring Replacement
6. Install cage, balls and inner race onto driveshaft, then using snap ring pliers, fit snap ring securely into groove in shaft.
7. Fill double offset joint outer race with repair kit grease, then fit driveshaft into double offset joint outer race.
8. Fill more grease into double offset joint outer race after it is installed on driveshaft, then install circlip onto double offset joint outer race.
9. Assemble double offset joint boot to double offset joint outer race, then secure boot to driveshaft with boot band C.
10. Place boot band B on double offset joint boot. Do not secure boot band B at this time.