
Talon AWD L4-1997cc 2.0L DOHC Turbo VIN F SMFI (1997)
3. While holding the piston rod, remove the self-locking nut.
CAUTION: Do not use an impact wrench to tighten the self-locking nut.
INSPECTION
-
Check the rubber parts for damage.
-
Check the coil springs for crack, damage or deterioration.
ASSEMBLY
1. Follow disassembly steps in reverse order for assembly, noting the following.
2. Use the special tools to compress the coil spring and install it to the shock absorber.
CAUTION: Do not use an impact wrench to tighten the special tool bolt.
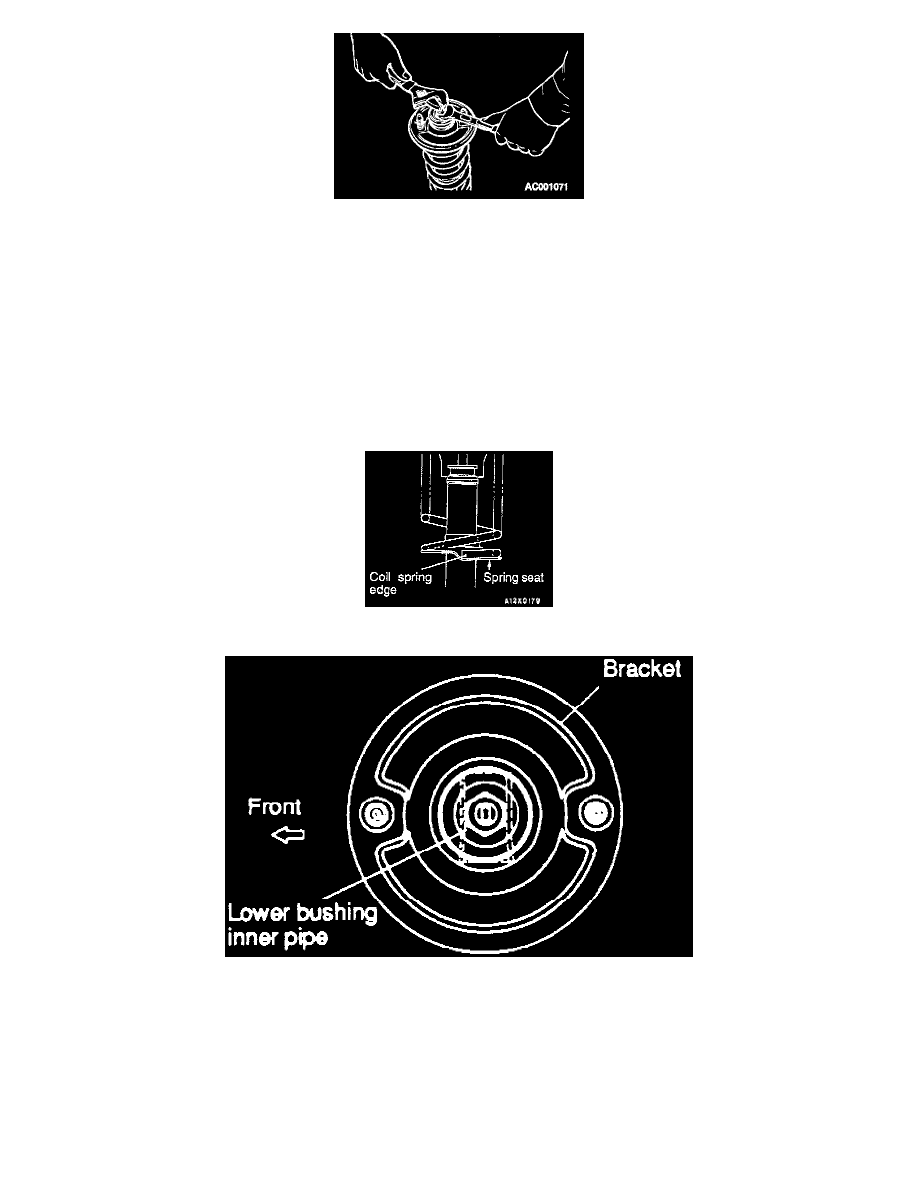
3. Align the edge of the coil spring to the stepped part of the shock absorber spring seat.
Fig. 15 Upper Spring Mount Installation
4. Install the bracket as shown in the illustration.
5. Temporarily tighten the self-locking nut.
6. Remove the special tools (MB991237, MB991239), or equivalents and tighten the self-locking nut to the specified torque.
CAUTION: Do not use an impact wrench.