
Talon FWD L4-1997cc 2.0L DOHC (1990)
20.
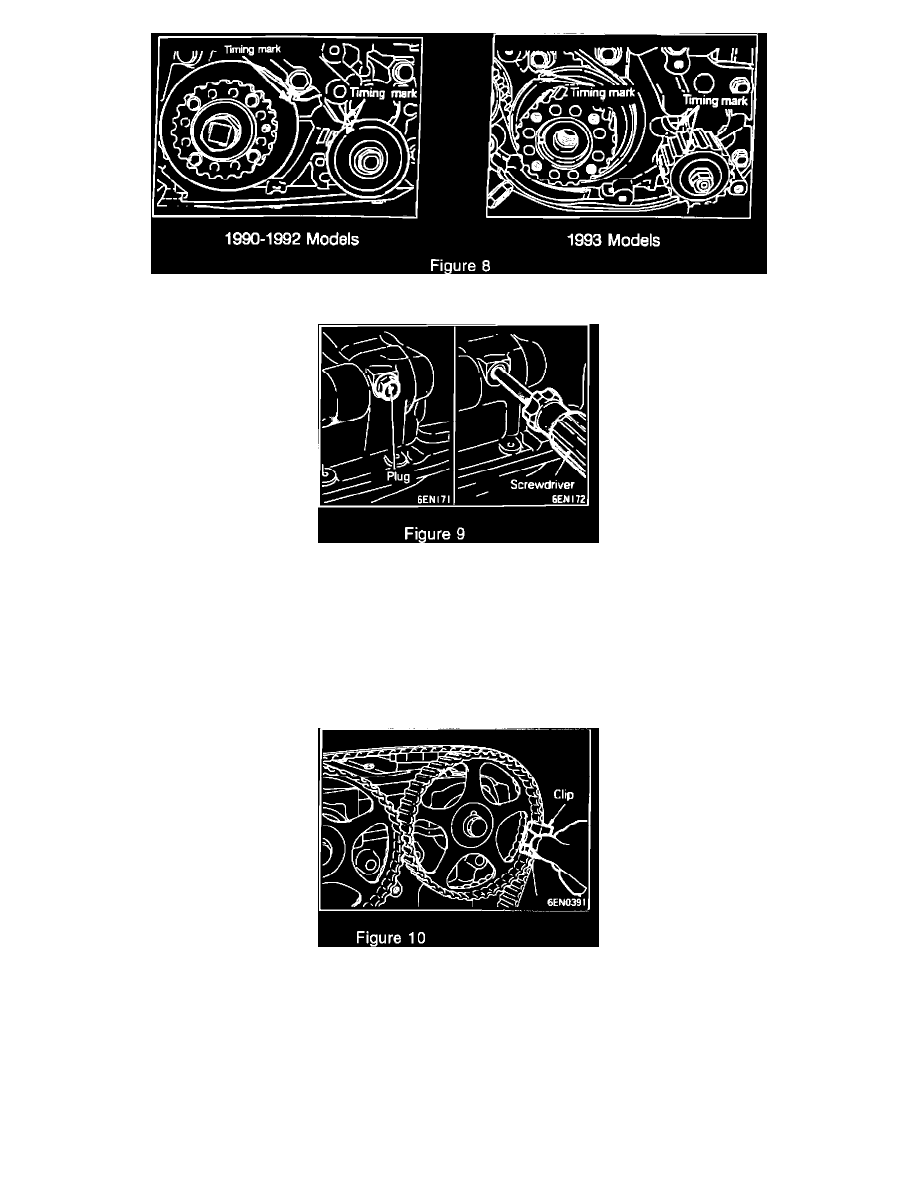
Make sure that the crankshaft sprocket and the oil pump sprocket is aligned with the timing mark pointers Fig. 8.
21.
Remove the balance shaft plug on the rear side of the cylinder block and insert a Phillips screwdriver (shank diameter 8 mm (.31 in.)) through the
hole. The balance shaft is in the correct position if the screwdriver can be inserted at least 60 mm (2.4 in.). If the inserted depth is less than this,
only 20-25 mm (.8-1.0 in.), the oil pump sprocket must be rotated one full turn and timing marks realigned. Recheck the balance shaft position
using the screwdriver to ensure that it can be inserted 60 mm (2.4 in.) or more. Keep the screwdriver inserted until timing belt installation is
complete Fig. 9.
CAUTION:
MAKE SURE THE BALANCE SHAFT IS PROPERLY POSITIONED. It is possible for the oil pump sprocket timing marks to be properly aligned,
and have the balance shaft out of phase. This could result in a SEVERE engine vibration.
22.
Install the new timing belt over the intake side camshaft sprocket and clamp it in position with a clip Fig. 10.