
Talon FWD L4-1997cc 2.0L DOHC Turbo (1995)
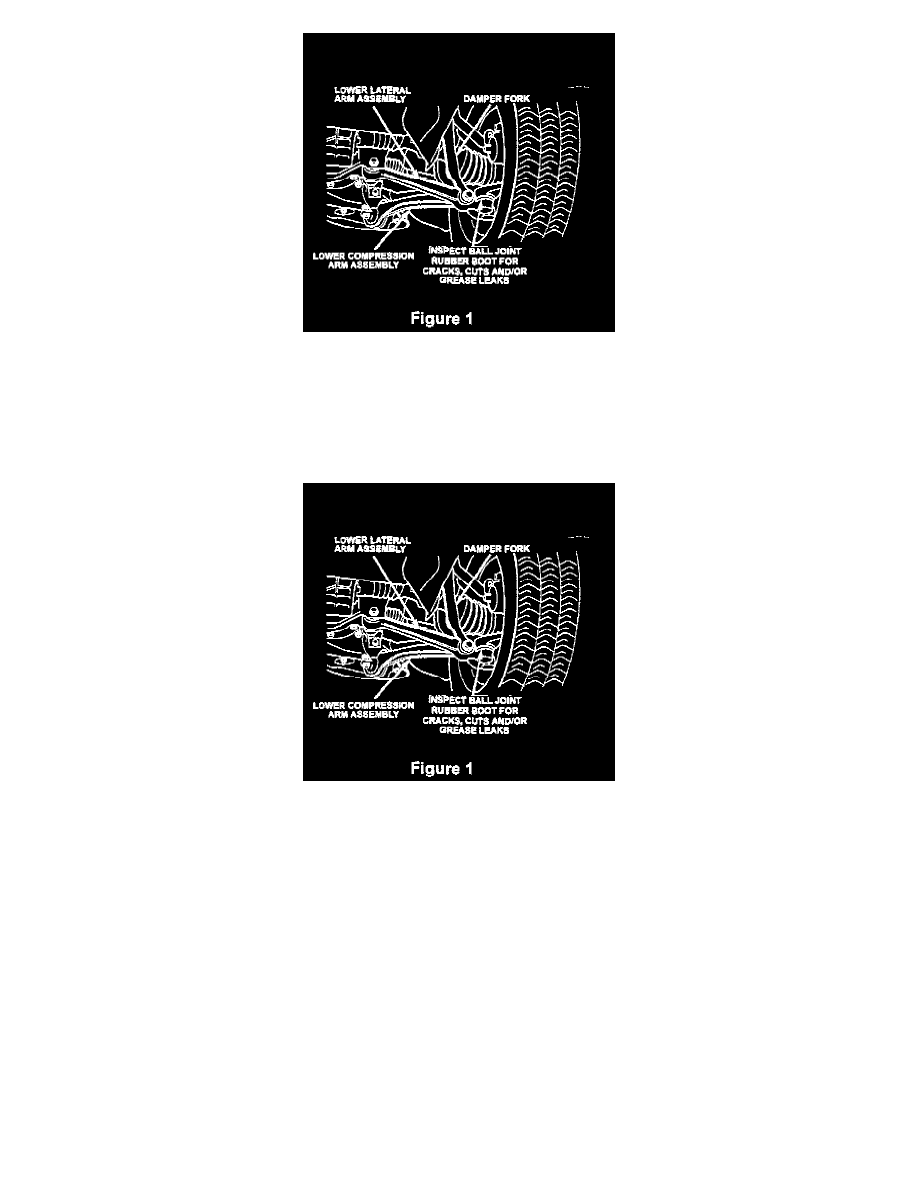
Fig. 1
2. Inspect the LEFT ball joint rubber boot on the lower lateral arm. Using a light, look for cracks, cuts and/or other damage by pushing the boot with
your fingers (Figure 1). The boot is damaged if there is evidence of grease leakage. If necessary, use a clean cloth or cotton swab as an aid to
determine if grease is present.
NOTE: It is not necessary to remove the front tire/wheel assemblies.
Fig. 1
3. Inspect the RIGHT ball joint rubber boot on the lower lateral arm. Using a light, look for cracks, cuts and/or other damage by pushing the boot
with your fingers (Figure 1). The boot is damaged if there is evidence of grease leakage. If necessary, use a clean cloth or cotton swab as an aid to
determine if grease is present.
4. If either rubber boot is damaged, proceed to Section "B" - Lower Lateral Arm Replacement. If no damage is found at either rubber boot, no further
action is required.
5. Lower the vehicle from the hoist and return the vehicle to the owner.
B. Lower Lateral Arm Replacement:
NOTE: Only vehicles with damaged ball joint boots, as determined by the inspection in Section "A," require lower lateral arm replacement.
1. Remove wheel/tire assembly.
2. Loosen, but do not remove, the ball joint retaining nut.