
Talon FWD L4-1997cc 2.0L DOHC Turbo (1995)
Do not apply vehicle load to wheel bearing after removal
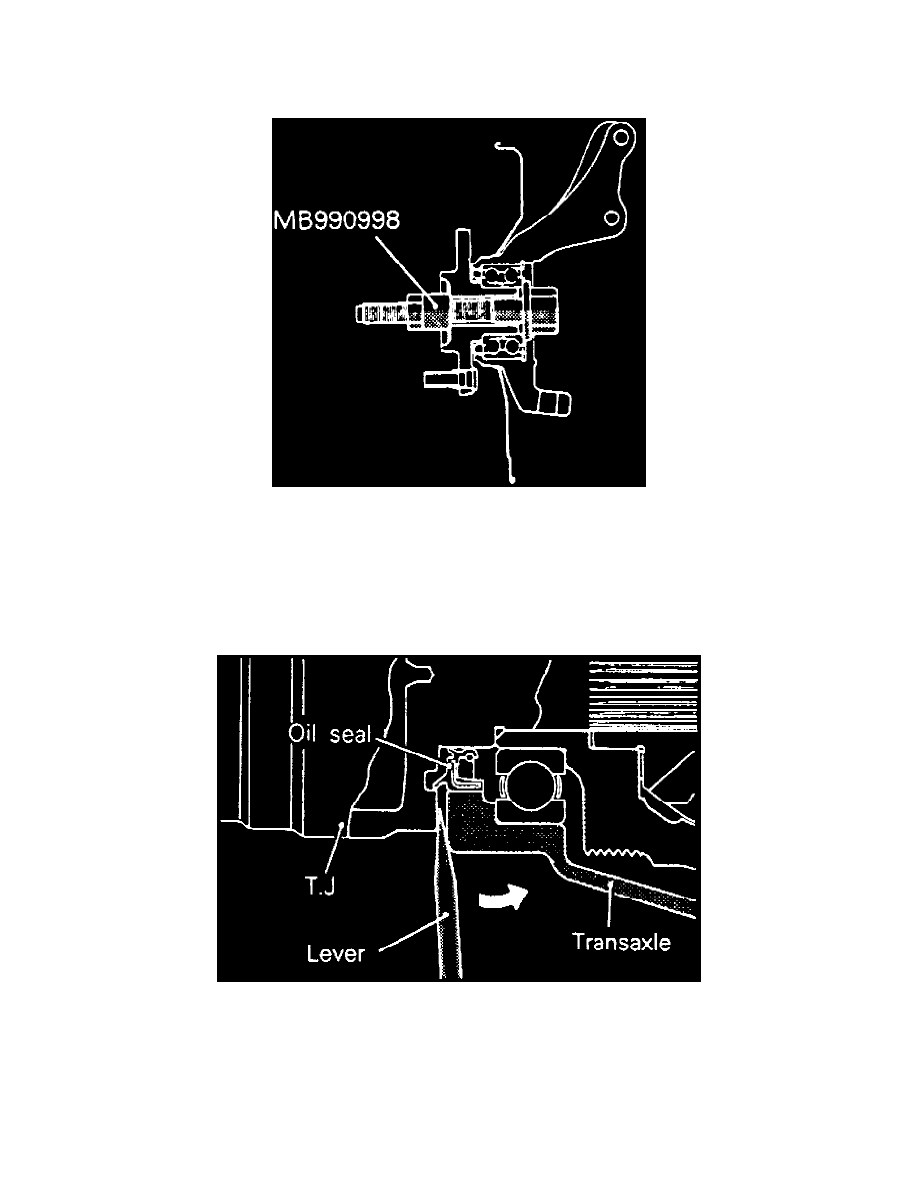
of the driveshaft. If a load must be applied to the bearing in moving the vehicle, temporarily secure bearing with stub axle replacement tool No.
MB990998, or equivalent.
Fig.1 Wheel Bearing Support Tool Installation
1. Remove center cap and drive axle nut.
2. Raise and support vehicle, then remove front wheel.
3. Disconnect tie rod end connection, stabilizer link connection and compression lateral lower arm using steering linkage puller tool No. MB991113,
or equivalent.
4. Insert a suitable pry bar between transaxle case and outer case of double offset joint, then withdraw drive axle. Cover drive axle opening in
transaxle. Pry bar should not be inserted deeply between transaxle case and joint, as damage to oil seal may result.
Fig.2 Front Drive Axle Removal
5. Reverse procedure to install. Position drive axle so raised inner diameter of washer is facing nut, then install and torque drive axle nut to 188 ft.
lbs.