Talon FWD L4-1997cc 2.0L DOHC Turbo VIN F SMFI (1998)

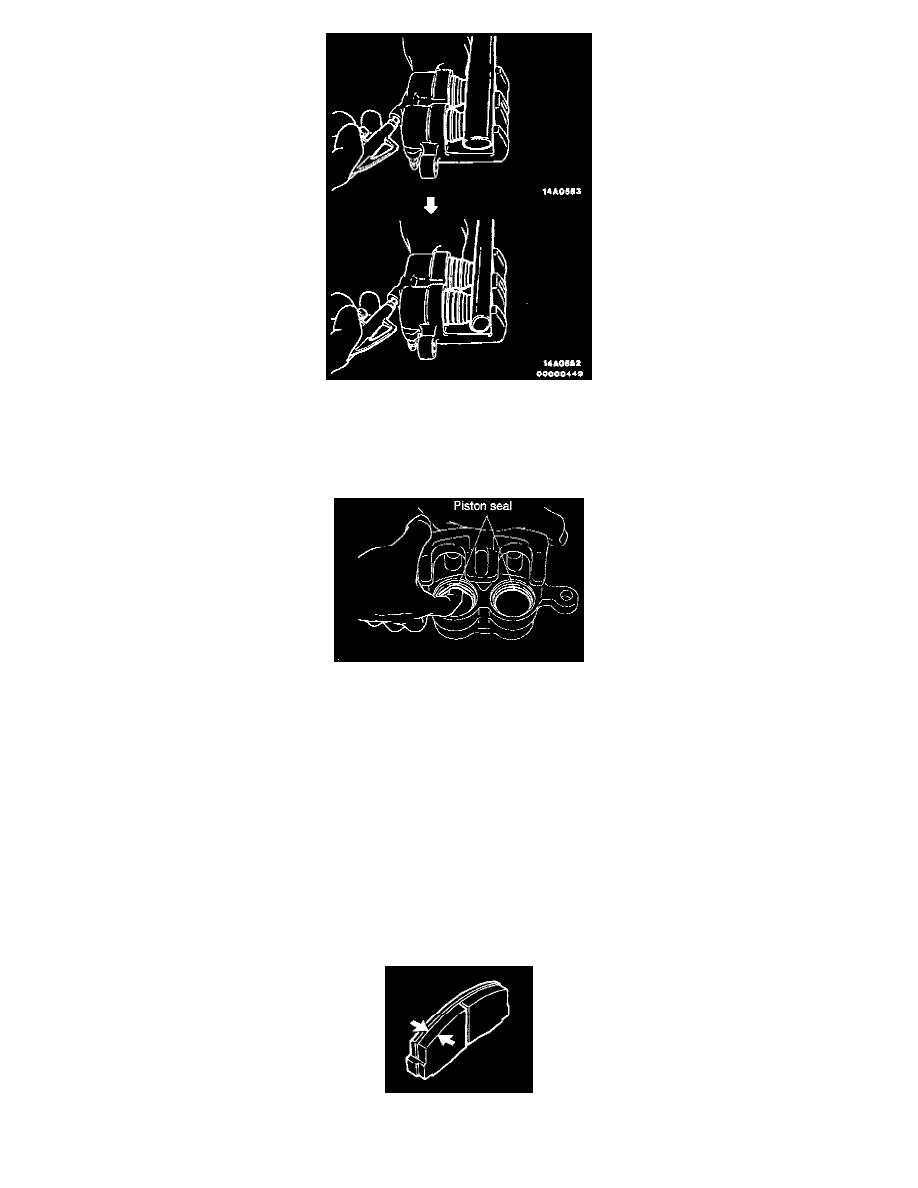
2. Pump in compressed air through the brake hose installation hole and remove the pistons and boots.
CAUTION: When removing the pistons, be sure to use the handle of a plastic hammer and adjust the height of the two pistons while pumping in
air slowly in so that the pistons protrude evenly. Do not remove one piston completely before trying to remove the other piston because it will
become impossible to remove the second piston.
Removing Piston Seal
3. Remove piston seal with finger tip.
CAUTION: Do not use a screwdriver or other tool to prevent damage to inner cylinder.
4. Clean piston surface and inner cylinder with trichloro-ethylene, alcohol or specified brake fluid: MOPAR Brake Fluid/Conforming to DOT 3 or
DOT 4.
INSPECTION
-
Check cylinder for wear, damage or rust.
-
Check piston surface for wear, damage or rust.
-
Check caliper body or sleeve for wear.
-
Check pad for damage or adhesion of grease, check backing metal for damage.
Pad Wear Check
Measure thickness at the thinnest and worn area of the pad. Replace pad assembly when pad thickness is less than the limit value.
-
Standard value: 10 mm (0.39 inch)
