
Vision V6-201 3.3L (1993)
13. Remove the center instrument panel bezel. This bezel is held in place by four clips. It can be removed by carefully prying it from the instrument
panel.
14. Remove center console from vehicle (if equipped).
15. If the vehicle is equipped with a right side air bag, the glove box must be lowered. The glove box assembly can be lowered by pressing in on the
sides of the glove box. This will release the glove box and allow access to air bag mounting screws. There are four screws located behind the glove
box. Remove these screws and then close the glove box.
16. Remove lower bolster retaining screws.
17. Carefully lower the bolster and disconnect the trunk release and glove box light wiring. Then remove the lower bolster from the vehicle.
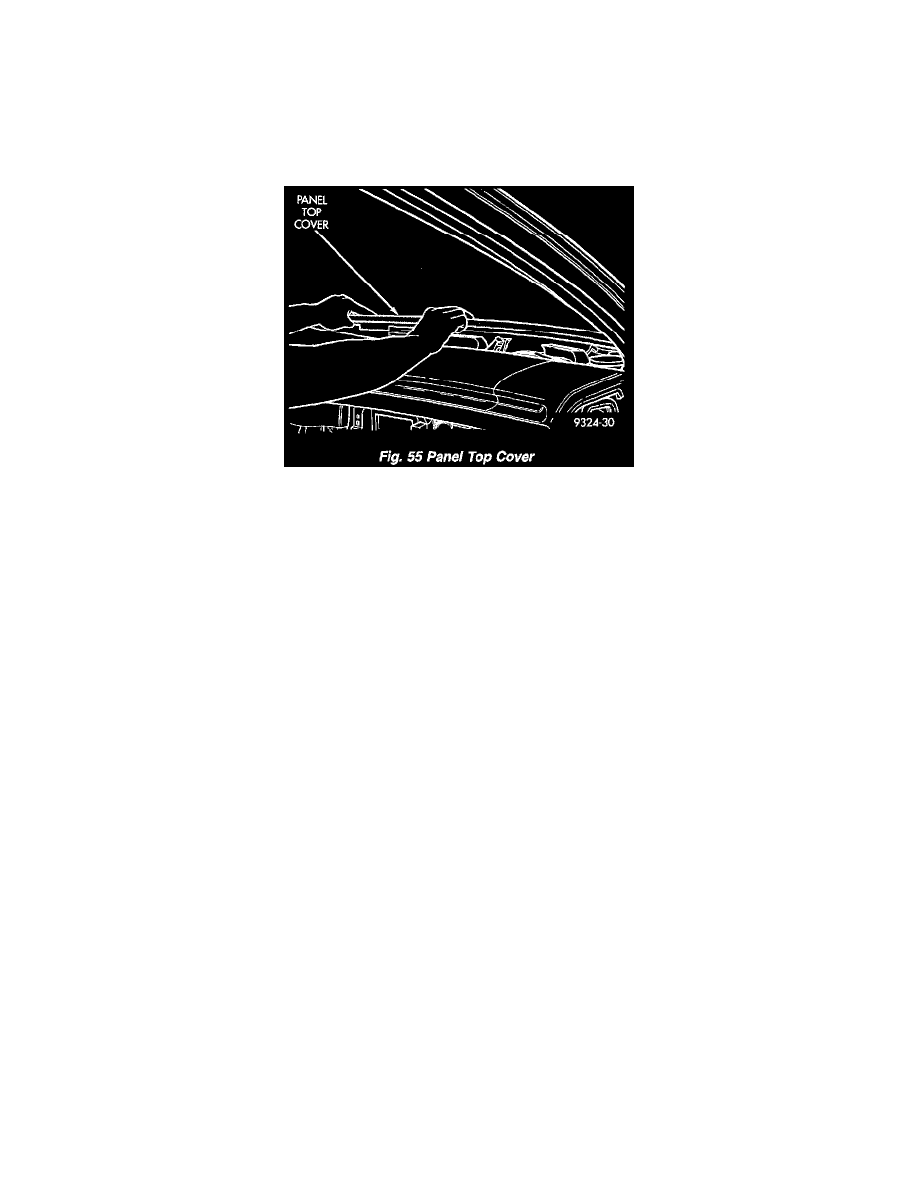
Panel Top Cover
18. Remove the instrument panel top cover. It is held in place by retainer clips at both ends of the cover. To remove carefully pry upward at one end of
the cover until the clip is disengaged. Proceed to the opposite side and gradually pry the rear edge of the top cover along the entire width of the
panel.
19. Remove right and left windshield pillar trim covers.
20. Remove five bolts that hold instrument panel to the cowl. These bolts are located at the base of the windshield.
21. Disconnect the scan tool (DRB) connector from brace.
22. Remove instrument panel ground strap. This strap is located on the lower left side of the center console.
23. Remove left knee blocker support bracket. This will allow access to the 60 way wiring connector.
24. Remove under column duct and left floor duct.
25. Disconnect 60 way wiring connector. Then disconnect all related wiring connectors.
26. Disconnect fuse panel wiring connectors.
27. Disconnect the brake light switch connector.
28. Remove steering column covers from steering column.
29. Remove steering column retaining bolts and allow the steering column to lower to the floor. Do not completely remove the column from the
vehicle.
30. Remove wiring from the steering column.
31. Remove air bag connectors.
32. Remove right side floor air duct.
33. Disconnect 10 way connector, blower module connector and blower motor connector.
34. Remove body controller from vehicle.
35. Disconnect right side connector and antenna connector.
36. Remove right and left side upper instrument panel mounting screws located in door jam.
37. Remove upper instrument panel from the vehicle. The upper instrument panel will be removed with all harnesses and gauges still in the panel. It is
recommended that two people handle the upper panel while removing.
38. Remove air duct for rear heater vents. It is held in place by a bracket/push pin near the rear of the duct.
39. Remove the air bag module and brace from the vehicle.
40. Remove three attaching bolts which holds the heater housing to the dash panel.
41. Carefully roll the heater housing out of the vehicle.
42. After removing the heater housing, remove the drain tube from the heater housing. The drain tube should be installed from underneath the vehicle
after the heater housing is reinstalled into the vehicle.
INSTALLATION
For installation, reverse the above procedures.