Vision V6-201 3.3L (1993)

5.
By slightly rotating the HCU counter clockwise, (looking at the HCU while standing in front of the vehicle) the HCU unit can be removed from
the bracket.
6.
It is now possible to remove the two CAB TORX mounting bolts (bolts face shock tower on either side of CAB label).
7.
Remove the CAB by gently prying it away from the Hydraulic Control Unit (HCU) to separate the 14-way connector at the base of the CAB (do
not wiggle, damage to the connector could result).
8.
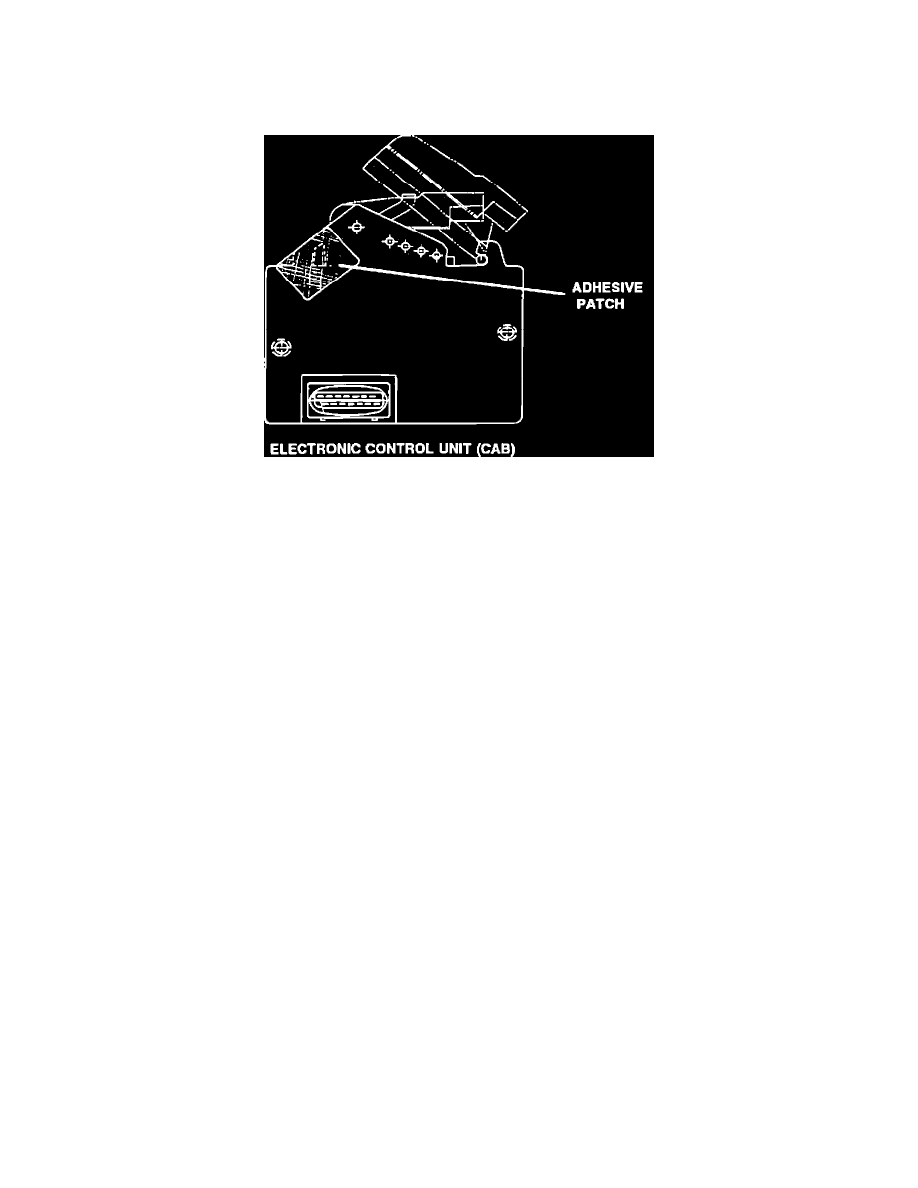
Install adhesive patch on the Hydraulic Control Unit (HCU) side of the Electronic Control Unit (CAB) as shown in the drawing.
9.
Remove the aluminum adaptor block. (This is between the HCU and CAB). There are two T30 TORX head bolts that hold the adaptor to the
HCU.
10.
This aluminum adaptor can now be replaced with the polyamid adaptor along with the new bolts in the kit (female indentations in the adaptor mate
to male nibs on the HCU). Torque these two bolts to 10-14 N-m (88-124 in.lbs.).
11.
The CAB can now be installed onto the HCU in the same manner as it was removed. Torque the CAB mounting bolts to 10-14 N-m (88-124
in.lbs.).
12.
In order to install the HCU into the HCU bracket, it will be necessary to slightly rotate the HCU counter-clockwise while pulling the unit into the
bracket. This allows for clearance between the bottom corner of the CAB and the HCU bracket.
13.
Install the three HCU nuts and tighten to 18-26 N-m (13-19 ft.lbs.).
14.
Connect the 37-way connector, Fluid Level Switch II connector, and pump motor connector.
15.
Install heat shield.
16.
Connect negative battery cable.
17.
If the polyamid adaptor is already present, tighten the two vertical screws located on either side of the 37-way connector on the CAB to a torque of
2 +/- 0.15 N-m (18 +/- 1 in.lbs.).
POLICY:
Reimbursable within the provisions of the warranty.
TIME ALLOWANCE:
Labor Operation No.
Retorque CAB vertical screws
05-40-07-94
0.3 Hrs.
Replace aluminum adaptor
05-40-07-95
1.0 Hrs.
FAILURE CODE:
P8 - New Part
