
Vision V6-215 3.5L SOHC (1995)
Constant Velocity Joint Boot: Service and Repair
Removal
1. Remove driveshaft as outlined under Driveshaft Replace.
2. Remove inner joint boot clamps then slide boot down interconnecting shaft.
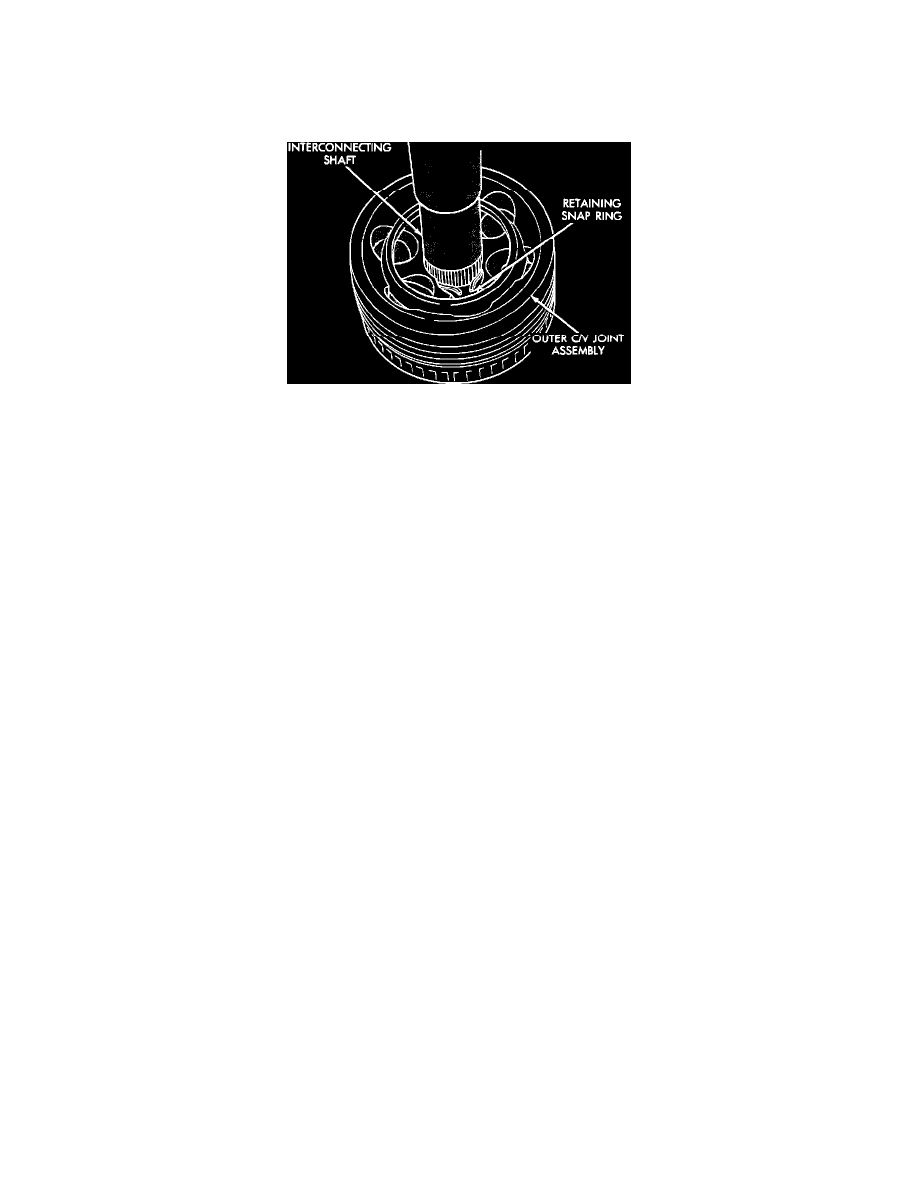
Removing Driveshaft Inner Joint
3. Remove grease to expose outer CV joint retaining ring.
4. Spread retaining ring and slide CV joint assembly off interconnecting shaft.
5. Remove and discard failed boot and clamps.
6. Clean and inspect spider assembly, CV joint and interconnecting shaft for any signs of excessive wear. If any excessive wear is present,
replacement of the entire driveshaft will be necessary.
Installation
1. Install new boot clamps and boot onto interconnecting shaft.
2. Install CV joint onto interconnecting shaft by pushing shaft into CV joint until retaining snap ring is seated in groove on shaft.
3. Distribute 1/2 the amount of grease provided in boot service package into CV joint assembly and remaining amount into boot.
4. Position boot over boot retaining grove on interconnecting shaft and install boot retaining clamp using Crimper tool No. C-4975 or equivalent.
5. Position boot over boot retaining grove on CV joint housing and install boot retaining clamp using Crimper tool No. C-4975 or equivalent.
6. Install driveshaft as outlined under "Driveshaft, Replace."