
Vision V6-3.5L VIN F (1997)
Removing Installing Inboard Brake Shoe
5.
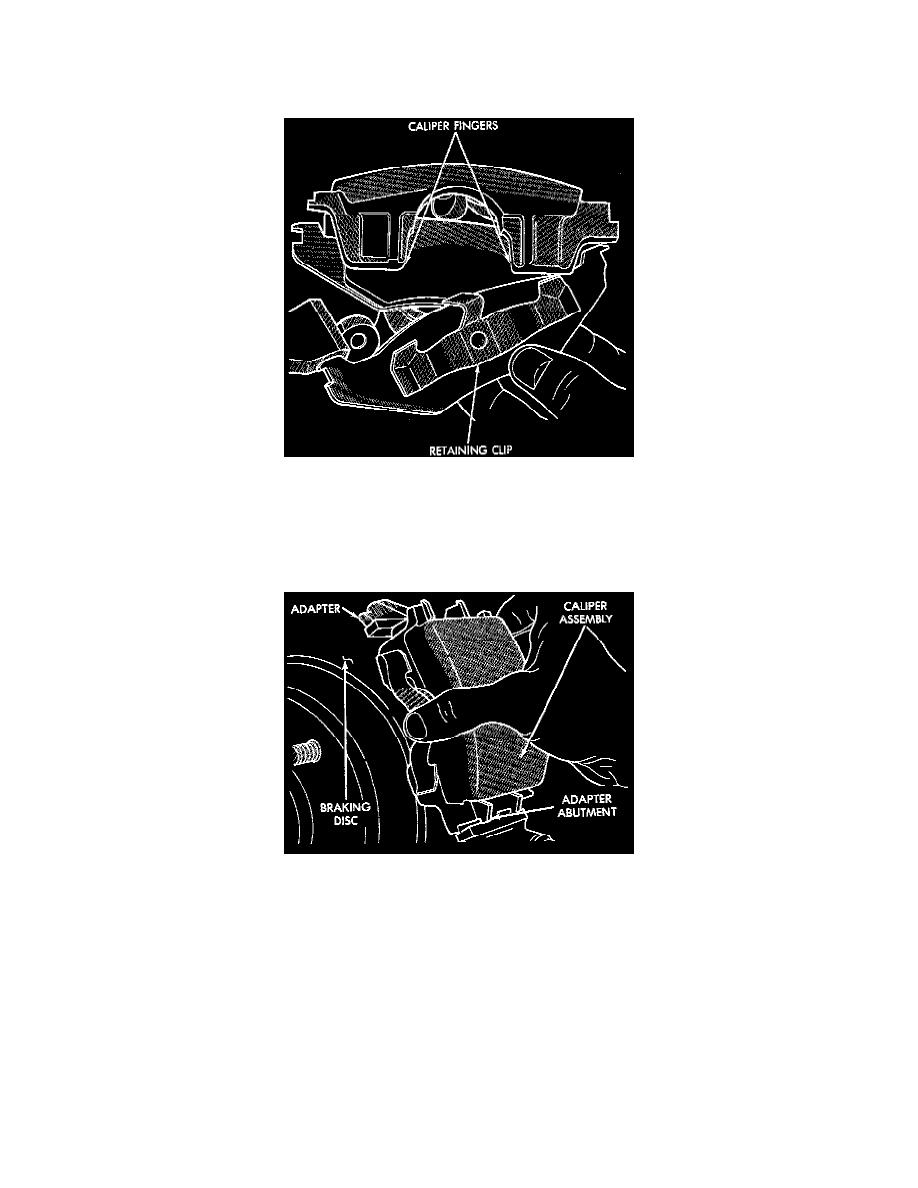
Install the new inboard brake shoe assembly into the caliper piston by firmly pressing into piston bore with thumbs. Be sure inboard. brake
shoe assembly is positioned squarely against the face of the caliper piston.
Removing / Installing Outboard Brake Shoe
6.
Slide the new outboard brake shoe assembly onto the caliper assembly.
CAUTION: Use care when installing the caliper assembly onto the adapter, so the caliper guide pin bushings do not get damaged by the
mounting bosses.
Removing/Installing Caliper Assembly
7.
Carefully lower caliper and brake shoes over rotor and onto adapter, reversing the removal procedure.
CAUTION: When installing the caliper guide pin bolts extreme caution should be taken not to crossthread the guide pin bolts.
8.
Install the caliper guide pin bolts. Tighten the guide pin bolts to a torque of 22 Nm (192 in. lbs.).
9.
Install the wheel and tire assembly.
10.
Tighten the wheel mounting stud nuts in proper sequence until all nuts are torqued to half specification. Then repeat the tightening sequence to
the full specified torque of 110 - 135 Nm (85 - 115 ft. lbs.).
11.
Remove jackstands or lower hoist.
CAUTION: Before moving vehicle, pump the brake pedal several times to insure the vehicle has a firm brake pedal to adequately stop the
vehicle.
12.
Road test the vehicle and make several stops to wear off any foreign material on the brakes and to seat the brake shoe linings.