
Aerostar 2WD V6-182 3.0L (1995)
Throttle Body: Service and Repair
Removal and Installation
REMOVAL
1. Disconnect negative battery cable.
NOTE: When the battery has been disconnected and reconnected, some abnormal drive symptoms may occur while the powertrain control
module relearns its adaptive strategy. The vehicle may need to be driven 10 miles or more to relearn the adaptive strategy.
2. Remove engine air cleaner intake tube and duct between air cleaner and throttle body by loosening two clamps.
3. Remove fuel supply manifold shield by removing three plastic push retainers which attach the shield to the power steering pump bracket and
accelerator cable bracket.
4. Mark and disconnect PCV hose and vacuum hoses at vacuum fittings on intake manifold.
5. Disconnect and remove the accelerator and speed control cables from the accelerator mounting bracket and throttle lever.
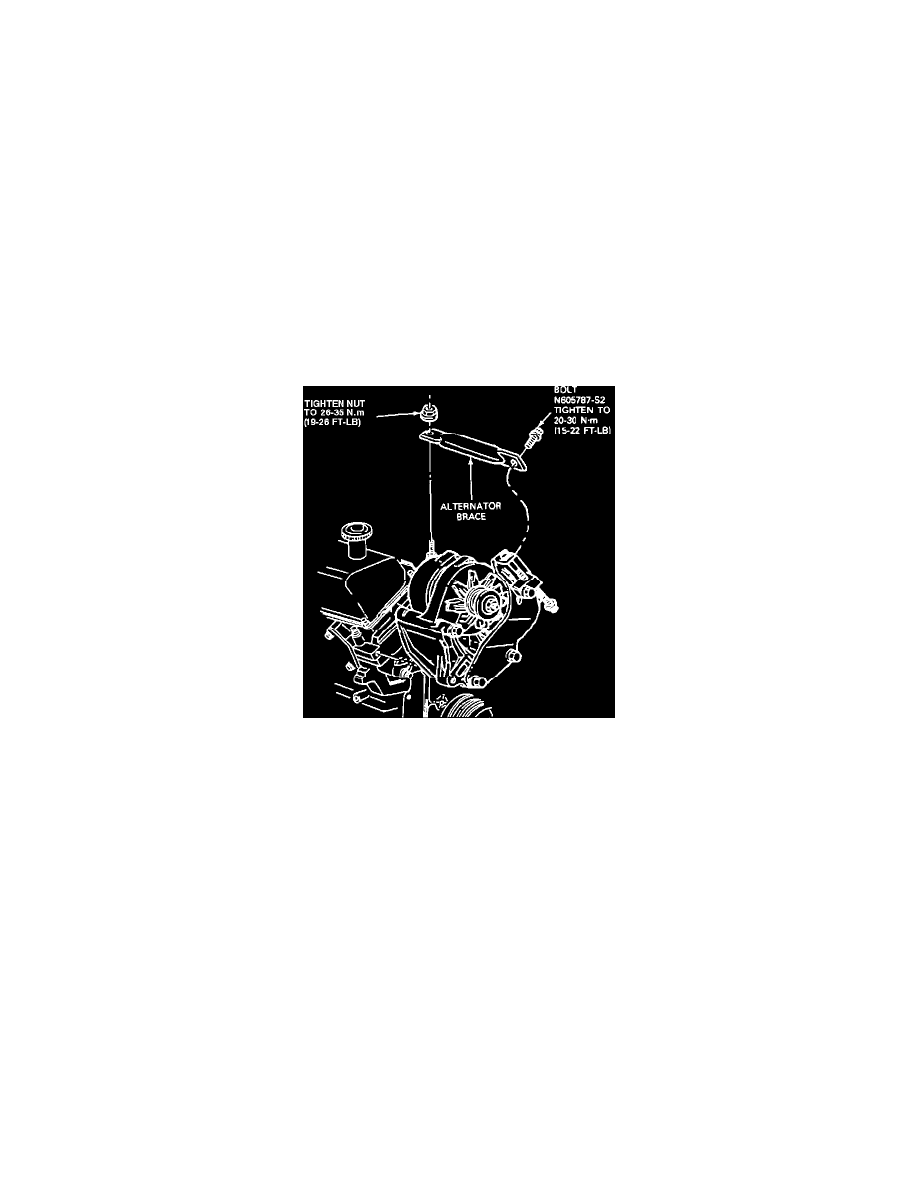
6. Remove the alternator support brace.
Alternator Bracket
7. Remove the wiring harness connector carefully at the throttle position sensor, intake air temperature sensor, and idle air control valve.
8. Loosen and remove six throttle body retaining bolts.
9. Lift and remove throttle body assembly from intake manifold.
INSTALLATION
1. Clean and inspect the mounting faces of the lower and upper intake manifolds. Both assemblies must be clean and flat.
NOTE: If scraping is necessary, be careful not to damage the throttle body or lower intake manifold, or allow material to enter the intake
manifold.
2. Clean and lightly oil all bolt and stud threads prior to installation.
3. Position new gasket on lower intake mounting face. The use of alignment studs may be helpful.
4. Install upper intake manifold and throttle body assembly to lower manifold.