
Aerostar AWD V6-245 4.0L (1990)
Engine Mount: Service and Repair
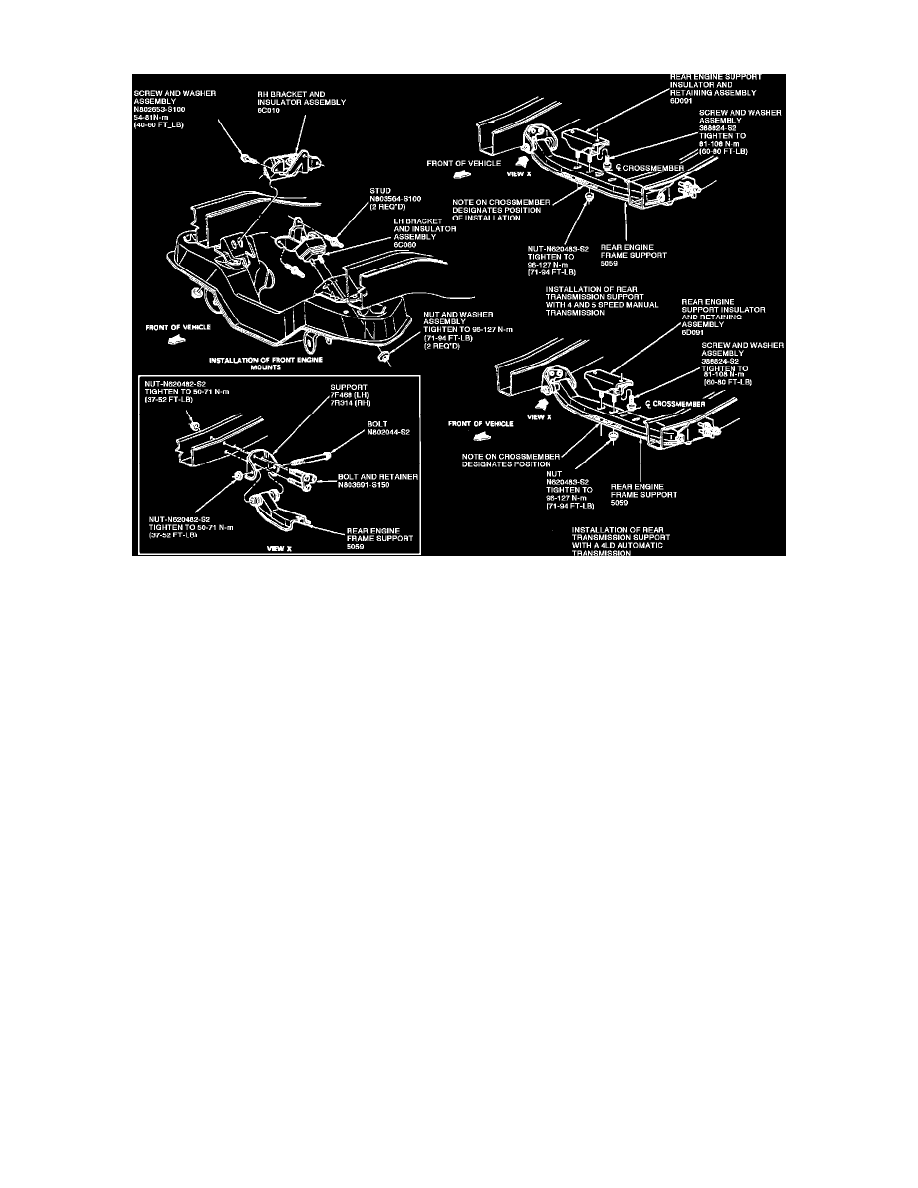
Fig. 2 Front And Rear Engine Mounts
FRONT MOUNTS
1.
Remove fan shroud attaching bolts.
2.
Position a wooden block and suitable jack under oil pan to support engine.
3.
Remove nuts and washers attaching engine insulators to frame brackets, then loosen two nuts attaching transmission insulator to crossmember, Fig.
2.
4.
Raise engine until insulator studs clear frame brackets.
5.
Remove bolt attaching fuel pump shield to LH engine bracket, if required.
6.
Remove insulator to engine attaching bolts, then remove insulator.
7.
Reverse procedure to install.
REAR MOUNT
1.
Position a wooden block and suitable jack under transmission for support.
2.
Remove nuts attaching insulator to crossmember, then loosen nuts retaining front insulators to frame brackets, Fig. 2.
3.
Remove two bolts attaching crossmember to frame brackets, then remove crossmember.
4.
Detach exhaust hanger from rear mount.
5.
Remove insulator to transmission attaching bolts, then remove insulator.
6.
Reverse procedure to install. Refer to Fig. 2, for correct positioning of crossmember.