
Bronco II 4WD V6-171 2.8L (1985)
to nut removal. A slight movement of the nut will loosen locking key so that a magnet or pointed tool can be used for removal.
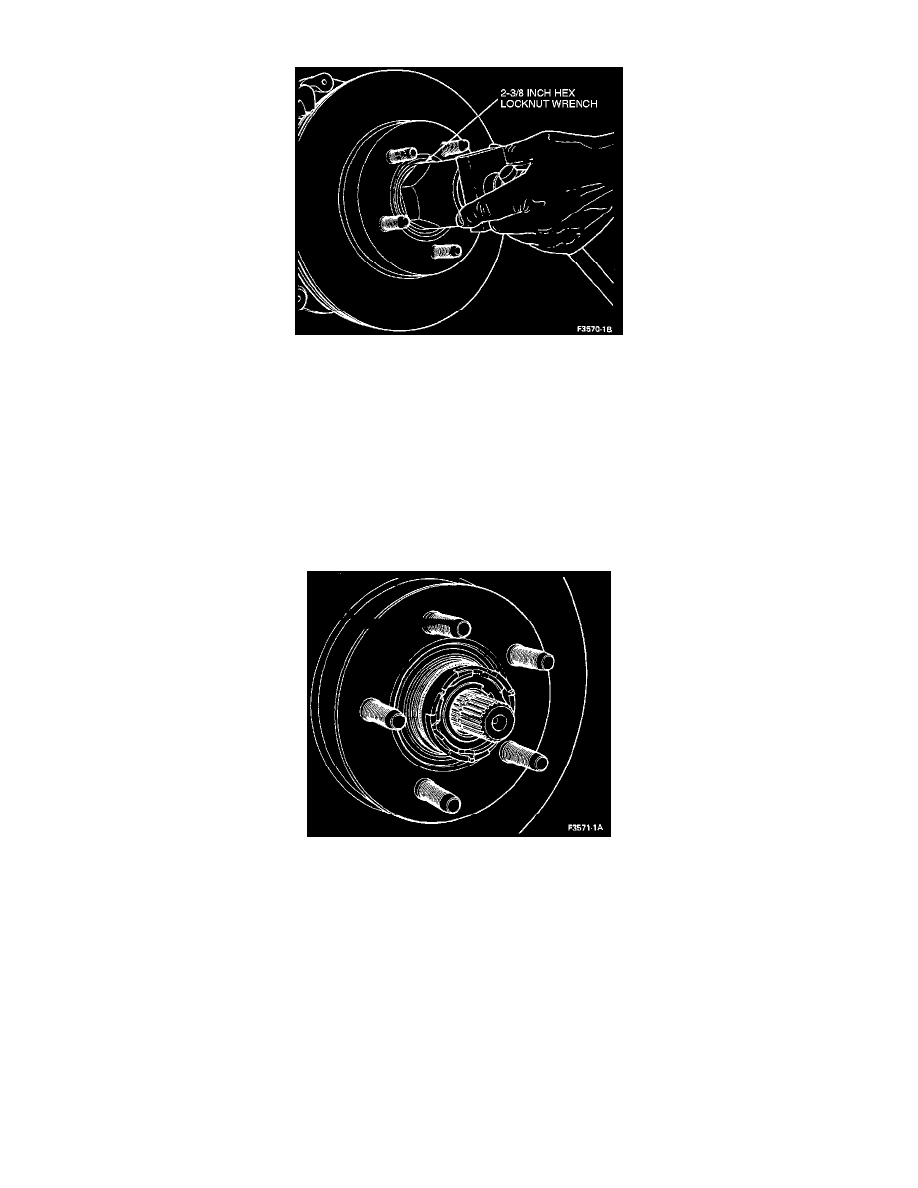
Wheel Bearing Adjusting Nut.
7. Loosen the wheel bearing adjusting nut from the spindle using a 2-3/8 inch hex socket tool.
8. While rotating the hub and rotor assembly, tighten the wheel bearing adjusting nut to 47 Nm (35 ft lb) to seat the bearings. Spin the rotor and back
off the nut 1/4 turn (90°).
9. Retighten the adjusting nut to 1.8 Nm (16 in lb) using a torque wrench.
10. Align the closest two holes in the wheel bearing adjusting nut with the center of the spindle keyway slot. Advance the nut to the next hole if
required.
CAUTION: To assure proper wheel retention, install adjusting nut locking key in alignment with spindle keyway and insert into lock nut holes.
Double-humped portion must be fully seated and flush with lock nut.
Cam Assembly Installation
11. Install the locknut needle bearing and thrust washer in the order of removal and push or press the cam assembly onto the locknut by lining up the
key in the fixed cam with the spindle keyway.
CAUTION: Extreme care must be taken when aligning the fixed cam key with the spindle keyway to prevent damage to the fixed cam.
12. Install the bearing thrust washer, needle thrust bearing and axle shaft spacer.
13. Clip the snap ring onto the end of the spindle.