
Contour L4-122 2.0L CNG DOHC VIN Z SFI (1996)
Ball Joint: Service and Repair
REMOVAL
1. Raise and support vehicle, then remove wheel and lower control arm.
Fig. 2 Ball joint rivets
2. Drill a 0.118 inch pilot hole through each rivet, then drill a 0.354 inch hole in rivets to a depth of 0.472 inch.
3. Using a 0.275-0.314 inch diameter punch, drive rivets out, then remove ball joint from vehicle.
INSTALLATION
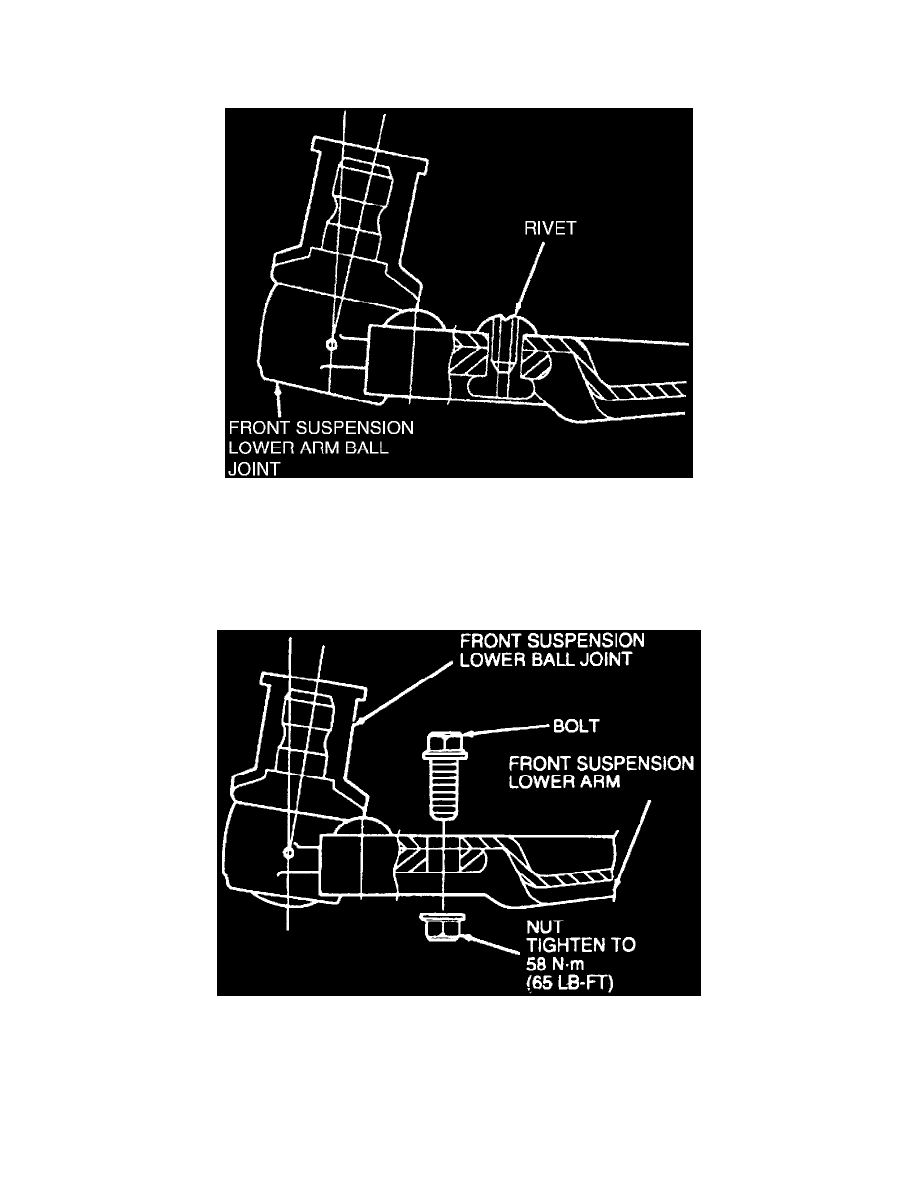
1. Allow protective cover to remain on ball joint to protect seal, then position ball joint in lower arm.
Fig. 3 Ball joint bolt installation
2. Install three bolts and nuts in lower arm as shown, to replace rivets.
3. Install lower control arm.