
Contour L4-122 2.0L DOHC VIN 3 SFI (1995)
Side Air Bag: Service and Repair
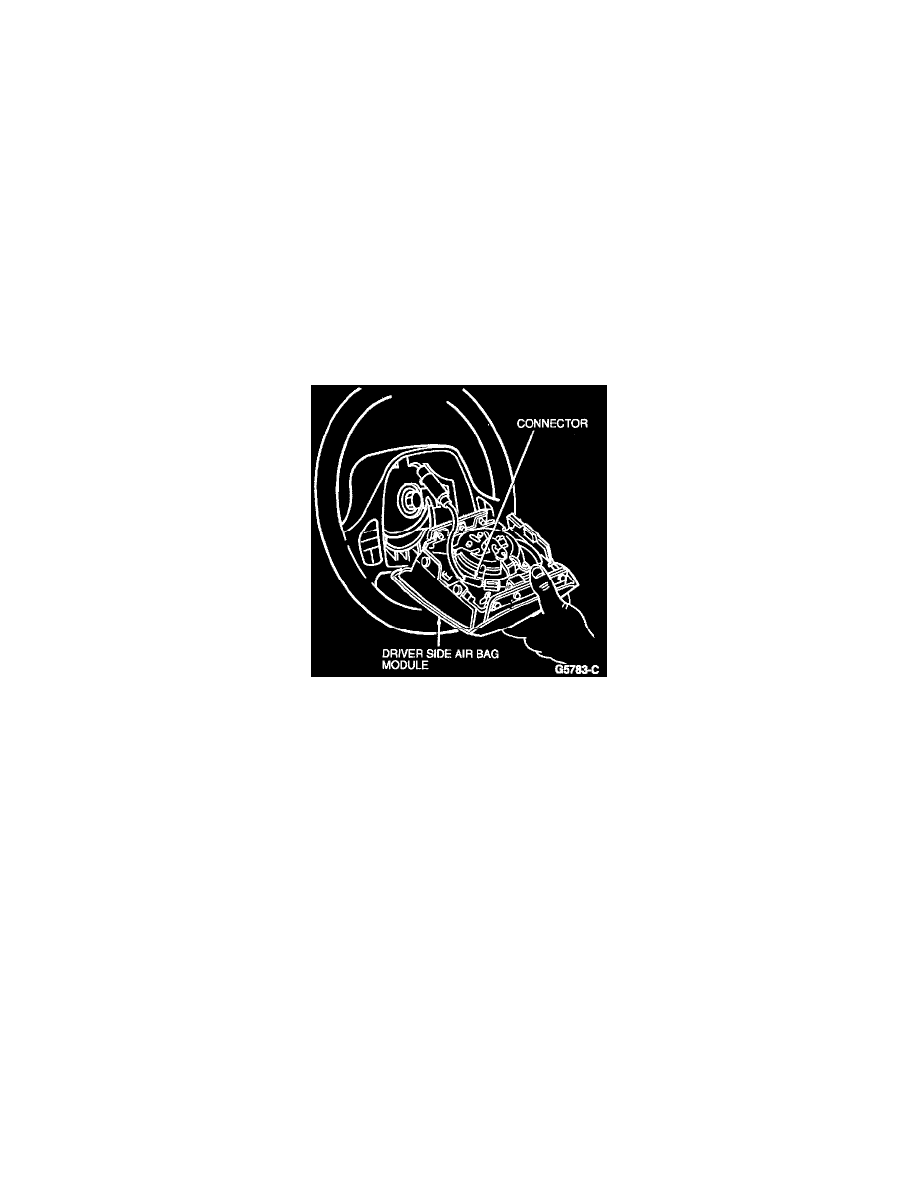
Driver Side Air Bag Module
REMOVAL
WARNING: THE ELECTRICAL CIRCUIT NECESSARY FOR SYSTEM DEPLOYMENT IS POWERED DIRECTLY FROM THE
BATTERY. TO AVOID ACCIDENTAL DEPLOYMENT AND POSSIBLE PERSONAL INJURY, THE POSITIVE BATTERY CABLE
MUST BE DISCONNECTED PRIOR TO SERVICING OR REPLACING ANY SYSTEM COMPONENTS.
NOTE: If the driver side air bag module did not deploy in a collision, it may not have been needed. Complete all diagnostics before replacing the
driver side air bag module.
1. Disconnect battery ground cable.
2. Disconnect positive battery cable and wait one minute for back-up power supply energy to be depleted.
3. Remove five retaining screws and upper and lower steering column shroud from steering column tube.
4. Rotate steering wheel to remove air bag retaining bolts (one on either side) from steering column side of steering wheel.
5. Carefully remove driver side air bag module from steering wheel.
6. Disconnect the air bag electrical connector from air bag sliding contact connector. Remove driver side air bag module.
WARNING: PLACE AIR BAG MODULE ON BENCH WITH TRIM COVER FACING UP.
INSTALLATION
NOTE: Fill out and return air bag traceability postcard for new air bag with VIM numbers and note diagnostic trouble code.
1. Connect air bag electrical connector to air bag sliding contact connector.
2. Position driver side air bag module to steering wheel and secure with two retaining bolts. Tighten to 4-5.6 Nm (35-50 lb-in).
3. Reconnect positive battery cable.
4. Reconnect battery ground cable.
5. Prove out air bag system.