
Contour L4-122 2.0L DOHC VIN 3 SFI (1995)
USE CAUTION NOT TO DAMAGE THE MANUAL VALVE WHEN DISCONNECTING THE MANUAL VALVE FROM THE MANUAL
VALVE LINK. CAREFULLY LIFT THE MAIN CONTROL VALVE BODY ASSEMBLY AWAY FROM THE CASE WHILE
SIMULTANEOUSLY DISCONNECTING THE MANUAL VALVE LINK. REFER TO FIGURE 6.
13.
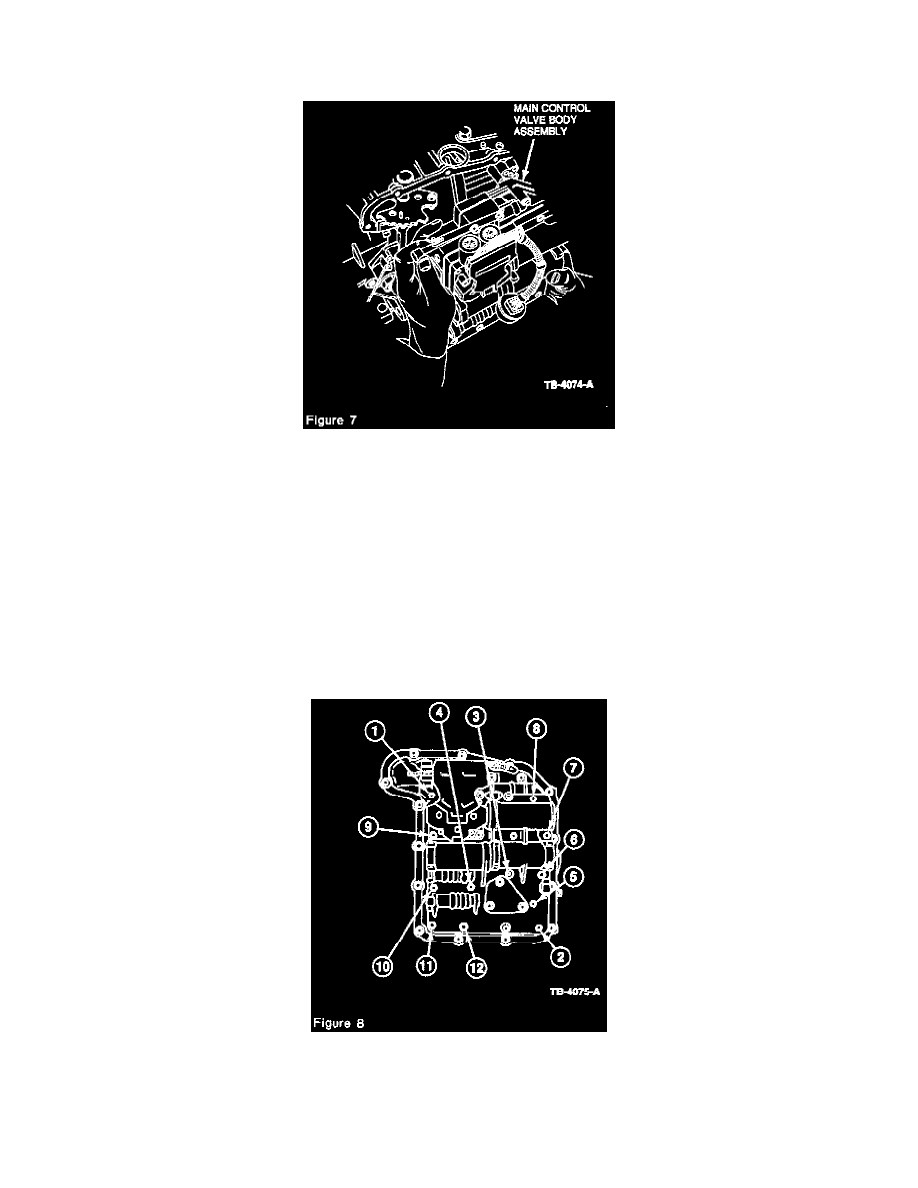
Squeeze the retaining tabs on the solenoid valve body harness connector and push the solenoid valve body harness connector down through the
transaxle case. Remove the main control valve body assembly from the vehicle. Refer to Figure 7.
For main control valve body disassembly and assembly procedures, refer to Main Control Valve Body listed under Disassembly and Assembly of
Subassemblies in Section 07-01 of the 1995 Contour/Mystique Service Manual.
INSTALLATION
NOTE:
INSPECT SOLENOID VALVE BODY HARNESS CONNECTOR O-RING AND REPLACE IT IF NECESSARY BEFORE INSTALLING
SOLENOID VALVE BODY HARNESS CONNECTOR IN THE TRANSAXLE CASE.
1.
Position main control valve body assembly and squeeze the retaining tabs on the solenoid valve body harness connector. Push solenoid valve body
connector harness up through the transaxle case.
2.
Connect the manual valve link to the manual valve and carefully position the main control valve body to the transaxle case. Secure with twelve
(12) mounting bolts, tightening the bolts in the sequence shown to 10 N-m (89 lb.in.). Refer to Figure 8.