
Contour V6-153 2.5L DOHC (1996)
NOTE:
The estimated rate of HL switch replacement is less than 5% of the recall vehicle population. All replaced parts must be retained for return
analysis in accordance with the procedures found in the current Warranty and Policy Manual.
Proceed to Step 12 if the harness connector AND switch terminal area are not melted. Do not replace the HL switch.
8.
Remove the headlamp switch retaining screws from the rear of the finish panel, then separate the headlamp switch from the finish panel. See
Figure 2.
9.
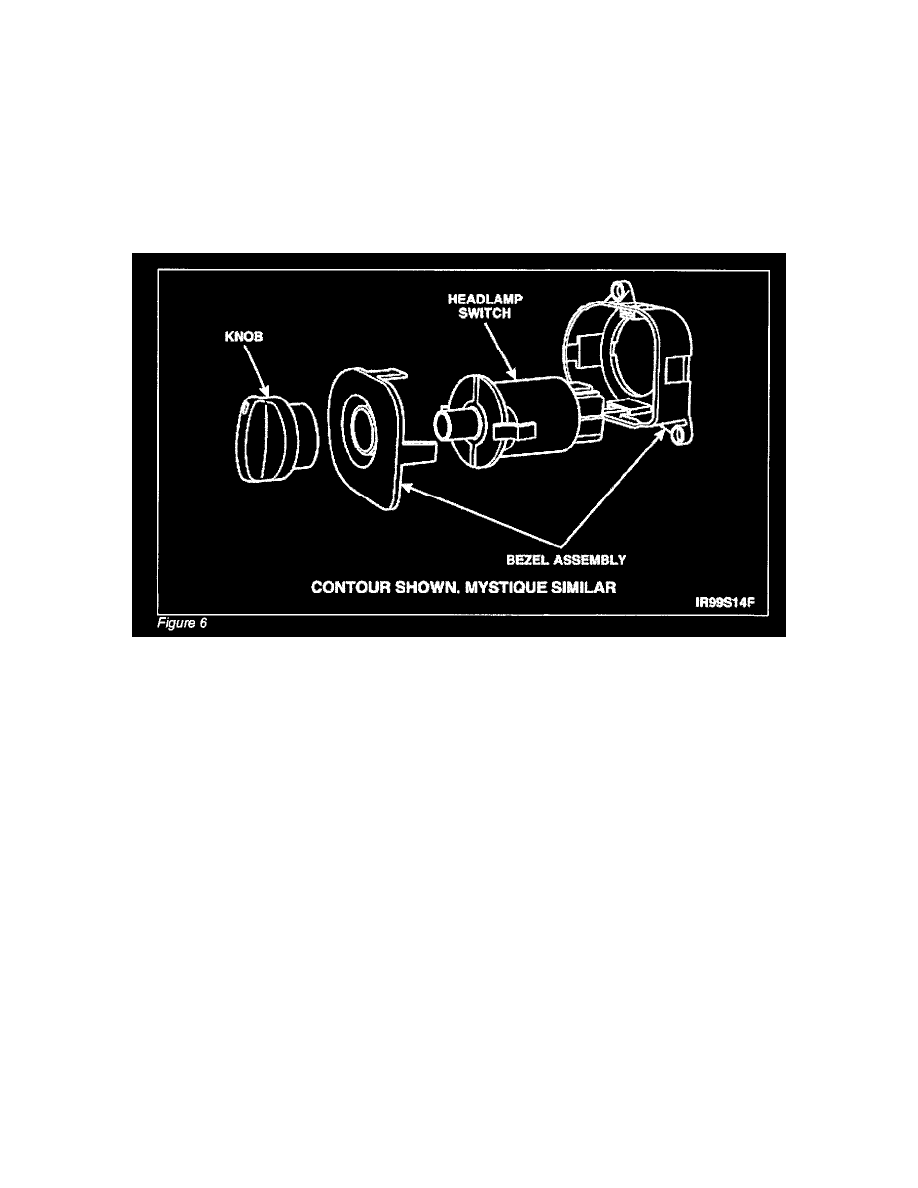
Remove the headlamp switch knob by inserting a suitable tool into the hole in the bottom of the headlamp switch knob. This will release the knob
locking tab.
10.
Transfer the knob and bezel assembly to the new HL switch. See Figure 6.
11.
Install the new HL switch assembly to the left IP finish panel.
12.
Connect all electrical connectors to the components attached to the left IP finish panel.
13.
Install the bezel illumination bulb into the bezel, if equipped.
14.
Install the left instrument panel finish panel.
15.
Install the lower steering column opening panel.
16.
Connect the battery negative cable, then remove the memory saver.
17.
Test operation of the lighting system. Confirm that the instrument panel lamps, tail lamps and all other lighting systems function properly.