
Contour V6-153 2.5L DOHC (1996)
SPLICE CONNECTOR APPLICATION CHART
f.
Test the integrity of all splices after crimping. Grasp the wires at each splice and pull gently. If any wire is not attached securely, replace the
splice connector and crimp firmly.
g.
Repeat Steps B through F for the remaining wires, one at a time.
h.
Cut all unused wires flush with the back of the new HL switch connector as indicated in Figure 4.
NOTE:
For vehicles not equipped with HL switch knob illumination or fog lamps, be sure to cut all unused wires flush with the back of the pigtail
connector (as shown in Figure 4). Do not attempt to remove terminals from the connector assembly. Connector or terminal damage may result.
i.
Heat each splice connector thoroughly until the tubing shrinks and adhesive flows from each end. Use Rotunda Heat Gun R07-10300 or
equivalent.
j.
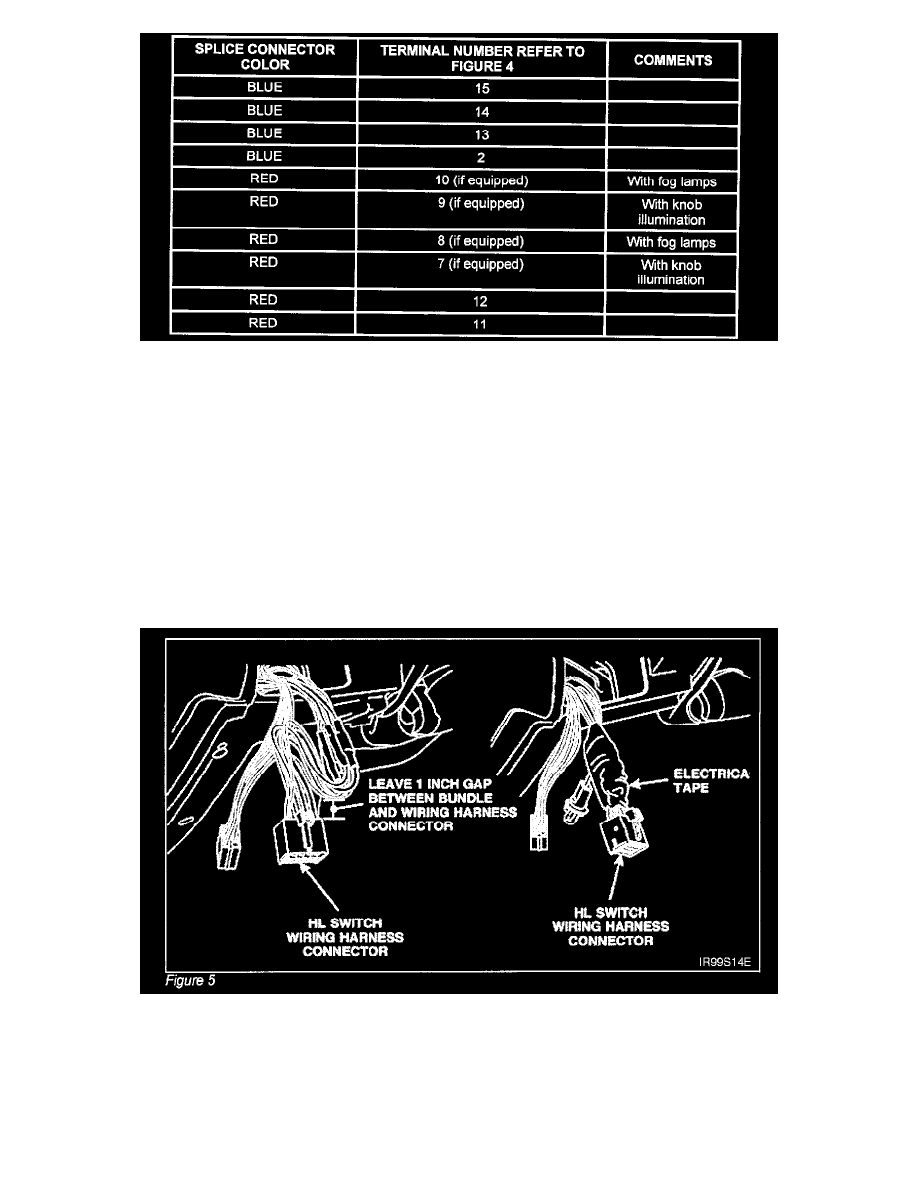
Bundle the wires and wrap with tape as shown in Figure 5.
7.
Carefully examine the original wiring harness connector and the mating surfaces and terminals of the switch. Visually inspect the area around
every terminal paying special attention to terminal # 15.
If the wiring harness connector or HL switch terminal area is melted, replace the HL switch (# F5RZ-11654-J). Refer to Step 8 through 11 for
switch replacement procedures.