
Crown Victoria V8-281 4.6L SFI (1998)
5.
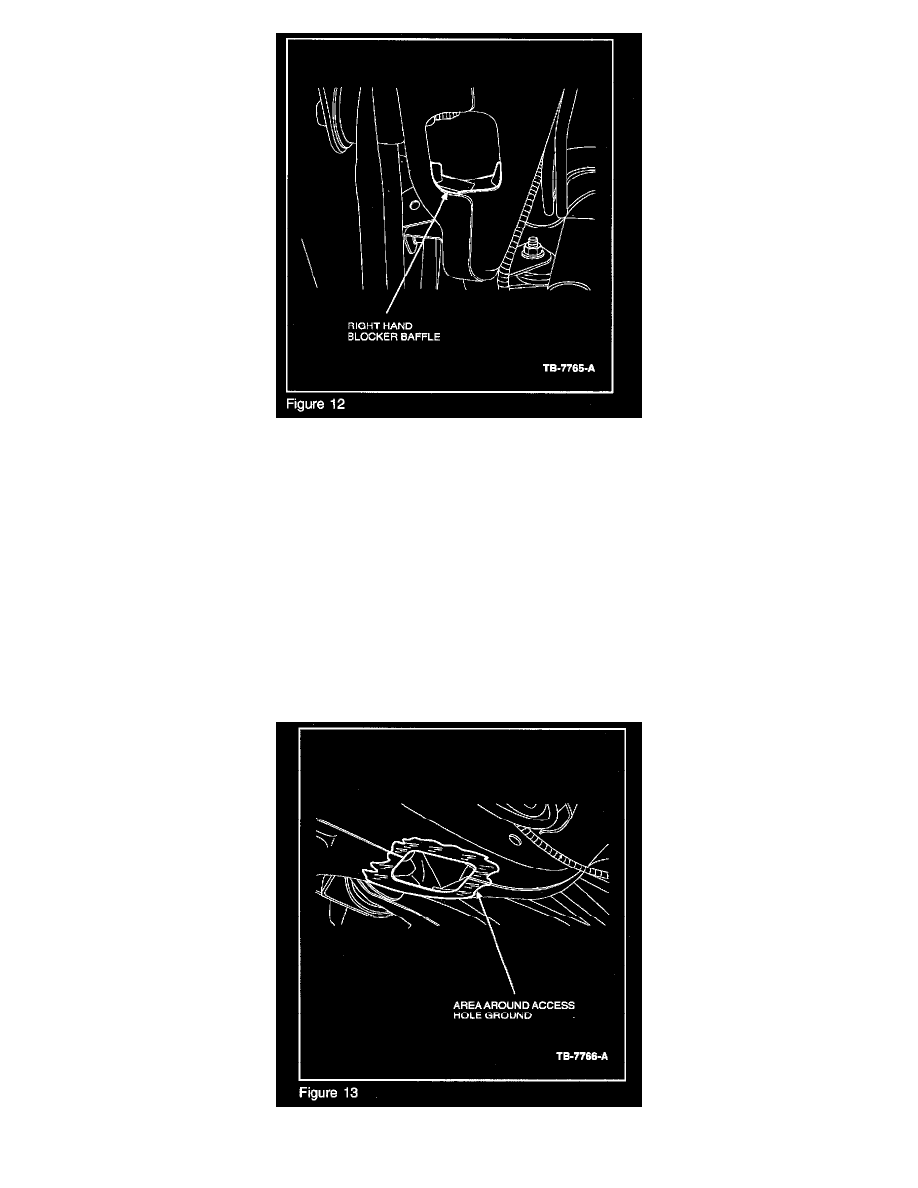
Insert the baffle into the access hole with the narrow end facing upwards. Minimize bending the flanges. The blocker baffle will prevent the
structural foam from running out of the frame and/or covering the trailing arm nut. The flanges should face the front of the car (Figure 12).
6.
Once inside the rail section, unbend and position the blocker baffle to get a tight seal to the frame rail section. Perform one of the following
procedures:
a.
On the left hand side bracket, line up the bottom edge of the blocker baffle flange to the rear edge of the access hole. The top end of the
baffle must be 6 to 12 mm (1/4" to 1/2") forward of the top rear weld on the lower trailing arm bracket. Inspect the blocker baffle for a good
seal between the frame and the blocker baffle. If needed, using a flat screwdriver push all the flanges of the blocker baffle to improve seal
between the blocker baffle and the frame. The flag nut may need to be bent out of the way to accommodate the blocker baffle. Tack weld the
blocker baffle.
b.
On the right hand side bracket, line up the vertical face of the blocker baffle to the rear edge of the access hole. The top end of the baffle
must be 6 to 12 mm (1/4" to 1/2") forward of the top rear weld on the lower trailing arm bracket (Figure 12). Inspect the blocker baffle for a
good seal between the frame and the blocker baffle. If needed, using a flat screwdriver push all the flanges of the blocker baffle to improve
seal between the blocker baffle and the frame. Tack weld the blocker baffle.
7.
Grind the area around the access hole in the bottom of the frame at the trailing arm, including any welds that may have been added to repair