
Crown Victoria V8-281 4.6L SFI (1998)
Tie Rod End: Service and Repair
Tie Rod End
REMOVAL
1. Raise vehicle. Remove the cotter pin and nut from the tie rod end. Discard cotter pin.
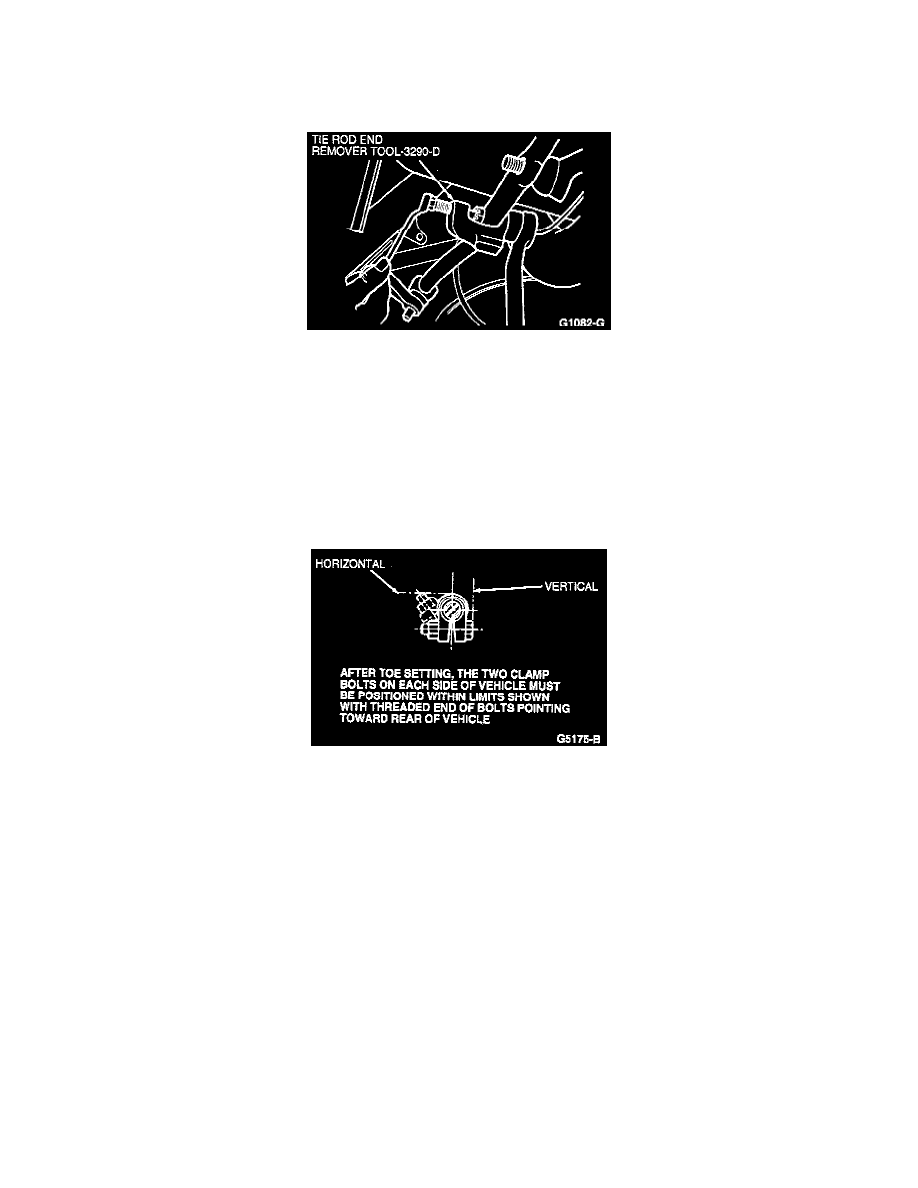
2. Loosen the tie rod adjusting sleeve clamp bolts, and remove the tie rod end from the front wheel spindle or steering sector shaft arm drag link
using Tie Rod End Remover TOOL-3290-D or equivalent.
3. Remove the tie rod end assembly from the front wheel spindle tie rod adjusting sleeve assembly, counting the number of turns required to do so.
NOTE: Discard all parts removed from the front wheel spindle tie rod adjusting sleeve assembly.
INSTALLATION
1. Thread a new tie rod end into the front wheel spindle tie rod adjusting sleeve assembly, using the same number of turns required for removal noted
in Step 3, Removal. Do not tighten the sleeve clamp bolts until after setting toe.
2. Install the tie rod end stud to the front wheel spindle or steering sector shaft arm drag link. Install the retaining nut and tighten to 47-63 Nm (35-46
ft. lbs.), then continue tightening nut to align its next castellation with the cotter pin hole in the stud. Install a new cotter pin.
3. Check toe and adjust if necessary. Loosen the clamps from the front wheel spindle tie rod adjusting sleeve, and oil the front wheel spindle tie rod
adjusting sleeve, clamps, bolts and nuts. Position the adjusting sleeve clamps. Tighten the clamp nuts to 27-29 Nm (20-21 ft. lbs.).