
Crown Victoria V8-281 4.6L SFI (1998)
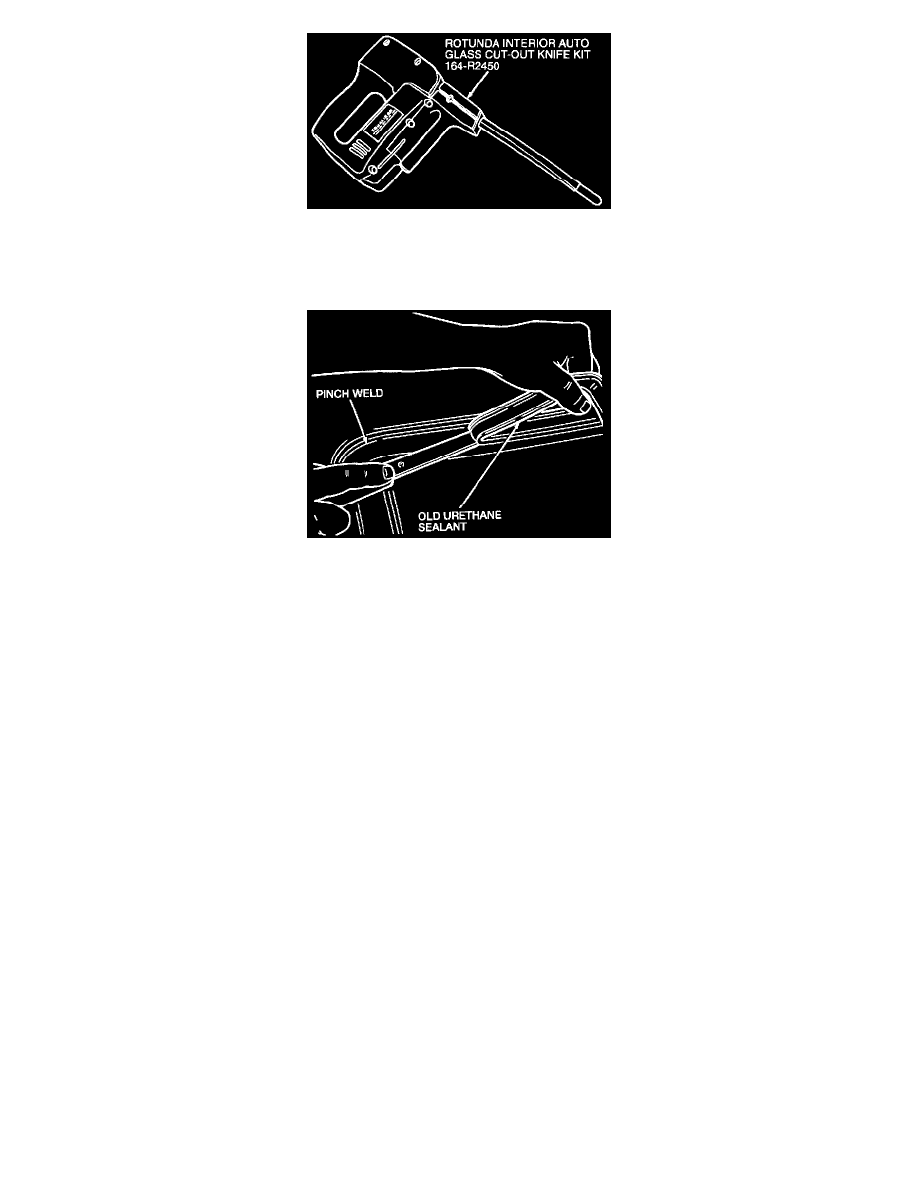
4. Use Rotunda Knife With Offset Blade 107-R1511 Rotunda interior Auto Glass Cut-Out Knife Kit 164-R2450 or equivalent to cut adhesive. Refer
to manufacturer's instructions when using tool.
CAUTION: Use care to avoid damage to the rear package tray cover panel.
5. Remove back window glass and moulding assemblies from vehicle using suitable suction tool. Clean area around remaining urethane using a cloth
moistened with clean water.
6. Trim remaining urethane on pinch weld to within 1 to 1.5 mm (0.04 to 0.06 inch) thickness with utility knife or razor blade being careful not to
scratch the paint on the pinch weld. When completed, surface should be smooth and free of cuts and contamination.
7. Check pinch weld sealing area for damaged sheet metal, rust or foreign objects which may have caused, or may cause, glass breakage. Service
metal if necessary.
INSTALLATION
1. If painted sheet metal has been exposed anywhere along the flange, use the supplied wool applicator and apply urethane metal primer
WSB-M2G234-C to back window glass pinch weld.
NOTE: A minimum of 10 minutes is required for primer surface to dry.
2. Install foam dam (with self-adhesive backing) around back window glass opening at end of metal flange, and at uppermost side of seal area.
3. Place back window glass on a low, stable work surface, inside up.
If moulding is already on glass, proceed to Step 4.
If moulding needs to be installed, use the following procedure:
Align V-shaped notch in ceramic paint and moulding at the top and bottom center, fully seat moulding along top edge of back window glass, then
along the two sides.
4. Clean back window glass with Ultra Clear Spray Glass Cleaner E4AZ-19C507-AA or equivalent meeting Ford specification ESR-M14P5-A.
5. Using a clean wool applicator, wipe inside glass edge with Urethane Glass Prep WSB-M5B280-C2 21 mm (0.8 inch) wide along top and sides
and 70 mm (2.75 inch) wide along bottom. Wipe off glass prep and repeat prep application.
NOTE: Wipe off Urethane Glass Prep WSB-M5B280-C2 immediately after application because it flash dries. Prep application must be applied
twice.
6. Properly align back window glass to body.
a. Place back window glass into opening. Center it top and bottom, side-to-side. Adjust lower glass stops it necessary.
b. Using masking tape or crayon, make alignment marks at points on four sides of both glass and window opening.
7. Remove back window glass and moulding assemblies from vehicle and place it back on work table.
8. Thoroughly shake and stir Urethane Glass Primer WSB-M2G314C to make sure of uniform pigment mixing.
9. Using a clean wool applicator, apply primer to inside glass edge 21 mm (0.8 inch) wide along top and sides and 70 mm (2.75 inch) wide along
bottom.
NOTE: Allow a minimum of five minutes for glass primer to dry.