
Crown Victoria V8-4.6L CNG SOHC VIN 9 (1999)
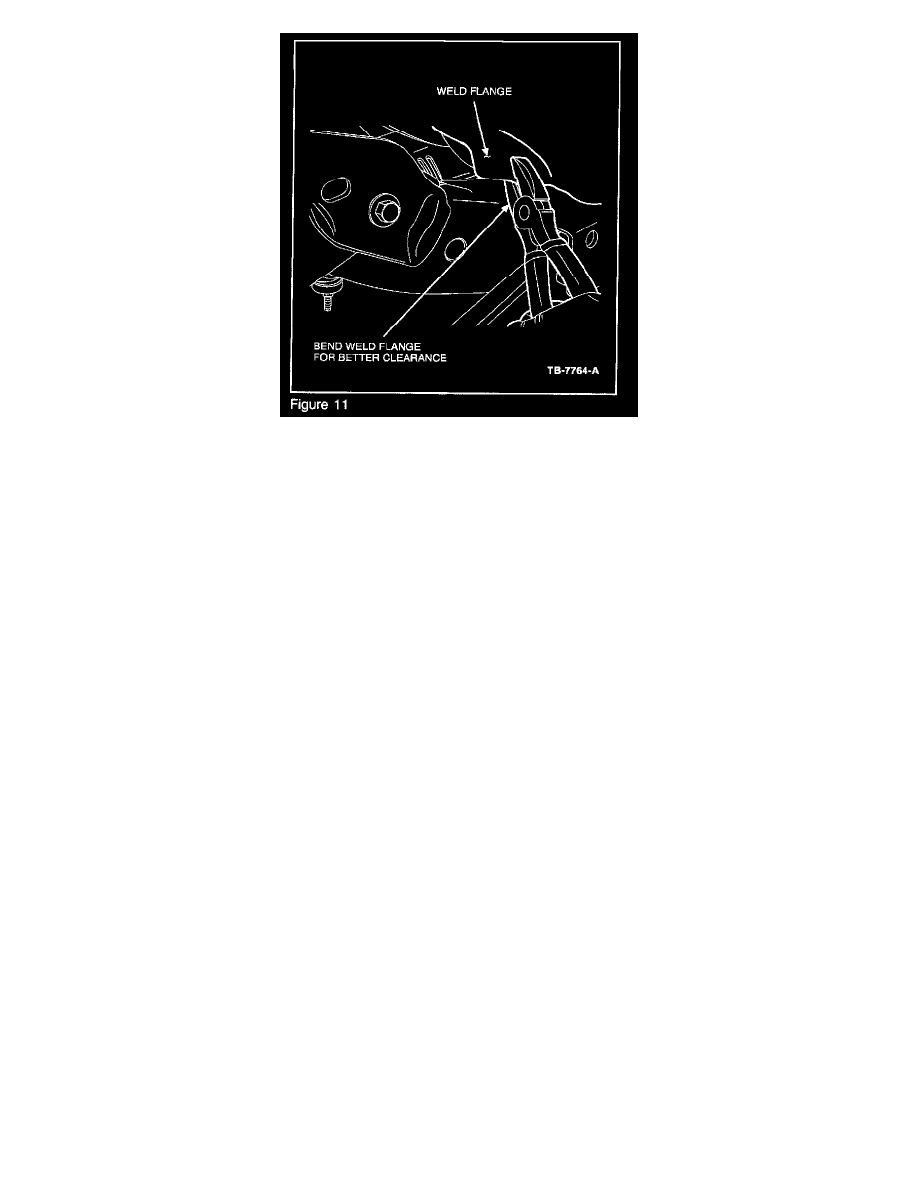
1.
If necessary, bend the spot-welded flange at the bottom edge of the inner fender well for improved access~to the frame crack (Figure 11).
2.
On the left side only, remove the brake line clip and reposition the line away from welding area.
3.
Use an angle grinder to clean off paint and dress the weld area.
4.
Weld crack as necessary.
5.
Brush on Motorcraft PM-12-A Low Temperature Anti-Corrosion Coating to all weld repair areas.
6.
Replace the brake line.
7.
Re-bend weld flange into place.
LOWER TRAILING ARM MOUNTING NUT ACCESS HOLE OPENING REPAIR AND/OR REINFORCEMENT
In this procedure any cracks in the frame area around the lower trailing arm flag nut access hole opening will be repaired. A metal blocker baffle
(4W73-4A145-AA) will be inserted into the side rail, and a reinforcement plate (4W73-5A123-AA or 4W73-5A124-M) will be welded to the bottom rail
of the frame to close the access hole to strengthen that section hole.
NOTE
THE BLOCKER BAFFLE WILL PREVENT LEAKAGE OF THE STRUCTURAL FOAM, WHICH WILL BE INTRODUCED INTO THE
FRAME.
1.
Partially raise the vehicle and locate the access hole for the lower trailing arm. This access hole is located on the bottom of the frame, directly
under the lower trailing arm mounting bracket. Inspect for cracks at the lower trailing arm access hole (Figure 3). If cracks are present repair them
as necessary.
2.
Use an angle grinder to clean off paint and dress the weld area.
3.
Weld crack as necessary.
4.
Bend two (2) metal Blocker Baffles (one (1) for each side) (4W73-5A145-M) along the crease on the middle of the part.