
Crown Victoria V8-4.6L CNG SOHC VIN 9 (1999)
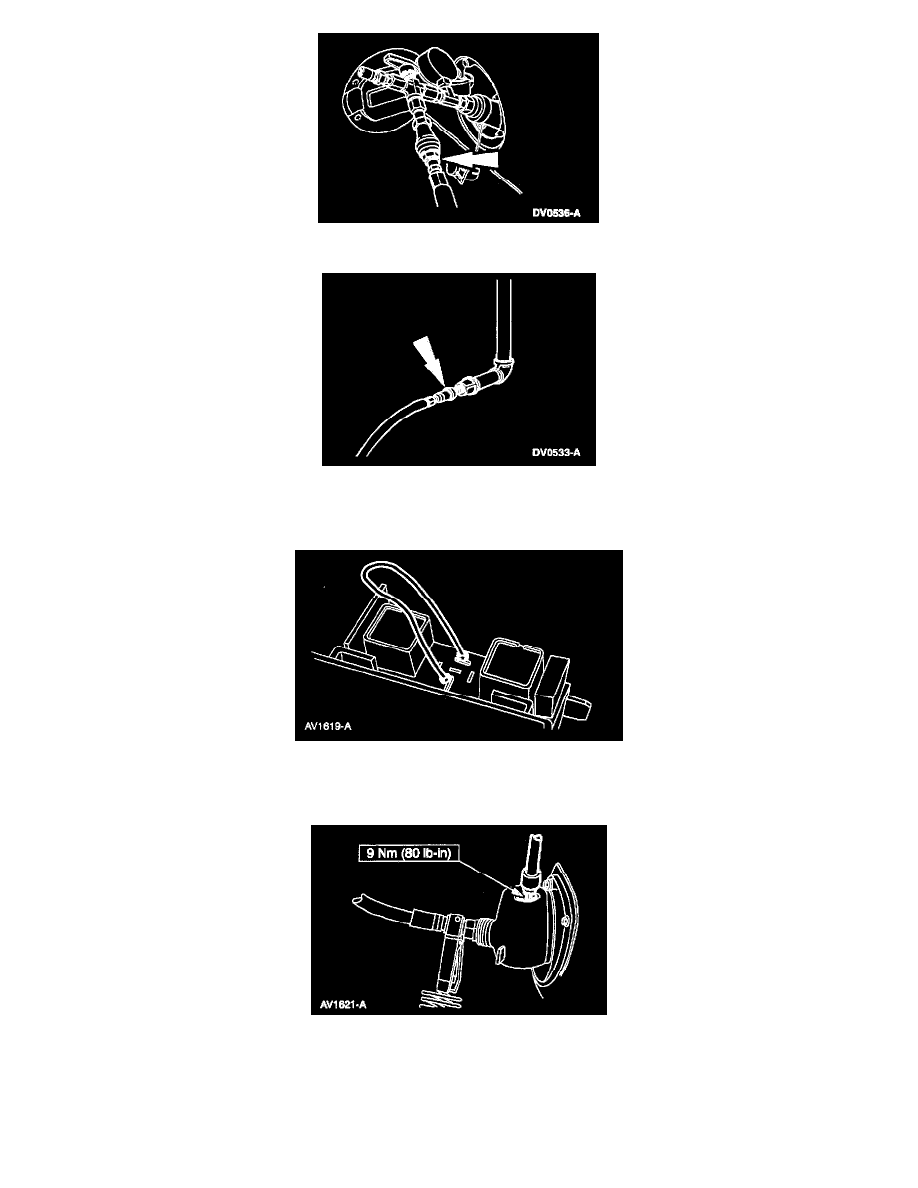
4. Connect the Venting Hose Assembly to the Fuel Filler Neck Venting Kit.
5. Connect the Venting Hose Assembly to the vent stack.
6. Remove the fuel valve relay from the power distribution box.
7. Construct jumper wire from 152 mm(6 inches) of 18 gauge wire and two spade terminal ends.
8. Jumper the fuel valve relay circuit from Socket 87 to Socket 30.
NOTE: This step will supply power and open the fuel tank solenoid valves that have their electrical connectors connected.
9. Slowly open the manual backflow valve on the fuel filler valve with a 3/16" Allen wrench.
10. Observe the gauge pressure of the Fuel Filler Neck Venting Kit. The pressure should be at tank pressure if the fuel tank solenoid valve was
identified as functions normally.
11. Slowly open the bleed valve on the Fuel Filler Neck Venting Kit and allow the contents of the fuel tank to vent to atmosphere. Venting may take in
excess of one hour.
12. Close the bleed valve on the Fuel Filler Neck Venting Kit and observe the gauge pressure. The pressure should be at or near 0 kPa (psi).