
Crown Victoria V8-4.6L CNG SOHC VIN 9 (1999)
6. Slowly open the bleed valve on the Fuel Rail Pressure Test and Venting Kit and allow the contents of the fuel lines to vent to atmosphere for one
minute.
NOTE: If after venting the fuel lines for approximately one minute the pressure test gauge still registers normal fuel system pressure at this point
(95-125 psi).
7. Close the bleed valve on the Fuel Rail Pressure Test and Venting Kit and remove from the vehicle.
Fuel Tank Venting - Solenoid Valves, Functions Normally
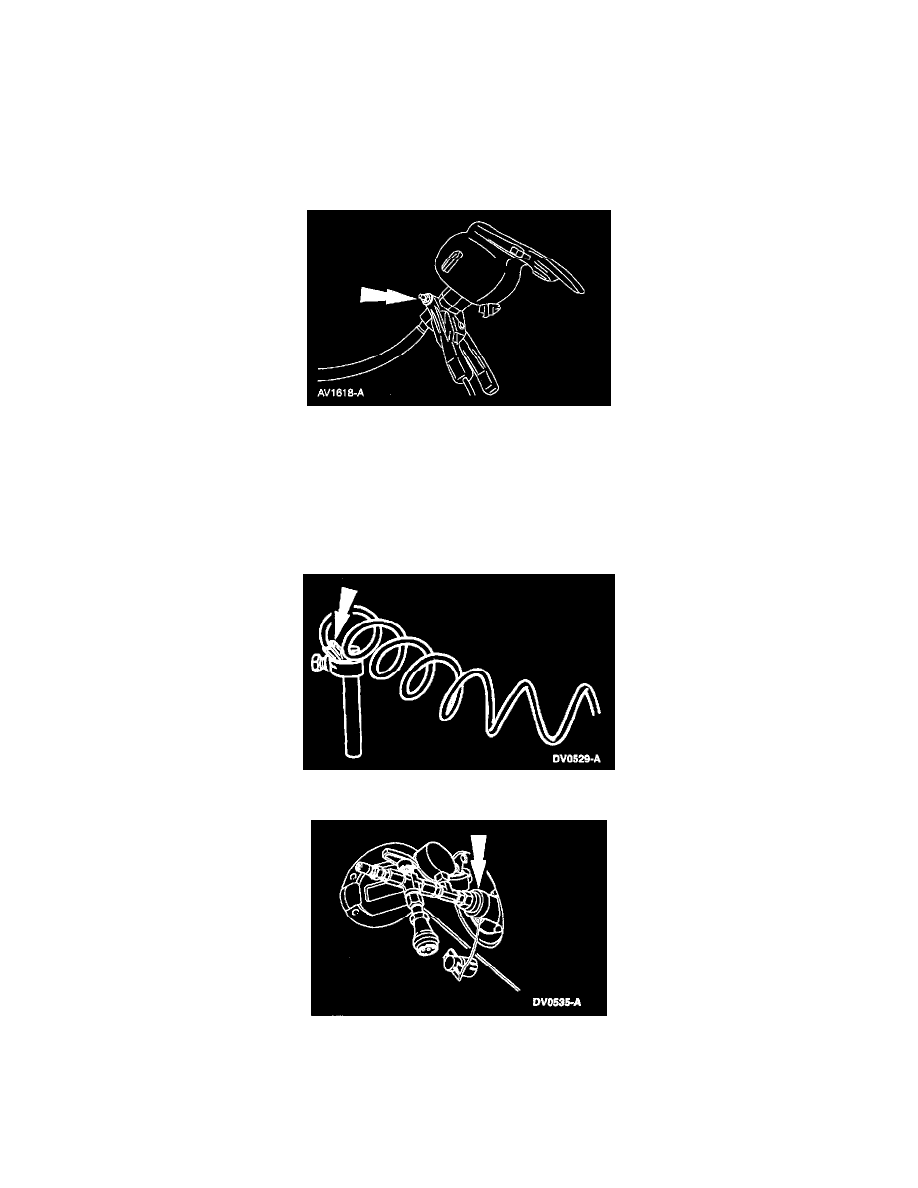
1. Connect the Grounding Cable to the back side of the fuel fill valve at the fuel line connection.
NOTE
^
Solenoid diagnostics must be completed on all tank solenoid valves prior to venting.
^
Vent the individual fuel tanks as necessary. Disconnect the electrical connectors and tighten the manual lock-down jackscrews to 9 Nm (80 in
lbs.) on the fuel tanks not to be vented. The vent box on the upper fuel tank rack will need to be removed to access the upper fuel tank rack
solenoid jackscrews and individual upper fuel tank solenoid electrical connectors. If neither of the upper fuel tanks needs to be vented, the
upper fuel tank rack harness connector C421 may be disconnected without removing the upper fuel tank rack vent box.
2. Connect the Grounding Cable to the ground rod.
3. Connect the Fuel Filler Neck Venting Kit to the fuel filler valve.
NOTE: Make sure the manual bleed valve on Fuel Filler Neck Venting Kit is closed prior to connecting to the fuel filler valve.