
Crown Victoria V8-4.6L Flex Fuel (2008)
4. Remove and discard the 4 bolts.
^
To install, tighten to 112 Nm (83 lb-ft).
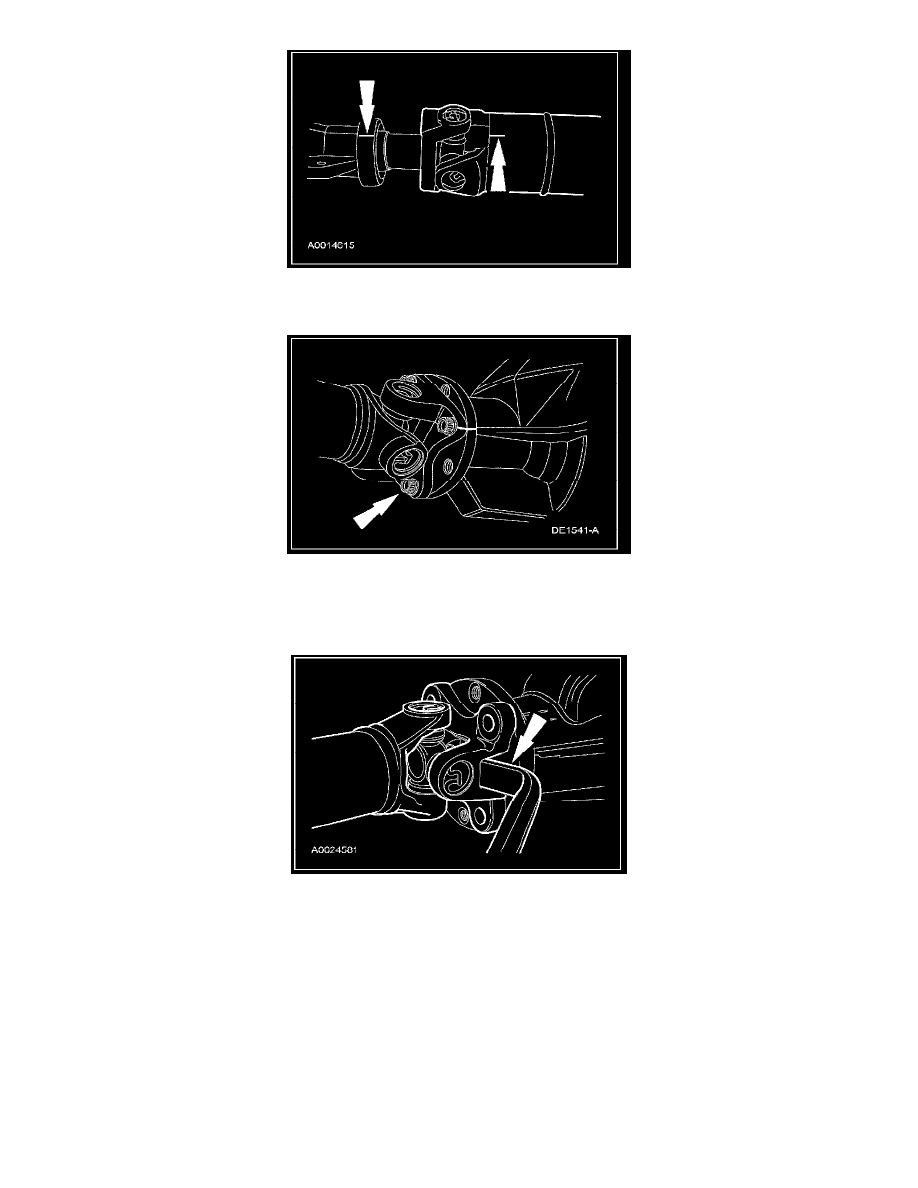
5. NOTE: The driveshaft centering socket yoke fits tightly on the rear axle pinion flange pilot. Never hammer on the driveshaft or any of its
components to disconnect the yoke from the flange. Pry only in the area shown, with a suitable tool, to disconnect the yoke from the flange.
Using a suitable tool as shown, disconnect the driveshaft centering socket yoke from the rear axle pinion flange.
6. NOTE: Align index marks before removing the driveshaft.
Lower the rear end of the driveshaft to clear the rear axle housing. Pull the driveshaft rearward until the driveshaft slip yoke clears the transmission
extension housing.
^
Plug the extension housing to prevent fluid loss.
7. NOTE: The driveshaft centering socket yoke fits tightly on the rear axle pinion flange pilot. To make sure that the yoke seats squarely on the
flange, tighten the bolts evenly in a cross pattern.
NOTE: Lubricate the slip-yoke spline with long-life grease.
NOTE: If, after installing a new driveshaft, a vibration is encountered, align the factory-made yellow paint mark at the rear of the driveshaft tube
with the factory-made yellow paint mark on the rear axle pinion flange. If the paint marks are not visible, refer to driveshaft balancing.
NOTE: Inspect the mating surfaces on the rear axle pinion flange and the driveshaft centering socket yoke for foreign material and for damage