
E 150 V8-4.6L VIN W (2006)
water.
1. Disconnect the battery ground cable. For additional information refer to Battery.
2. Disconnect and position aside the degas bottle vent hose.
Vehicles with 6.0L engine
3. NOTE: Do not disconnect the hoses from the power steering fluid reservoir.
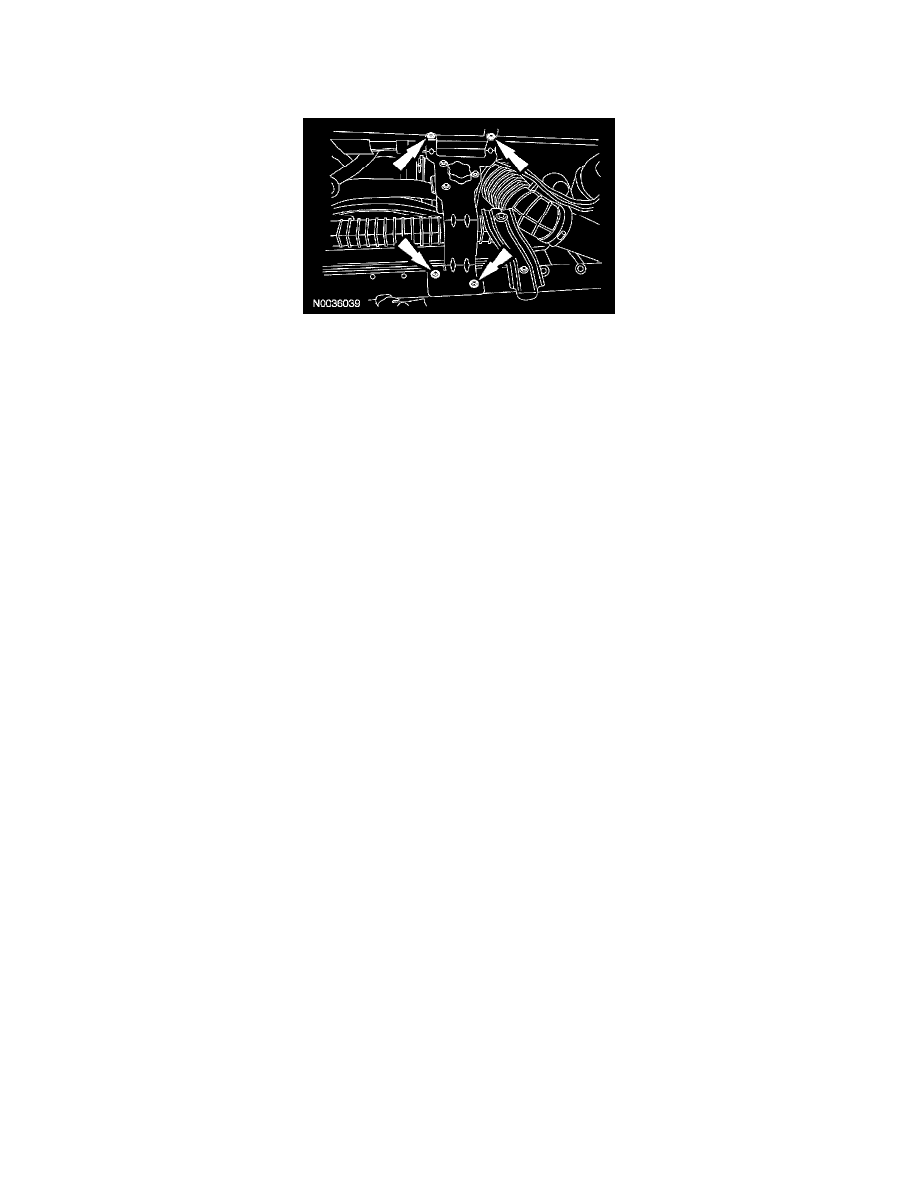
Remove the 4 bolts and position the power steering fluid reservoir and bracket aside.
^
To install, tighten to 28 Nm (21 ft. lbs.).
All vehicles
4. Disconnect the 2 brake master cylinder-to-HCU hose fittings at the brake master cylinder.
^
To install, tighten to 28 Nm (21 ft. lbs.).
5. NOTE: Plug each port of the hydraulic control unit (HCU) to prevent brake fluid from spilling.
Disconnect the 4 the HCU brake tube fittings.
^
To install, tighten to 17 Nm (13 ft. lbs.).
6. Disconnect the brake tube clip from the HCU bracket and position the brake tubes aside.
7. Disconnect the 2 brake master cylinder-to-HCU hose fittings at the HCU.
^
To install, tighten to 28 Nm (21 ft. lbs.).
8. Disconnect the ABS module electrical connector.
9. Remove the HCU bracket to inner fender well nuts and remove the HCU assembly.
^
To install, tighten to 29 Nm (21 ft. lbs.).
10. To install, reverse the removal procedure.
^
Bleed the HCU after installation.
^
Calibrate the ABS module. Follow the diagnostic tool directions. Clear the DTCs. Carry out the self test with the brakes not applied.