E 150 V8-4.6L VIN W (2006)

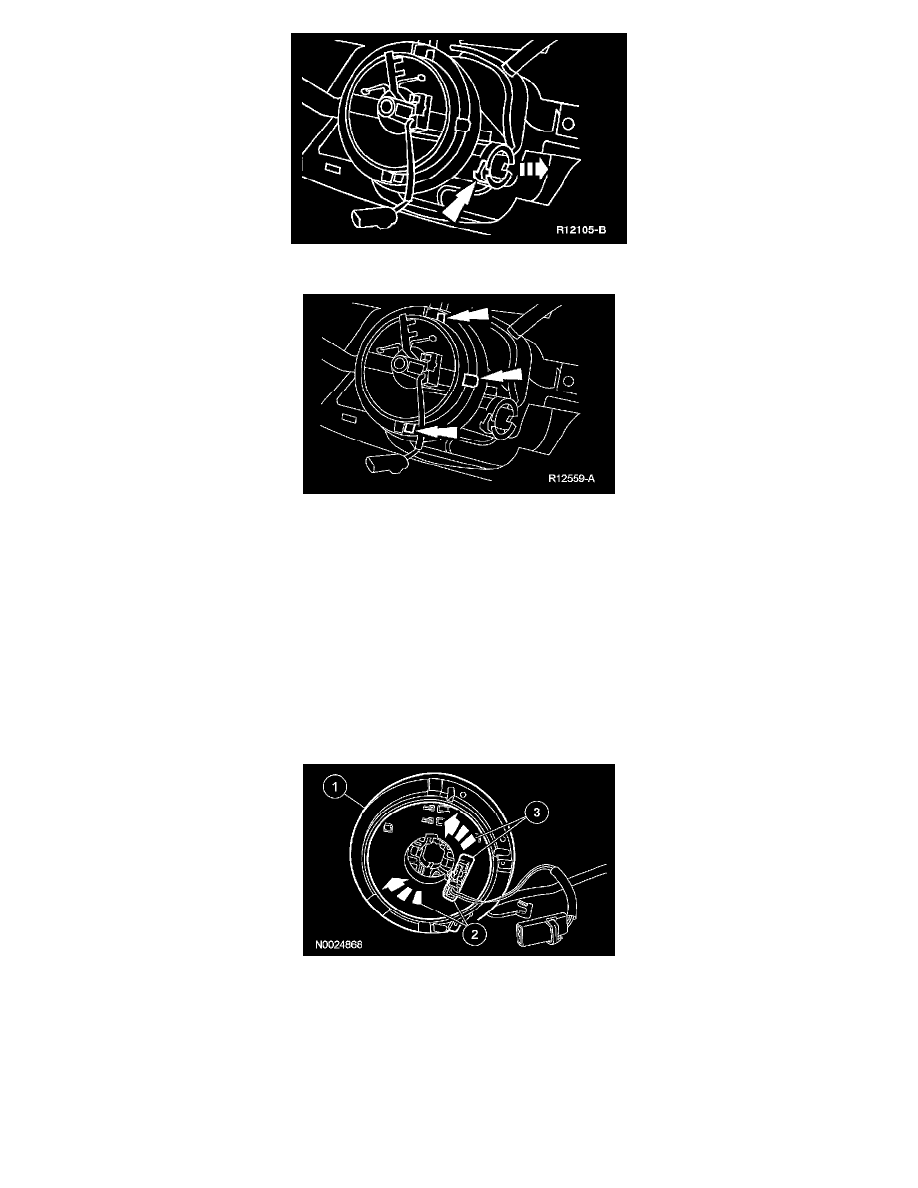
14. If equipped, remove the key-in-ignition warning indicator switch.
15. Release the 3 clockspring retaining clips.
16. Detach the 2 clockspring retaining clips holding the wire to the steering column.
17. Route the clockspring wiring through the instrument panel and remove the clockspring.
Installation
Vehicles installing a new clockspring
1. NOTE: A new clockspring is supplied in a centralized position and held there with a sealing key.
Remove the sealing key from the clockspring, holding the rotor in its centralized position.
-
Do not allow the clockspring rotor to turn.
Vehicles needing clockspring recentering
2. WARNING: Incorrect centralization may result in premature component failure. If in doubt when centralizing the clockspring, repeat
the centralizing procedure. Failure to follow this instruction may result in personal injury.
CAUTION: Make sure the road wheels are in the straight-ahead position.
If the vehicle's clockspring has rotated out of center, follow these steps to center the clockspring.
1
Hold the clockspring outer housing stationary.
2
CAUTION: Overturning will destroy the clockspring. The internal ribbon wire acts as the stop and can be broken from its internal
connection.
