
E 150 V8-4.6L VIN W (2006)
If fluid needs to be added, add fluid in 0.25L (1/2 pint) increments through the filler tube. Do not overfill the fluid. For fluid type, refer to the
specification chart.
Fluid Condition Check
1. Check the fluid level.
2. Observe the color and the odor. The color under normal circumstances should be dark reddish, not brown or black or have a burnt odor.
3. Hold the fluid level indicator over a white facial tissue and allow the fluid to drip onto the facial tissue and examine the stain.
4. If evidence of solid material is found, the transmission fluid pan should be removed for further inspection.
5. If the stain is a foamy pink color this may indicate coolant in the transmission. The engine cooling system should also be inspected at this time.
6. If fluid contamination or transmission failure is confirmed by the sediment in the bottom of the fluid pan, the transmission must be disassembled
and completely cleaned. This includes the torque converter and cooler tubes. The oil-to-air cooler will need to be installed.
7. Carry out diagnostic checks and adjustments. Refer to Diagnosis By Symptom. See: Transmission Control Systems/Testing and
Inspection/Symptom Related Diagnostic Procedures/4R70W/4R75W - Automatic Transmission
Transmission Fluid Cooler-Backflushing and Cleaning
Transmission Fluid Cooler-Backflushing and Cleaning
Material
1. CAUTION: Use only clean automatic transmission fluid specified for this transmission. Do not use any supplemental transmission fluid additives
or cleaning agents. The use of these products could cause internal transmission components to fail; this will affect the operation of the
transmission.
Conduct backflushing with a suitable torque converter/fluid cooler cleaner. Test your equipment to make sure that a vigorous fluid flow is present
before proceeding. Install a new filter in the flush equipment if flow is weak or contaminated.
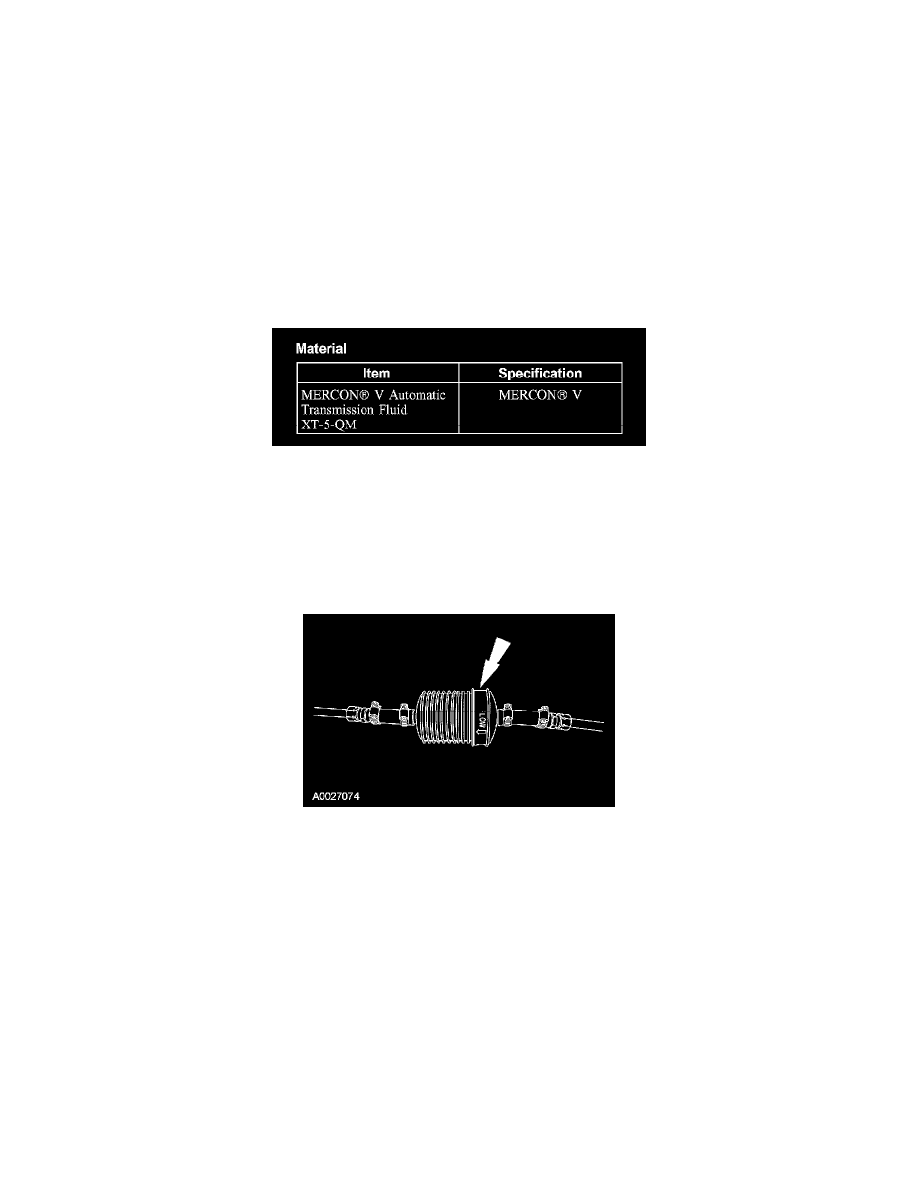
2. If equipped, remove and discard the transmission fluid in-line filter.
3. To aid in attaching the cleaner to the transmission steel cooler lines, connect two additional rubber hoses to the transmission end of the steel
transmission cooler lines as described below.
^
Connect the cleaner tank pressure line to the transmission fluid cooler return tube.
^
Connect a tank return hose to the transmission fluid cooler return tube. Place the outlet end of this hose in the reservoir.
4. Remove the cooler bypass valve from the cooler tubes. Install rubber hoses in place of the cooler bypass valve while flushing the cooler and lines.
5. Turn on the pump and allow the fluid to circulate a minimum of 5 minutes (cycling switch on and off will help dislodge contaminants in cooler
system).
6. Switch off the pump and disconnect the pressure hose from the transmission cooler return tube.
7. Use compressed air to blow out the cooler(s) and tubes (blow air into the transmission cooler return tube) until all fluid is removed.
8. Remove the rubber return hose from the remaining steel cooler tube.
9. Remove the rubber hoses and install the bypass valve.
Transmission Fluid Drain and Refill
Transmission Fluid Drain and Refill