
E 150 V8-4.6L VIN W (2006)
WARNING: To prevent glass splinters from entering the eyes or cutting the hands, wear safety glasses and heavy gloves when cutting the glass
from the vehicle.
1. Remove the windshield wiper arms.
2. Remove the cowl grille panel.
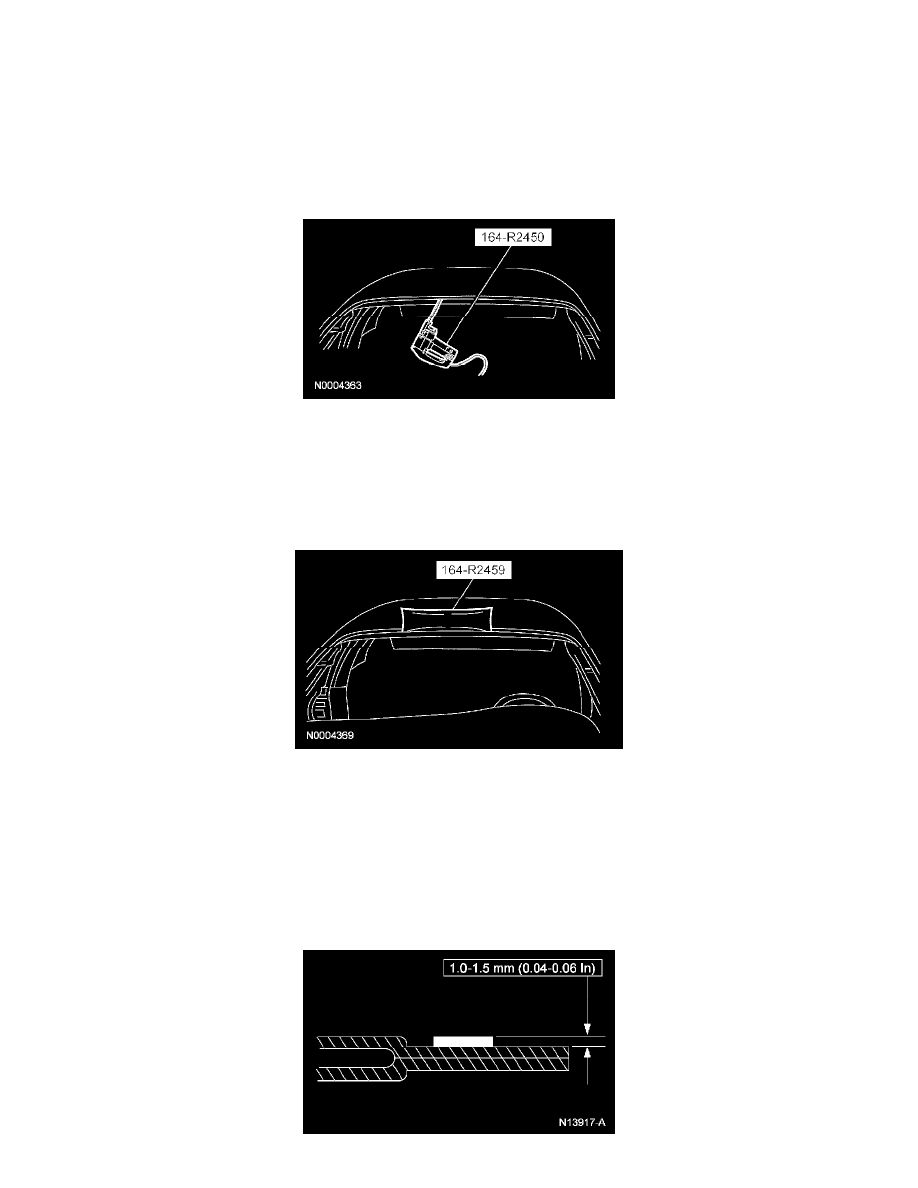
3. Drill out the rivets and remove the windshield glass stops.
4. Remove the inside rear view mirror.
5. Remove the RH and LH A-pillar trim panels.
6. Lower the front portion of the headliner.
7. CAUTION: To prevent damage to the windshield header seal, turn the blade so that the flat side is against the pinch weld.
NOTE:
-
Lubricate the existing urethane adhesive with water to aid the special tool while cutting.
-
Removing the windshield glass requires more than one technician.
Using the special tool, cut the urethane adhesive from the windshield glass starting at the top center and working toward the bottom corners.
8. Using the special tool, distance the windshield glass from the body.
9. Using the special tool, cut the remaining urethane adhesive and remove the windshield glass.
10. Using a soft brush or vacuum, remove any dirt or foreign material from the pinch weld.
11. Remove the windshield header seal.
Installation
CAUTION: When installing urethane installed glass parts, the vehicle must not be driven until the urethane adhesive has cured. Refer to drive
away chart for the cure times, as temperatures and humidity will cause cure times to vary. Inadequate or incorrect curing can adversely affect
the bonding of the windshield glass.