
E 150 Van V8-351 5.8L VIN H 4-bbl HP (1985)
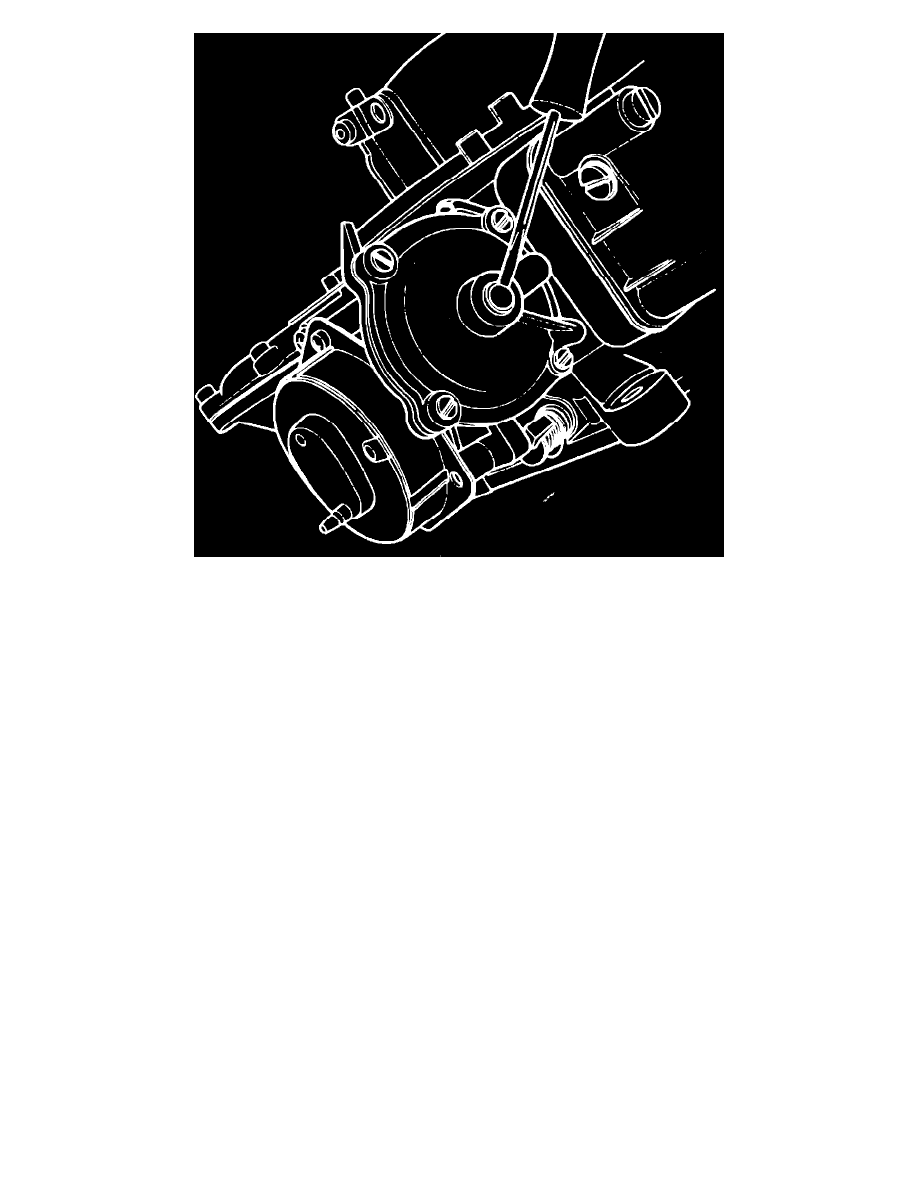
Fig. 10 Removing choke pulldown diaphragm adjusting screw cover. 1985 - 87 models w/ electric choke
1985 - 87 MODELS W/ELECTRIC CHOKE
1.
Remove carburetor from vehicle and cover intake manifold.
2.
Place carburetor on work stand suitable to allow access to pulldown diaphragm vacuum passage on underside of throttle body, Fig. 9.
3.
Scribe alignment marks on choke cap and choke housing, then remove choke cap, gasket and retainer.
4.
Temporarily install choke cap with standard choke cap gasket and align scribe marks, then rotate cap 90° counterclockwise and secure with one
screw.
5.
Ensuring that choke plate is in fully closed position, actuate choke pulldown motor using an outside vacuum source of at least 17 inches Hg.
6.
Using drill gauge of specified size, check clearance between upper edge of choke plate and air horn wall. Gauge should fit in such a manner
that it contacts air horn and choke plate but does not move plate.
7.
If adjustment is necessary, carefully remove diaphragm adjustment screw cap using suitable tool, Fig. 10.
8.
Using 5/64 inch Allen wrench, turn adjustment screw clockwise to decrease setting or counterclockwise to increase setting. Maintain a minimum
of 17 inches Hg. to pulldown diaphragm during adjustment. Cycle vacuum from 0 to 17 inches Hg. to verify setting.
9.
Apply suitable sealant to adjustment screw cavity and check fast idle cam adjustment.