E 250 V8-4.6L VIN W (2006)

CAUTION: Brake fluid is harmful to painted and plastic surfaces. If brake fluid is spilled onto a painted or plastic surface, immediately wash it with
water.
1. With the vehicle in NEUTRAL, position it on a hoist. For additional information, refer to Maintenance/Service and Repair.
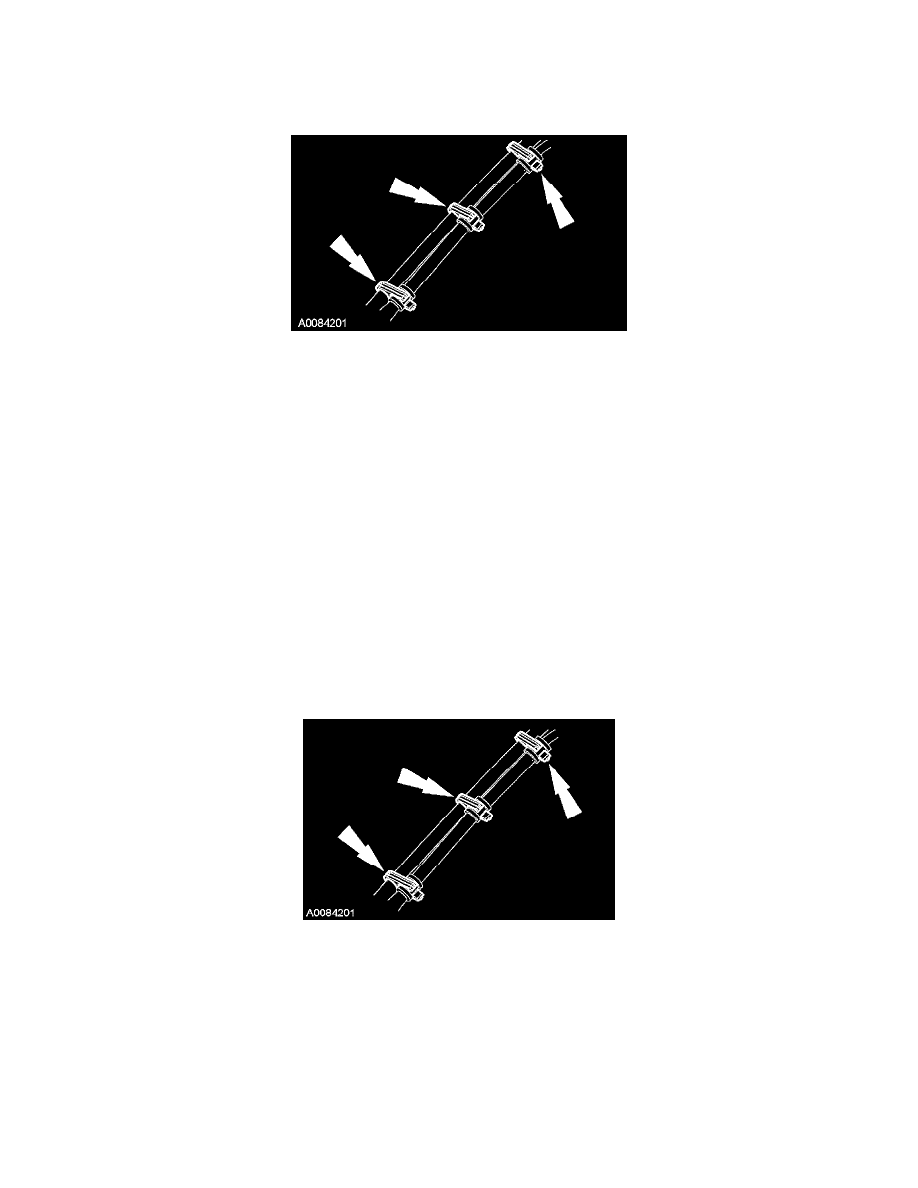
2. Release the speed sensor wiring from the front brake hose.
3. Remove the brake caliper flow bolt and position the brake flexible hose aside.
^
Discard the 2 copper washers.
4. CAUTION: Do not pry in the caliper sight hole to retract the pistons as this can damage the pistons and boots.
Remove the 2 brake caliper bolts and the brake caliper.
^
If leaks or damaged boots are found, install a new disc brake caliper.
Installation
1. CAUTION: Tighten the bottom caliper bolt before tightening the top caliper bolt.
CAUTION: Make sure the caliper pin boots are correctly seated to prevent damage to the guide pins.
Position the brake caliper and install the 2 brake caliper bolts.
^
On E-150, tighten to 32 Nm (24 ft. lbs.).
^
On E-250, E-350, E-450, tighten to 31 Nm (23 ft. lbs.).
2. Using 2 new copper washers, position the brake flexible hose and install the brake caliper flow bolt.
^
Tighten to 35 Nm (26 ft. lbs.).
3. Attach the speed sensor wiring to the front brake hose.
4. Bleed the brake caliper.
5. Test the brake system for normal operation.
