E 250 V8-5.4L (2008)

Seat Back: Overhaul
Seat Backrest - Front
SEAT BACKREST - FRONT
Disassembly and Assembly
WARNING:
-
Never probe the electrical connectors on safety belt buckle/retractor pretensioners or adaptive load limiting retractors. Failure to follow
this instruction may result in the accidental deployment of the safety belt pretensioners or adaptive load limiting retractors, which
increases the risk of serious personal injury or death.
-
To reduce the risk of accidental deployment, do not use any memory saver devices. Failure to follow this instruction may result in serious
personal injury or death.
NOTE:
-
The air bag warning indicator illuminates when the restraints control module (RCM) fuse is removed and the ignition switch is ON. This is normal
operation and does not indicate a supplemental restraint system (SRS) fault.
-
The SRS must be fully operational and free of faults before releasing the vehicle to the customer.
1. Remove the seat.
2. Remove the seat backrest.
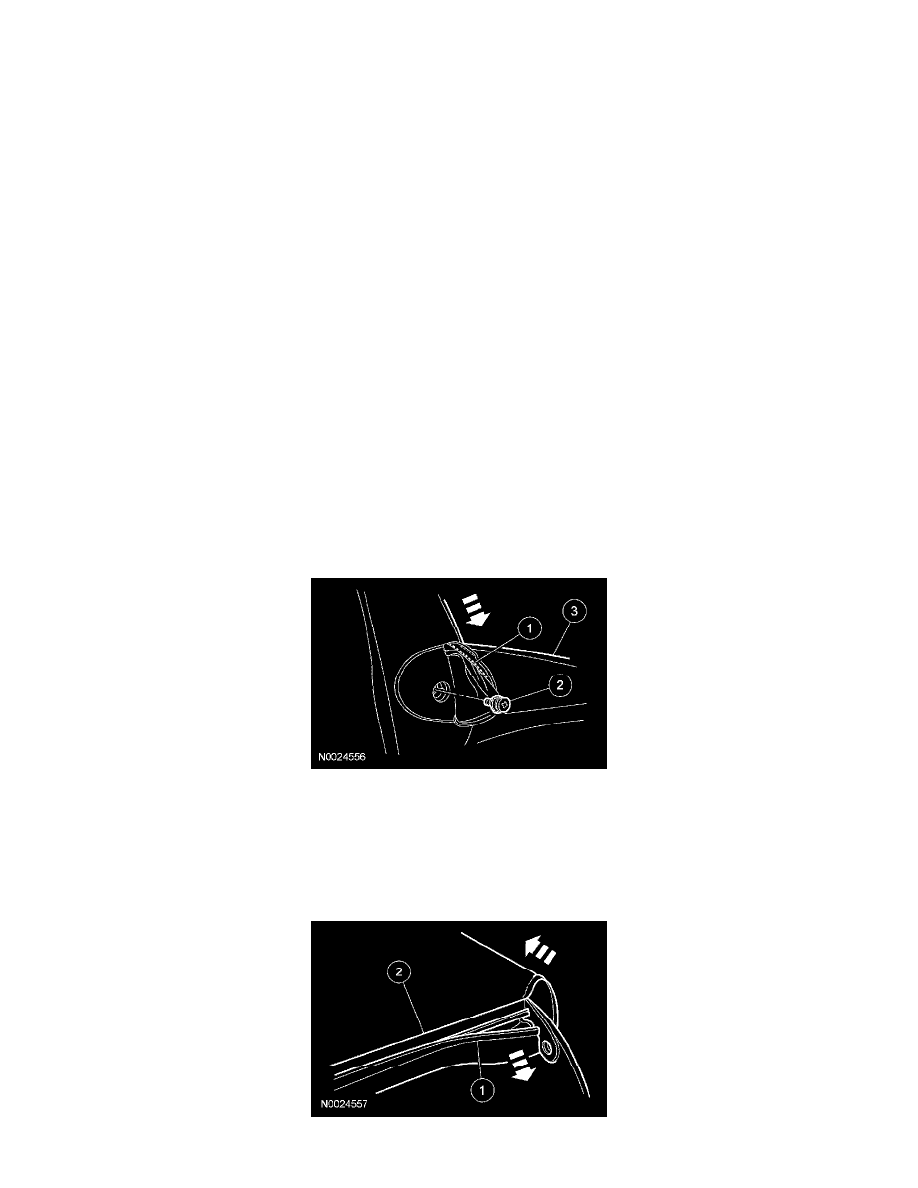
3. NOTE: Install a new crown washer when re-installing the armrest.
Remove the armrest.
1
Release the hook-and-loop at the rear of the armrest trim cover and access the armrest bolt.
2
Remove the armrest bolt and crown washer.
-
To install, tighten to 35 Nm (26 lb-ft).
3
Remove the armrest.
4. Remove the backrest trim cover.
1
Release the J-clip at the bottom of the backrest.
2
CAUTION: Use care when separating the seat backrest trim cover from the hook-and-loop strip, or the hook-and-loop strip can be
torn from the seat backrest foam pad.
Invert the trim cover up the backrest, separate the hook-and-loop strips and remove the backrest trim cover.
5. Remove the backrest foam pad from the backrest frame
