
E 250 V8-5.4L (2008)
Part 2
Disassembly and Assembly
WARNING: After any crash, all of the following safety belt assemblies and attaching hardware must be inspected by an authorized dealer to
verify correct function:
-
Retractors
-
Buckles
-
Belt tension sensor (BTS) (if equipped)
-
Front safety belt buckle support assemblies (slide bar) (if equipped)
-
Safety belt shoulder belt height adjusters (if equipped)
-
Child safety seat tether bracket assemblies
-
Automatic locking retractor (ALR) feature for child safety seats (passenger seating positions only)
If any safety belt assembly is damaged, does not operate correctly or does not pass all of the Functional Tests in the Diagnosis and Testing
portion, a new safety belt assembly must be installed. If any safety belt assembly attaching areas are damaged or distorted, the sheet metal
must be restored to its original structural integrity and new safety belt assembly and attaching hardware must be installed. Failure to install
new safety belt assemblies and attaching hardware may increase the risk of serious personal injury or death in a crash.
After any crash that results in deployment of the driver and/or front outboard passenger safety belt pretensioners, new driver and/or front
outboard passenger safety belt systems (including retractors, buckles and height adjusters) must be installed. Failure to install new safety
belt systems increases the risk of serious personal injury or death in a crash.
1. NOTE: The seat mounting latches are serviced as part of the bench seat risers. If either seat mounting latch is damaged and cannot be released to
remove the seat, remove the seat latch striker with the seat attached.
Pull the 2 seat latch release straps and remove the rear seat.
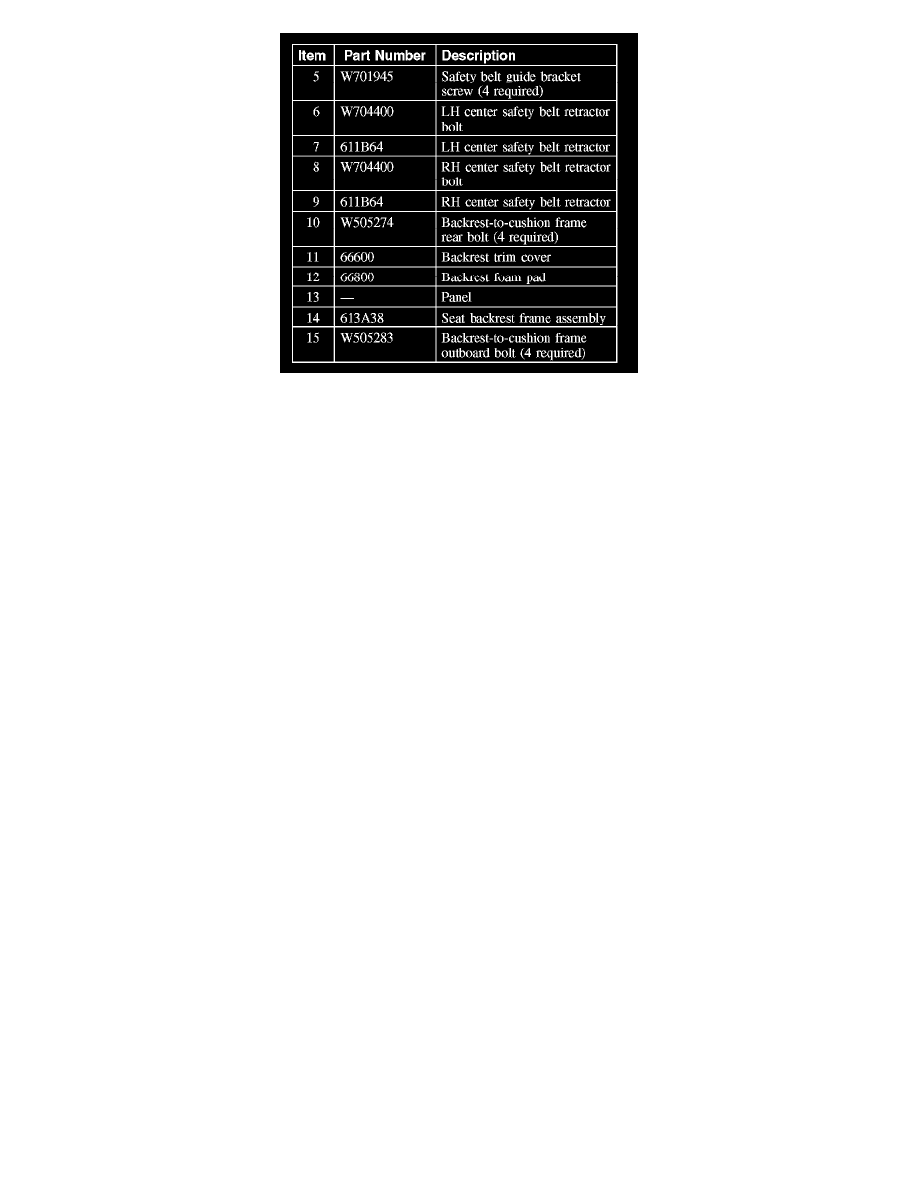
2. Remove the seat backrest trim cover.
3. Remove the backrest foam pad.
4. Remove the 4 safety belt guide bracket screws and 2 safety belt guide brackets.
-
To install, tighten to 10 Nm (89 lb-in).
5. Remove the 2 bolts, LH and RH center safety belt retractors.
-
To install, tighten to 51 Nm (38 lb-ft).
6. To assemble, reverse the disassembly procedure.
-
Make sure the safety belts and buckles are accessible to the occupants after installation.
-
Verify the safety belt retractor operates without excessive effort or binding.