
E 250 V8-5.4L (2008)
6. Disconnect the engine oil pressure (EOP) switch electrical connector.
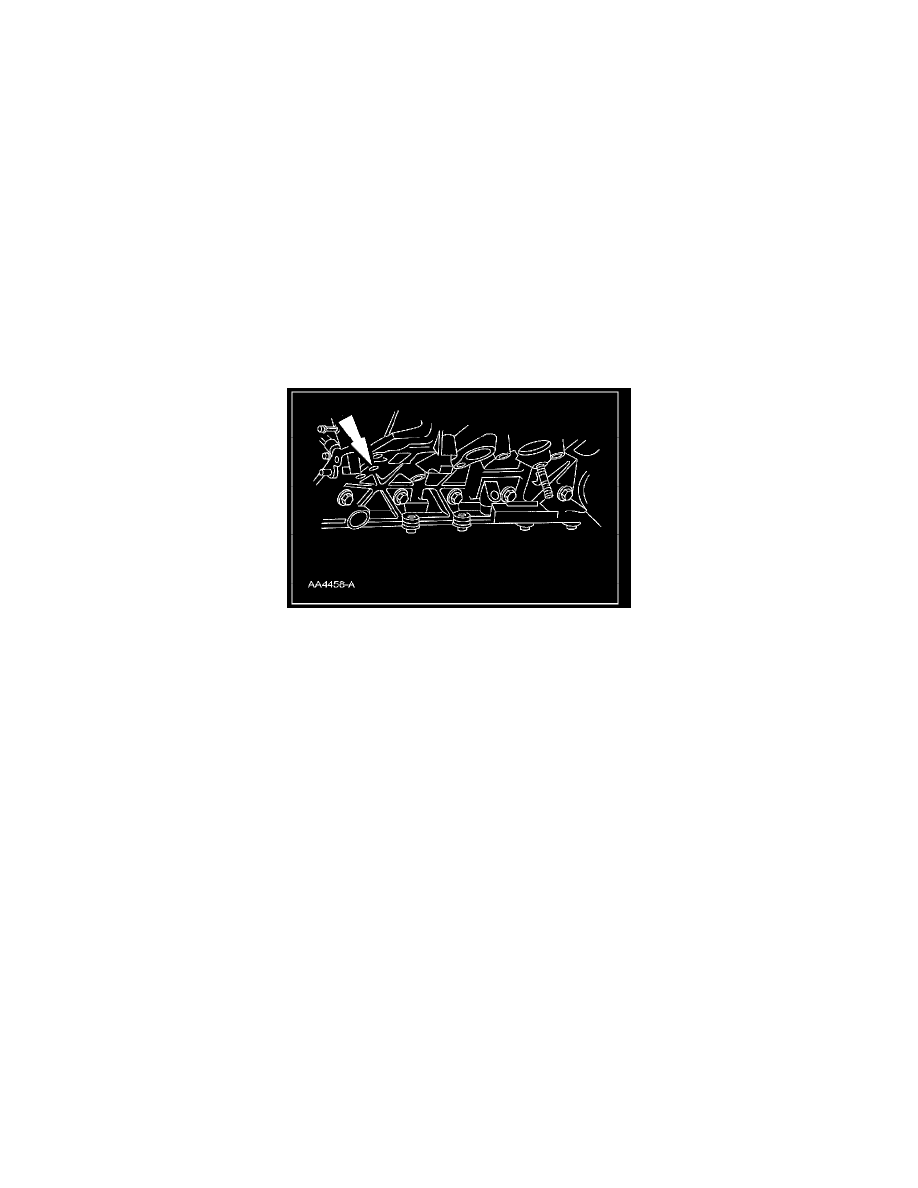
7. Remove the EOP switch.
8. Release the lower radiator hose clamp and position the lower radiator hose aside.
4.6L (2V) engines
9. Remove the 2 nuts, 3 bolts, oil filter adapter and gasket.
^
Discard the gasket.
5.4L (2V) engines
10. Remove the nut, 4 bolts, oil filter adapter and gasket.
^
Discard the gasket.
All engines
11. CAUTION: Do not use metal scrapers, wire brushes, power abrasive discs or other abrasive means to clean the sealing surfaces. These
may cause scratches and gouges resulting in leak paths. Use a plastic scraper to clean the sealing surfaces.
Clean the sealing surfaces with silicone gasket remover and metal surface prep. Follow the directions on the packaging. Inspect the mating
surfaces.
Installation
4.6L (2V) engines
1. Position the oil filter adapter gasket and the oil filter adapter. Install the nuts and bolts.
^
Tighten the front nuts and bolts to 25 Nm (18 lb-ft).
^
Tighten the rear bolt to 48 Nm (35 lb-ft).
5.4L (2V) engines
2. Position the oil filter adapter gasket and the oil filter adapter. Install the nut and 4 bolts.
^
Tighten the 4 bolts to 25 Nm (18 lb-ft).
^
Tighten the rear nut to 48 Nm (35 lb-ft).
All engines
3. Connect the lower radiator hose.
4. Install the EOP switch in 2 stages.
^
Stage 1: Tighten to 14 Nm (10 lb-ft).
^
Stage 2: Tighten an additional 180 degrees.
5. Connect the EOP switch electrical connector.
6. Install the drain plug.
^
Tighten to 23 Nm (17 lb-ft).