
E 250 V8-5.4L (2008)
Connect - Type II
1. Inspect the quick connect coupling and the tube for damage. Remove any dirt or obstructions.
2. NOTE: Apply clean engine oil to O-ring seals.
Install the quick connect coupling onto the tube until fully seated.
3. NOTE: Make sure the retainer clip is fully seated and locked onto the tube by pulling on the quick connect coupling.
Press the retainer clip into the quick connect coupling body until flush and the legs are locked in place.
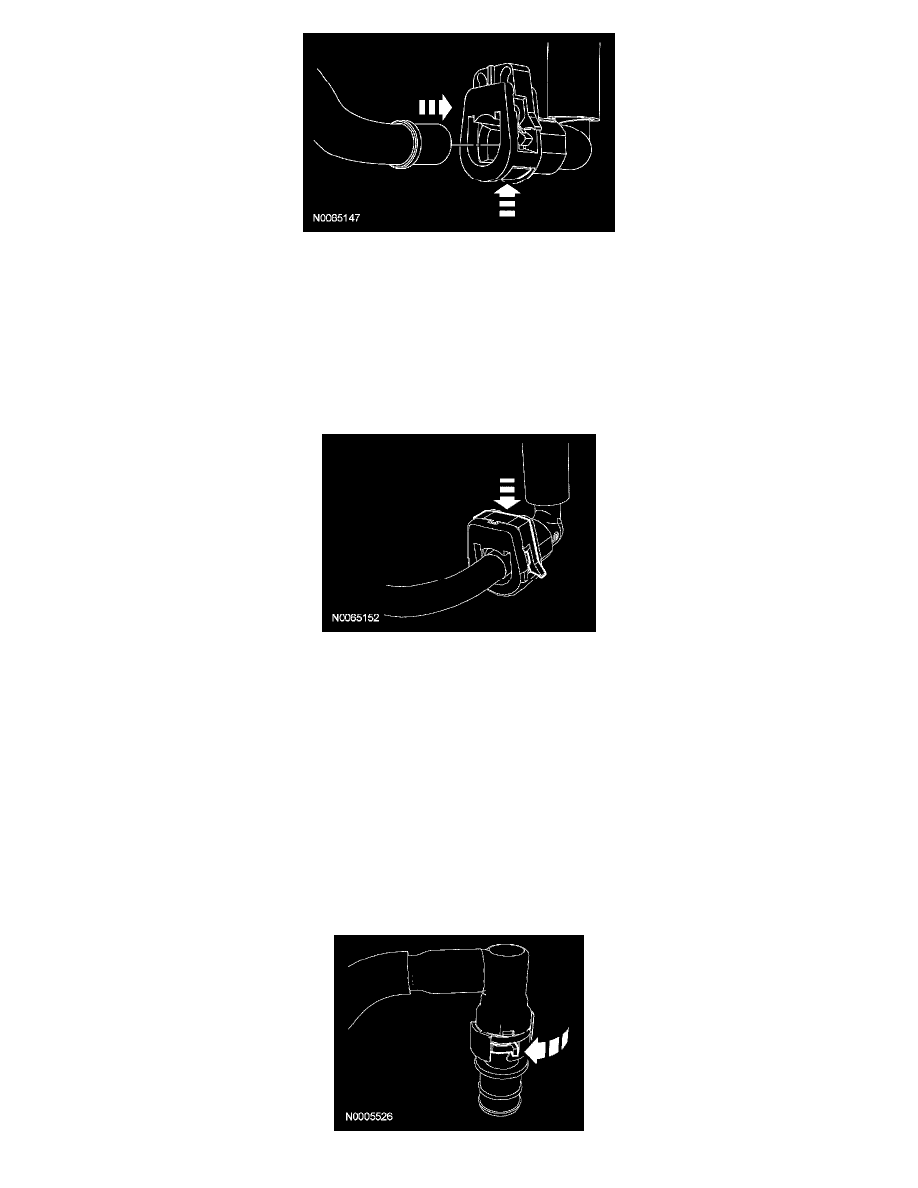
Disconnect - Type III
WARNING: Do not smoke, carry lighted tobacco or have an open flame of any type when working on or near any fuel-related component.
Highly flammable mixtures are always present and may be ignited. Failure to follow these instructions may result in serious personal injury.
CAUTION:
-
When reusing liquid or vapor tube connectors, make sure to use compressed air to remove any foreign material from the connector
retaining clip area before separating from the tube or damage to the tube or connector retaining clip may occur. Apply clean engine oil to
the end of the tube before inserting the tube into the connector.
-
Do not use any tools. The use of tools may cause a deformity in the clip components which may cause fuel leaks.
NOTE: During the repair or replacement of fuel-related components, all fuel liquid and fuel vapor openings must be capped, taped or otherwise
appropriately protected to prevent the ingress of dirt or other contamination. All caps, tape and other protective materials must be removed prior to
installation.
1. Release the locking tab on the quick connect coupling.