
E 250 3/4 Ton Van V8-5.4L CNG VIN M (1997)
CAUTION!
The torque specification for the fittings is very crucial. Damage to the fitting may occur, which will cause a fuel leak. The Torque Wrench
Setting Calculator provides the information you need to ensure the fittings are tightened to the proper torque value.
CAUTION!
When tightening the fuel line and fitting connections, a crowfoot adapter must be used. Using a crowfoot adapter on a torque wrench increases
the length of the tool and changes the actual torque value. To achieve the proper torque on the fasteners, you must use the formula supplied in
this document to calculate the proper setting for the torque wrench/crowfoot you are using.
7.
Connect the fuel line to the mid-ship tank. Tighten the connection to the calculated torque specification to achieve 48 Nm (35 lb-ft). See Figures 7
and 8.
8.
Loosely connect the fuel line to the new fitting on the aft-axle tank. Allow the new fitting to rotate inboard approximately 15-20 degrees. Then
hold the new fitting in place and tighten it to the calculated torque specification to achieve 42 Nm (31 lb-ft). See Figures 7 and 8.
9.
Tighten the fuel line connection at the new fitting on the aft-axle tank to the calculated torque specification to achieve 48 Nm (35 lb-ft). See
Figures 7 and 8.
PROCEDURE G - FUEL SYSTEM PRESSURIZATION AND FINAL LEAK TEST
1.
Open all manual lock-down valves under the vehicle. Tighten all valves in the open position to 8 Nm (71 lb-in).
2.
Lower the hoist.
3.
If the vehicle is equipped with the extended range fuel tank, open the manual lock-down valve. Tighten the valve in the open position to 8 Nm (71
lb-in).
4.
Install the rubber plug on the fuel tank box cover.
5.
Connect the battery negative cable.
6.
Turn the ignition to the ON position to pressurize the fuel lines.
7.
Raise the vehicle on the hoist.
8.
Leak check the repair by applying Snoop(R) or a soapy water solution to all fittings. If any soap bubbles form, a leak is indicated. Check the
torque on the connection and recheck for a leak.
9.
Reinstall the aft-axle fuel tank stone shield. Tighten the bolts to 25 Nm (18 lb-ft).
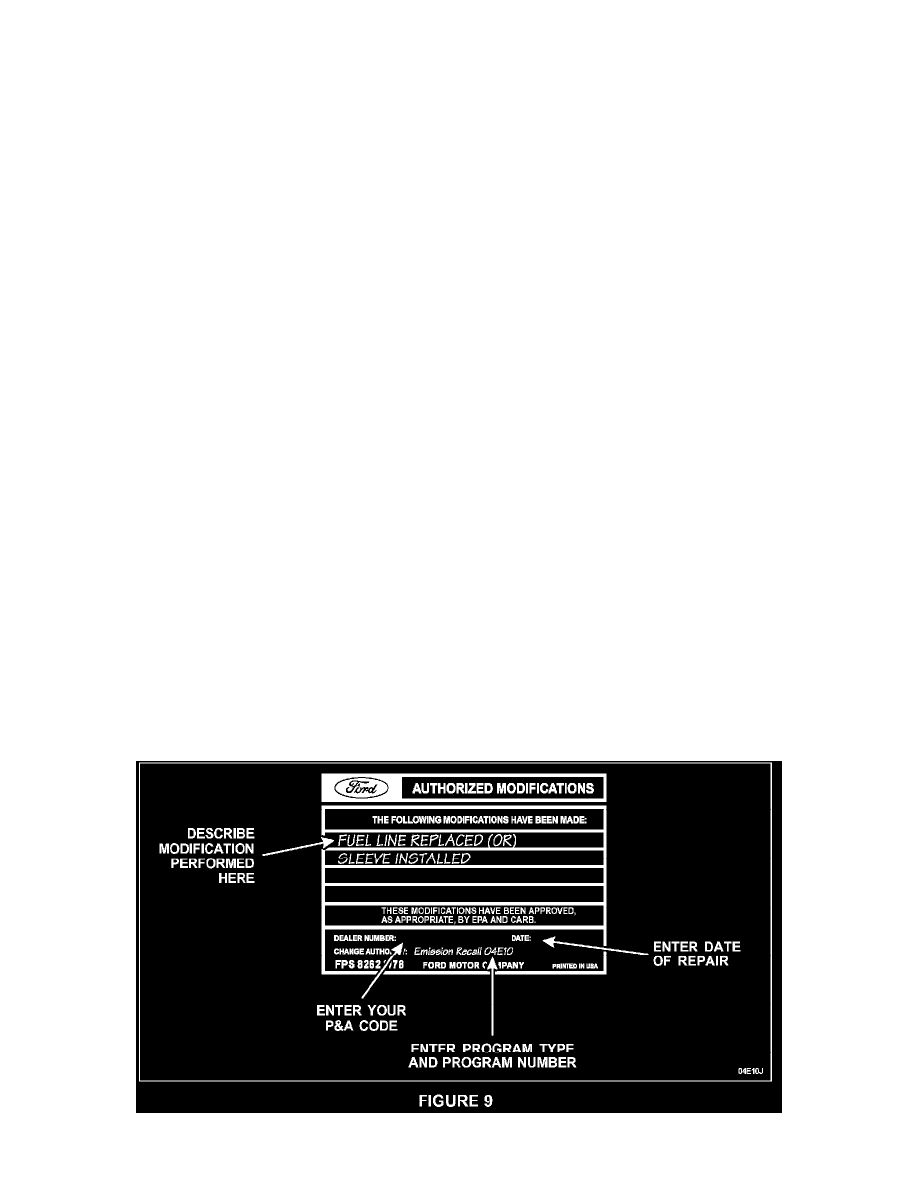
PROCEDURE H - PREPARING LABELS
1.
Obtain and prepare the Authorized Modifications Label. Describe the modifications performed, and enter your P&A Code, date of repair and the