E 250 3/4 Ton Van V8-5.4L CNG VIN M (1997)

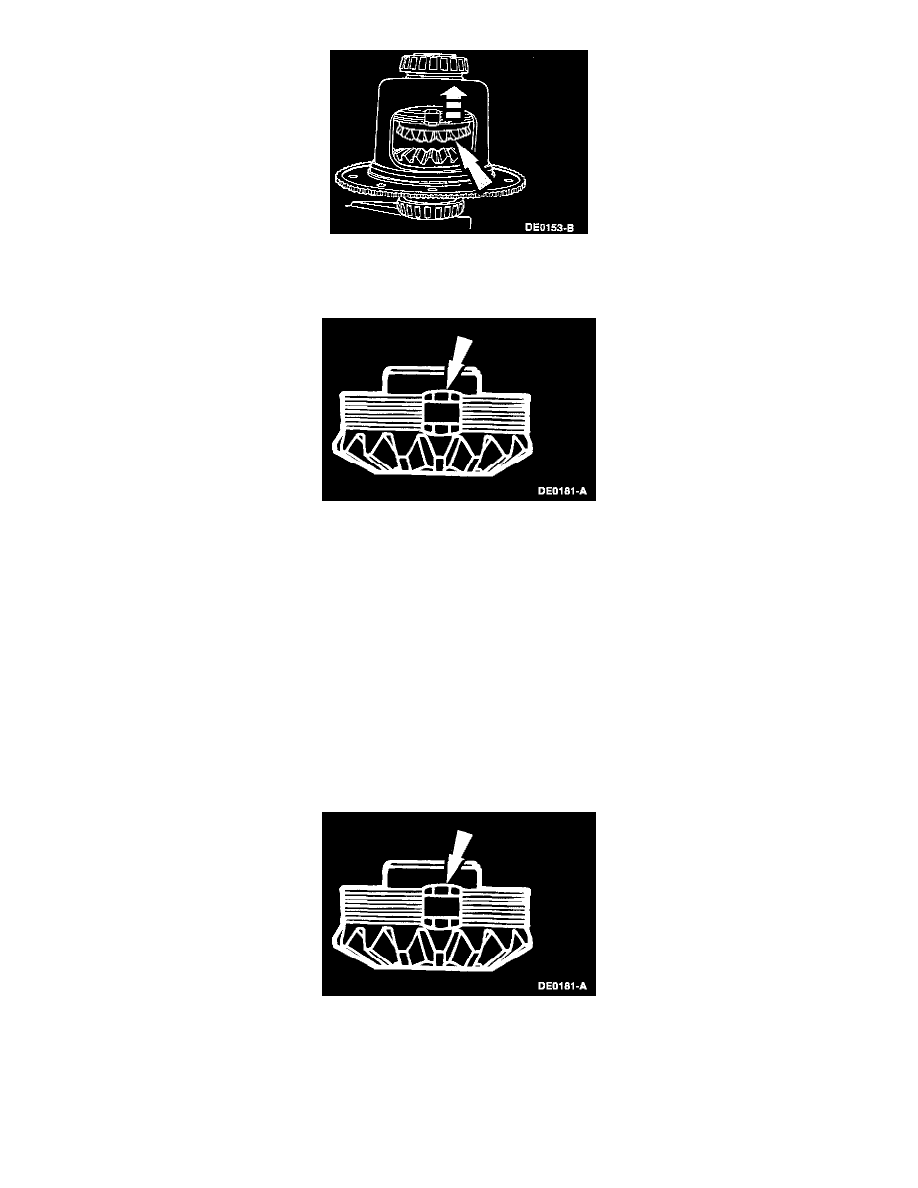
13. Remove the top differential side gear and the rear axle disc and plate kit. Keep the stack of clutch plates and clutch discs in exact order.
14. Turn the differential case so the flange or ring gear side is up. Ease the Step Plate, differential side gear and rear axle disc and plate kit out of the
differential case.
15. Remove the retainer clips from both rear axle disc and plate kits to allow separation of the clutch discs and clutch plates for cleaning and
inspection.
16. Inspect the clutch plates and clutch discs for cracks, excessive wear, and distortion. If one or more of the clutch plates or clutch discs needs
replacing, replace entire stack of clutch plates on both sides. Inspect all other parts and replace any worn or damaged part.
17. Inspect the surfaces of the differential pinion shaft and the differential case for excessive wear or pitting.
18. Inspect the teeth of the differential side gears and the differential pinion gears.
Assembly
NOTE:
-
Always replace entire rear axle disc and plate kits, even if only one component requires it.
-
Before installing the rear axle disc and plate kits, differential side gears and differential pinion thrust washers, assemble them in exactly the
same order as removed.
1. Prelubricate the thrust faces of the differential side gears and assemble the clutch plates and clutch discs to the splines of the differential side gears,
prelubricating each part of both stacks with 75W-140. Synthetic Lubricant or equivalent meeting Ford specification WSL-M2C192-A or with Ford
Friction Modifier F3TZ-19B546-MA or equivalent friction modifier lubricant meeting Ford specification WSP-M2C196-A.
2. Assemble the retainer clips to the ears of the clutch plates. Make sure both clips are completely assembled or seated onto the ears of the clutch
plates.
