
E 250 Van V8-7.3L DSL Turbo VIN F (1995)
Valve Body: Service and Repair
Removal and Installation
With C6
REMOVAL
1. Raise car on hoist or jack stands.
2. Loosen and remove all but two oil pan bolts from front of case and drop rear edge of pan to drain fluid. Remove and clean pan and screen.
NOTE: Remove and discard the nylon shipping plug from the filler tube hole.
3. Unfasten and remove valve body.
INSTALLATION
1. Position valve body to case, making sure that selector and downshift levers are engaged, then install and torque attaching bolts to 95-125 in lbs.
2. Using a new pan gasket secure pan to case and torque bolts to 8-12 ft lbs.
3. Lower car and fill transmission to the correct level with specified fluid.
With E4OD
REMOVAL
NOTE: The valve body and the intermediate band servo are replaced as an assembly.
1. Disconnect battery ground cable.
2. Raise and support vehicle.
3. Loosen oil pan attaching bolts and drain fluid from transmission, then remove attaching bolts and pan.
4. Remove filter and gasket.
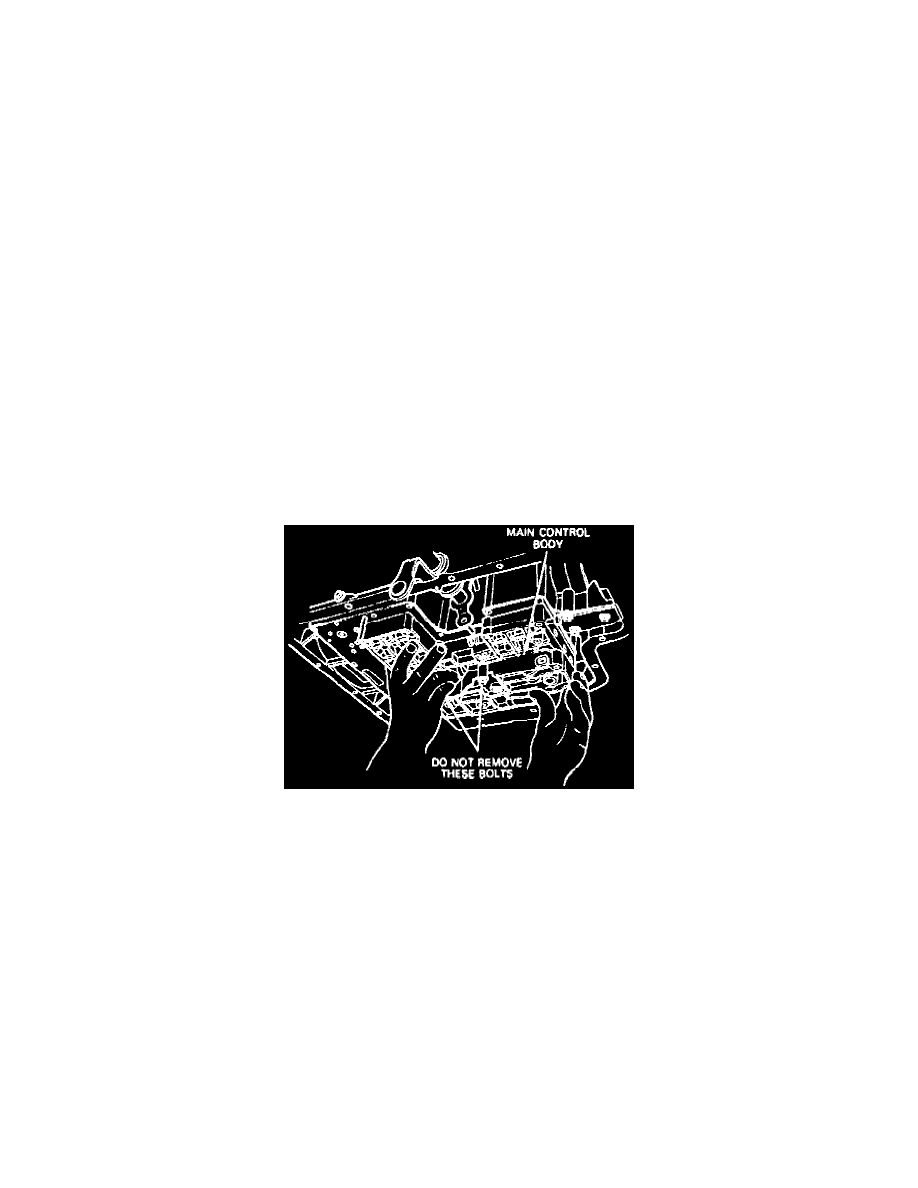
Main Control Body Removal
5. Remove accumulator body and main control body attaching bolts.
NOTE: Do not remove two bolts, as shown in the Main Control Body Removal image, from main control body.
6. Remove solenoid body attaching bolts. Remove solenoid body by pushing down on solenoid body receptacle.