
E 350 V10-6.8L (2007)
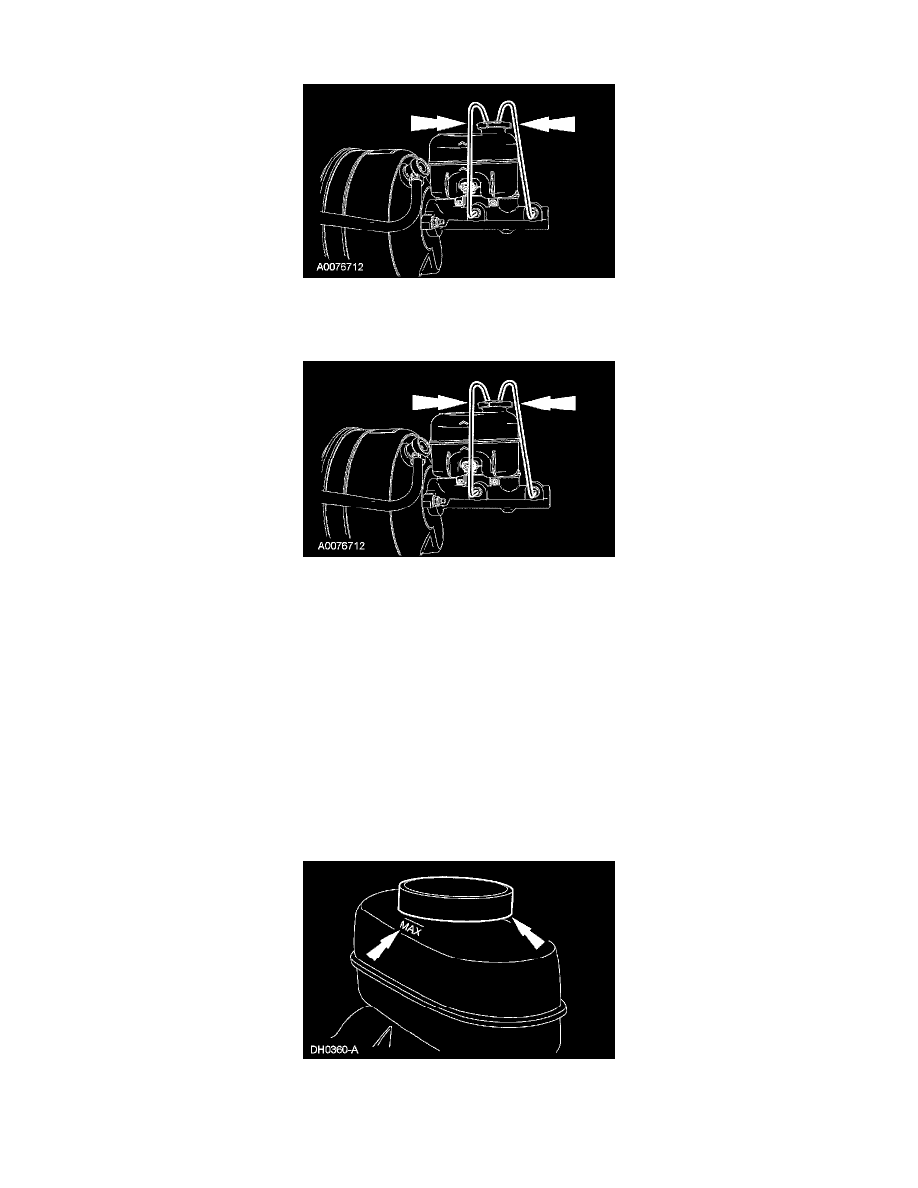
3. Install short brake tubes with the ends submerged in the brake master cylinder reservoir. Fill the brake master cylinder reservoir with clean,
specified brake fluid.
4. Have an assistant pump the brake pedal, or slowly press the primary piston until clear fluid flows from both brake tubes, without air bubbles.
5. If the brake master cylinder has been primed at the bench, install it in the vehicle.
6. Remove the short brake tubes.
7. Install the brake master cylinder tube fittings.
^
Tighten to 18 Nm (13 ft. lbs).
^
For traction control and stability assist vehicles, tighten to 28 Nm (21 ft. lbs).
8. Bleed each brake tube at the brake master cylinder as follows:
^
Have an assistant pump the brake pedal, and then hold firm pressure on the brake pedal.
^
Loosen the rearmost brake tube fitting until a stream of brake fluid comes out. While the assistant maintains pressure on the brake pedal,
tighten the brake tube fitting.
^
Repeat this operation until clear, bubble-free fluid comes out.
^
Refill the brake master cylinder reservoir as necessary. Repeat the bleeding operation at the front brake tube.
Anti-Lock Brake System (ABS) Hydraulic Control Unit (HCU)
NOTE: This procedure only needs to be carried out if a new anti-lock brake (ABS) hydraulic control unit (HCU) has been installed or if the HCU
tubes have been opened.
1. Clean all dirt from and remove the brake master cylinder filler cap. Fill the brake master cylinder reservoir with the clean, specified brake fluid.
2. Connect a clear waste hose to the RH rear bleeder screw and submerge the other end in a container partially filled with clean, specified brake fluid.