
E 350 V10-6.8L (2007)
9. Remove the 2 crossmember-to-rear transmission mount nuts.
^
To install, tighten to 95 Nm (70 ft. lbs).
10. Support the rear of the transmission with a safety stand.
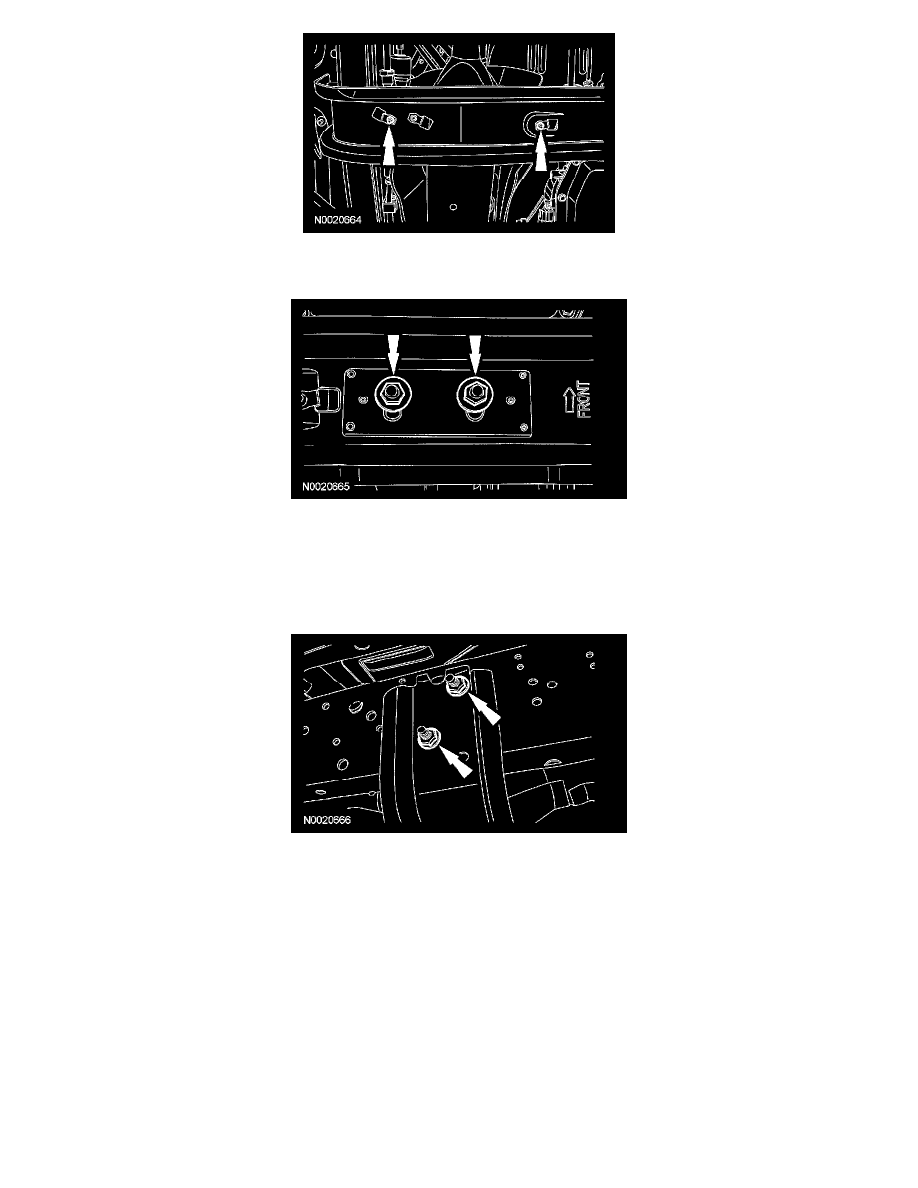
11. NOTE: RH shown, LH similar.
Remove the RH and LH transmission crossmember-to-frame nuts and bolts and remove the transmission crossmember.
^
To install, tighten to 81 Nm (60 ft. lbs).
12. Remove the 4 exhaust Y-pipe-to-exhaust manifold nuts and discard. Remove the exhaust Y-pipe.
^
To install, tighten the upper exhaust Y-pipe-to-exhaust manifold nuts to 40 Nm (30 ft. lbs.) then tighten the lower exhaust Y-pipe-to-exhaust
manifold nuts to 40 Nm (30 ft. lbs).
13. If reusing the exhaust intermediate pipe, note the orientation of the Torca(R) clamp, grind the spot weld and remove the old Torca(R) clamp.
14. If installing new catalytic converters, remove the heated oxygen sensors (HO2S) and the catalyst monitor sensors.
^
Apply a light coat of high temperature nickel anti-seize lubricant to the HO2S and catalyst monitor sensor threads prior to installation.
^
To install, tighten to 46 Nm (34 ft. lbs).