
E 350 V10-6.8L (2007)
Exhaust Pipe: Service and Repair
Exhaust Y-Pipe - Stripped Chassis
Exhaust Y-Pipe - Stripped Chassis
Special Tool(s)
Material
Removal and Installation
WARNING: The normal operating temperature of the exhaust system is very high. Never attempt to service any part of the system until it
has cooled. Be especially careful when working around the catalytic converter. The temperature of the catalytic converter rises to a high level
after only a few minutes of engine operation. Failure to follow these instructions may result in personal injury.
CAUTION: Do not use oil or grease-based lubricants on the isolators. These lubricants may cause deterioration of the rubber. This can lead
to separation of the isolator from the exhaust hanger bracket during vehicle operation.
NOTE: Exhaust fasteners are of a prevailing torque design. Use only new fasteners with the same part number as the original. Torque values must be
used as specified during reassembly to make sure of correct retention of exhaust components.
1. With the vehicle in NEUTRAL, position it on a hoist. For additional information, refer to Maintenance/Service and Repair.
2. Support the muffler and tailpipe assembly and catalytic converter with a safety stand.
3. Release the front muffler and tailpipe and (if equipped, the extension pipe) isolators.
4. Remove the 3 exhaust Y-pipe-to-catalytic converter nuts and discard. Remove the exhaust Y-pipe-to-catalytic converter support bracket.
^
To install, tighten to 40 Nm (30 ft. lbs).
5. Position the catalytic converter and muffler and tailpipe assembly rearward from the exhaust Y-pipe and discard the gasket.
6. Disconnect the heated oxygen sensors and the catalyst monitor sensors electrical connectors.
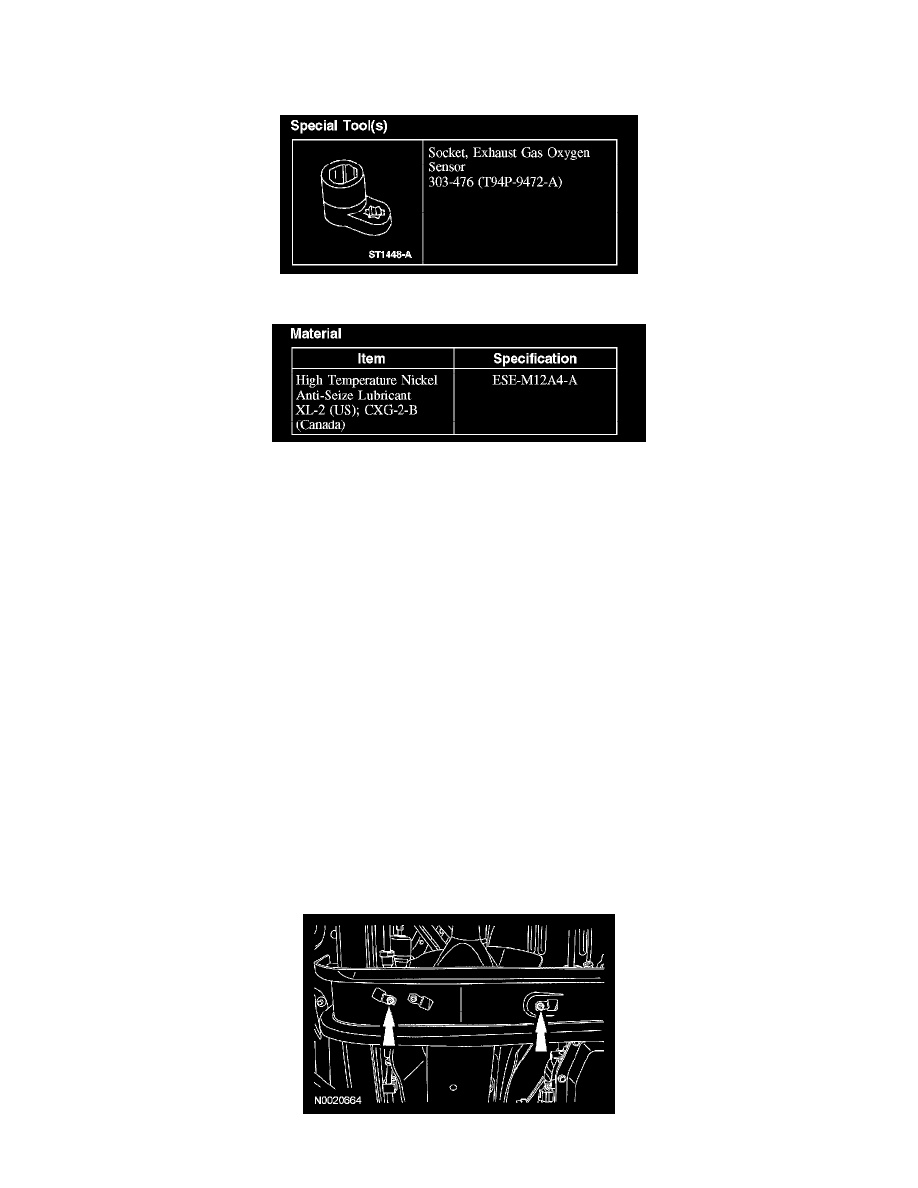
7. NOTE: LH shown, RH similar.
Remove the 2 LH and 1 RH heat shield-to-crossmember bolts.
^
To install, tighten to 10 Nm (89 inch lbs).
8. Remove the 2 crossmember-to-rear transmission mount nuts.