
E 350 V10-6.8L (2007)
Shift Interlock Solenoid: Service and Repair
Brake Shift Interlock Actuator
Removal and Installation
All vehicles
1. WARNING: On vehicles equipped with an auxiliary battery, both the negative and positive battery cables must be disconnected.
WARNING: On vehicles equipped with a 6.0L engine, both the primary and secondary batteries must be disconnected.
Disconnect the battery. For additional information, refer to Battery.
2. Pull to release the retaining clips and remove the steering column opening lower finish panel.
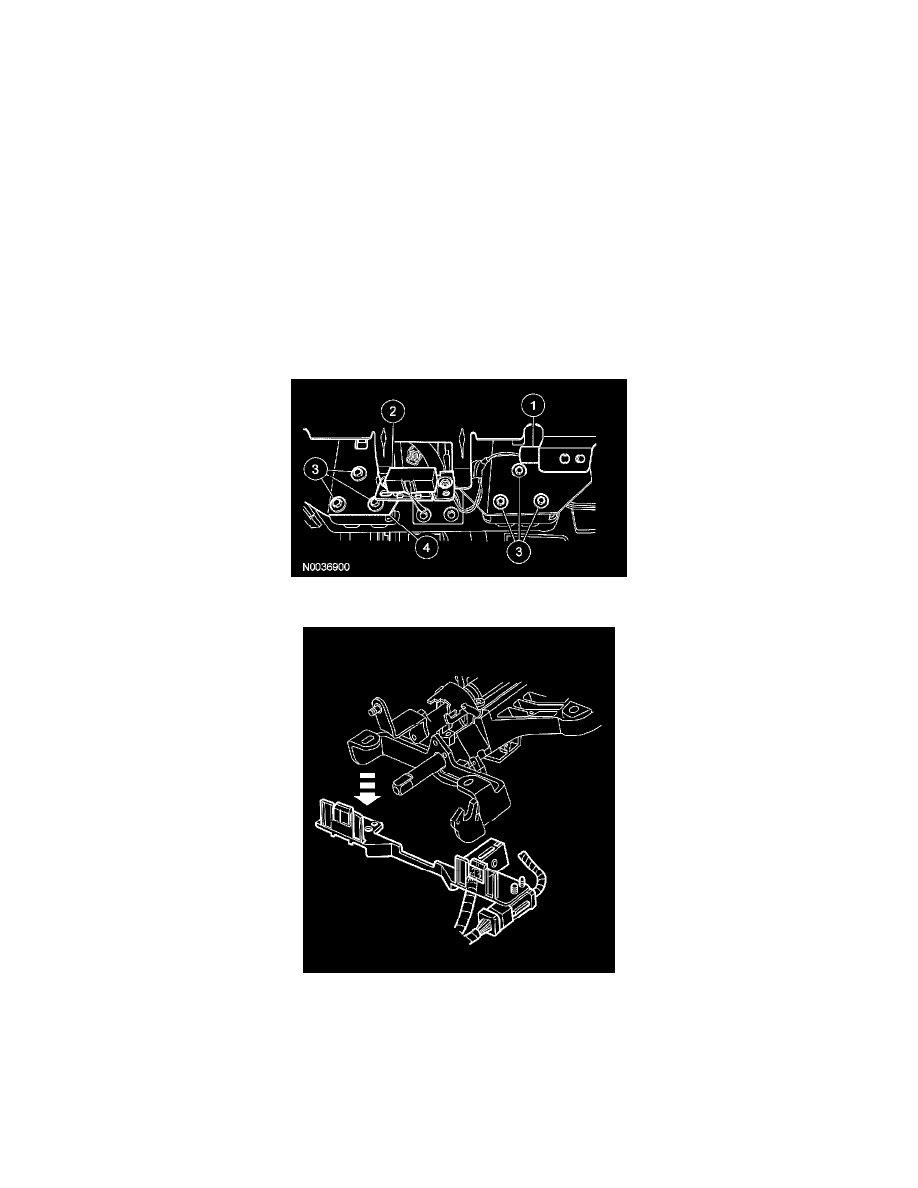
3. Remove the steering column opening lower finish panel reinforcement.
1
Release the pin-type retainers and remove the electrical connector.
2
Remove the screw and data link connector.
3
Remove the bolts.
^
To install, tighten to 9 Nm (80 inch lbs.)
4
Remove the steering column opening lower finish panel reinforcement.
4. Disconnect all necessary harness connectors and separate the harness bracket from the steering column.
5. Remove the selector lever indicator cable and position it aside.