
E 350 V10-6.8L (2007)
8. Using the special tool, distance the windshield glass from the body.
9. Using the special tool, cut the remaining urethane adhesive and remove the windshield glass.
10. Using a soft brush or vacuum, remove any dirt or foreign material from the pinch weld.
11. Remove the windshield header seal.
Installation
CAUTION: When installing urethane installed glass parts, the vehicle must not be driven until the urethane adhesive has cured. Refer to
drive away chart for the cure times, as temperatures and humidity will cause cure times to vary. Inadequate or incorrect curing can
adversely affect the bonding of the windshield glass.
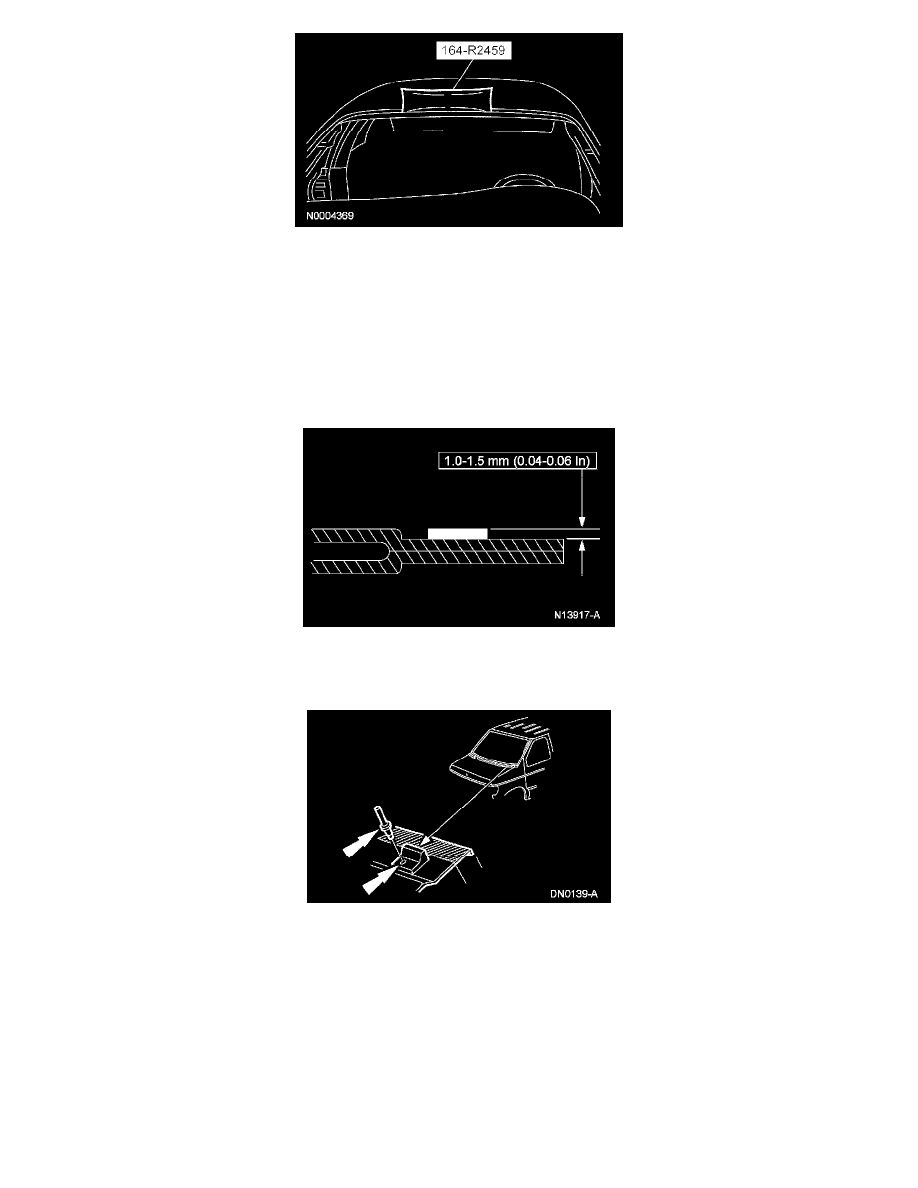
1. Trim the remaining urethane on the pinch weld to within specification. The urethane adhesive must be smooth and free of cuts and contamination
after trimming. Avoid touching the urethane adhesive after preparation
2. Check the pinch weld for damaged or raised sheet metal at the spot welds, or rust, and repair any obvious concerns.
3. Install the windshield glass stops on the vehicle.
-
Using the special tool, rivet the stops in position.
4. If re-installing the original windshield glass, remove all remaining traces of urethane sealant from the glass.
5. Install the windshield header seal on the windshield glass.
6. Clean the inside of the windshield glass with glass cleaner.
7. CAUTION: Be sure to use the same brand and cure-rate products for the adhesive and primer. Do not mix different brands of urethane
and primer. Refer to the Material Chart in this procedure.
NOTE: Sika uses the same black primer for the glass and pinch weld area.
If installing a new windshield glass, apply urethane glass primer according to manufacturer's instructions. Allow at least 6 minutes to dry.